Finally – everything I know about painting cabinets, condensed into one place. And it all applies to painting furniture too!
Painting your cabinets, especially a whole kitchen full of cabinets, can be a daunting DIY project. As with most things in life, there’s no one “right” way to do it, but there sure are lots of wrong ways!
If this is your first time painting cabinets or furniture, and aren’t quite sure how to do it well (so you only have to do it once!) then you’ve come to the right place.
I’ll show you what supplies you need based on the type of material you’re painting, which method works best for busy families, and answer all the most frequently asked questions I hear from readers.
Here’s the outline, if you want to skip to any particular section:
Everything I Know About Painting Cabinets
I’m not sure exactly how it happened, but over the last few years, I’ve become reluctantly experienced at painting cabinets. (Perhaps because I keep buying ugly houses.) I never set out to become a professional painter, but I’ve saved so much money over the years that it feels like my second job.
I’ve painted kitchen cabinets, bathroom cabinets, RV cabinets, file cabinets, not to mention dressers, chairs and tables. They’ve been wood, laminate, stained, and unfinished, Oak, Maple, brand new, 40 years old, and everything in between.
With each project I’ve learned a few things, which I’ve shared in blog posts along the way. I’ll be linking to those projects in a minute, so you can see all the details.

This post contains affiliate links. If you make a purchase, I may receive a small commission at no additional cost to you.
But first, why write yet another cabinet painting post?
I decided to write this post, mostly to bring all my experience into one place for easy access, but also because I’ve noticed something troubling over the years…
The painting products keep changing!
My most popular cabinet painting post uses products that, as of this writing, are becoming very difficult to source and buy.
I can’t stand the thought of someone reading my post, getting excited about the product, and then going off to buy it and not finding it so they end up back at square one, unable to start their project.
Or worse, getting halfway through the project and not being able to finish!
So here I’ll explain how to find the correct products to paint your cabinets, what methods work best, and answer your most frequently asked questions about the whole project.
Selecting the Right Cabinet Painting Products
This is it, y’all. This is why you’re here, right? You want to paint your cabinets, but you don’t know what kind of paint, primer, and tools to use.
Maybe you’re standing in the paint store this very moment, examining your options. The possibilities seem endless, and if you pick the wrong one, you could end up with a mess on your hands and so many hours wasted on an unsuccessful project.
Don’t worry, you’ve come to the right place, and I’m not going to let that happen.
I am going to give you three best-practice options for cabinet painting products, ranked in order of my favorite to least favorite (but still useful) options, along with why I recommend each one.
Plus I’ll share more options for painting laminate cabinets, in case you’re dealing with cabinets or furniture that aren’t real wood.
Let’s dive into the options…
Option 1: DecoArt Satin Enamels
Oh Satin Enamels, how do I love thee? Let me count the ways.
You don’t drip or smudge. You don’t need sanding or priming. You don’t need a top coat. I can basically just slap you on and stand back and admire my handiwork. And nothing seems to stick to or stain your slick surface.
Why, oh why, have you gone away from me? (Update: They’re back in stock! But a little pricier than they used to be. Still a great bang for your buck when you factor in time saved.)

Lamentations aside, let’s chat about DecoArt Satin Enamels. This is the product I used on my Best Way to Paint Kitchen Cabinets (No Sanding!) project. I loved the easy process and the durable finished product, and I still do.
If you can get your hands on DecoArt products, this is absolutely the best paint for cabinet painting projects.
I used to buy them at craft stores like Hobby Lobby or Michaels. And they were always available on Amazon. But lately, they’ve been hard to find. DecoArt assures me that their paint is still available directly through their website, but I’ve heard that some colors are not listed anymore.
That’s why I’ve come up with the next option, a very close second choice.
Pros & Cons of Option 1 (Satin Enamels)
Pros: very easy to use and apply. Strong durable finish. No sanding, very little prep work, no primer and no top coat needed.
Cons: Can be hard to get the products. Limited color selection.
Option 2: Valspar or Behr Cabinet and Furniture Enamel
Valspar (at Lowe’s) and Behr (at Home Depot) both make a good cabinet and furniture enamel, similar to the concept of the Satin Enamels in option 1.
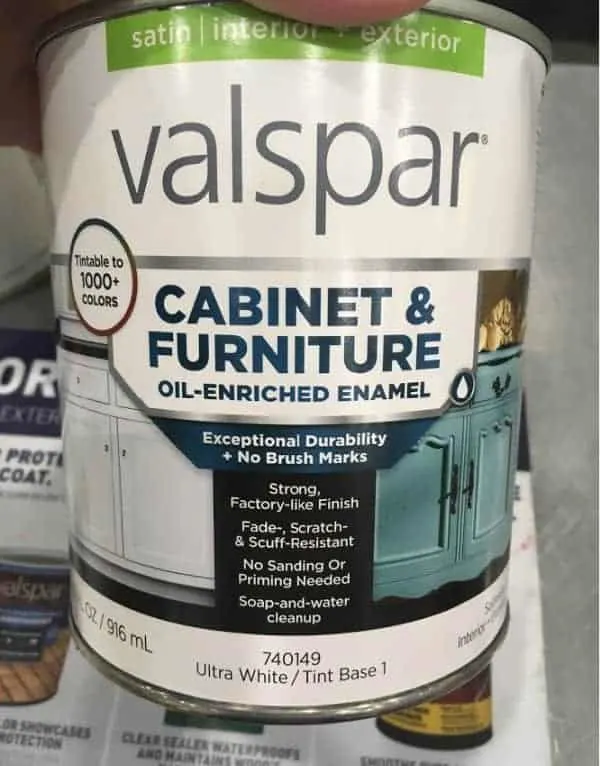
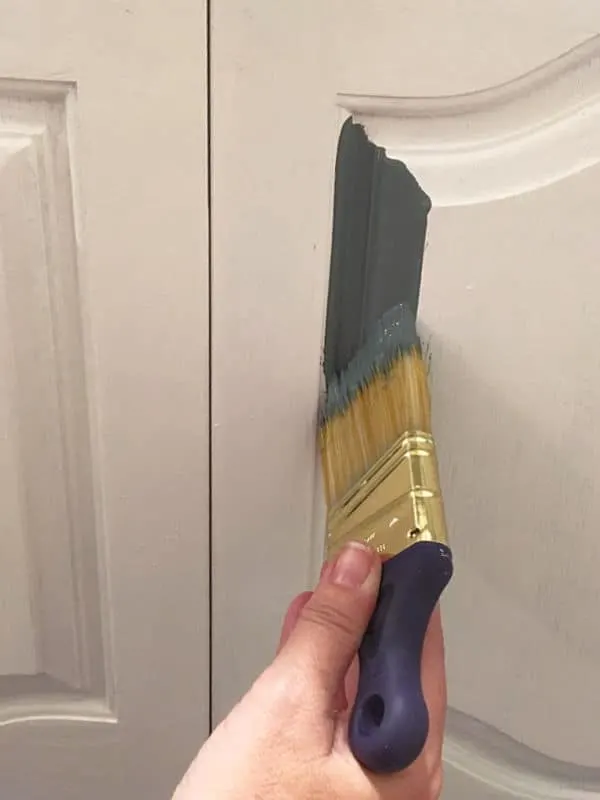
These enamels tend to be a little thinner consistency, which can result in paint drips if you’re not careful as you apply the paint. This the only reason they’re not yet my #1 choice.
But as long as you apply the paint somewhat lightly, your finish will turn out great. You may need two or three coats of paint, which is true of all the paint options.
The great thing about these cabinet enamels is you can have them mixed in any color you choose. The Valspar paint is also available in both Satin and Semi-gloss finish, which is nice.
To use the Valspar or Behr option, you would follow the same process as the Satin Enamels, which you can find in this cabinet painting post or outlined below. As with the Satin Enamels, these paints require no sanding and very little prep. It’s basically the Satin Enamels process, just with a more accessible paint.
Pros & Cons of Option 2 (Cabinet Enamel)
Pros: You can find this paint at either Lowes or Home Depot and get in it in almost any color you want. Just as durable and easy to prep as option 1. No primer or top coat necessary.
Cons: The consistency is a little thinner, so you need to be a little more careful when applying to avoid drips.
Option 3: Alkyd Paint, Primer, and Sanding
“Alkyd” paint is basically an oil paint suspended in a water base. That makes application and clean up easier, but gives you the durability of oil paint. Benjamin Moore and Sherwin Williams both make a great Alkyd product.
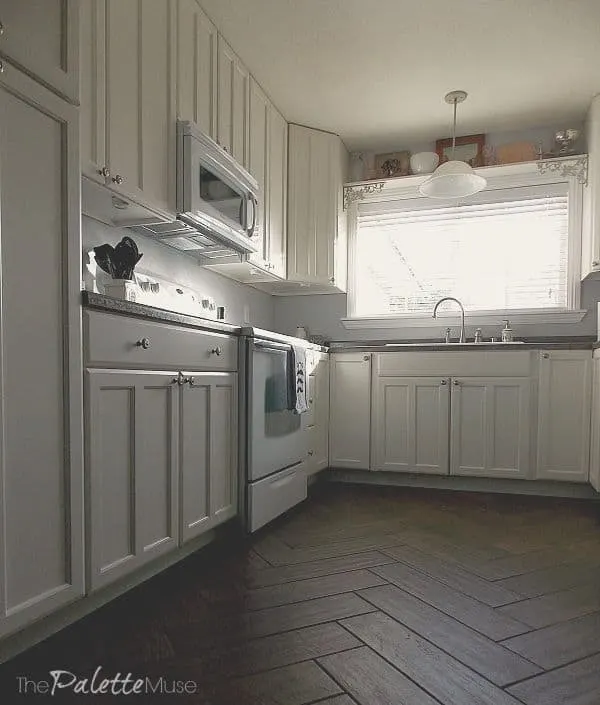
This option is perfectly acceptable, and indeed for many years was the “correct” way to paint cabinets. It’s the product I used on my first kitchen cabinet painting project, after much research. Years later, it has stood the test of time.
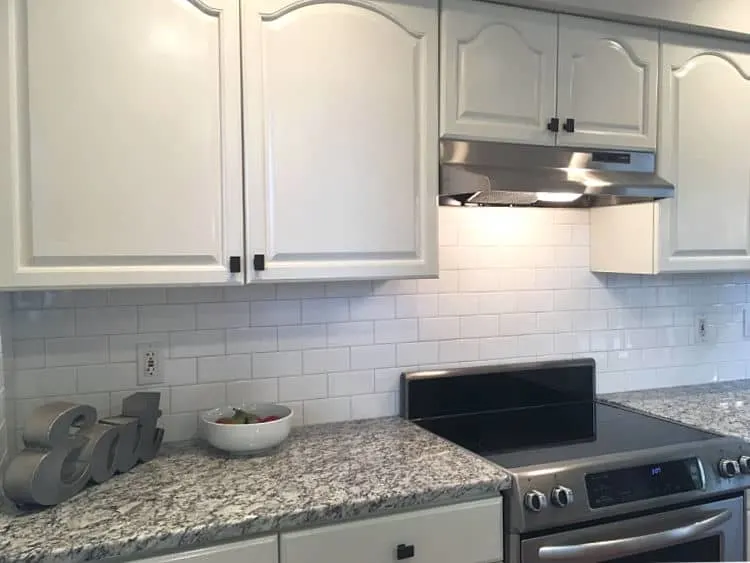
However, it’s the most labor intensive method, and requires sanding, which really makes a mess in your kitchen. If you want to go old school and get the satisfaction of knowing you’ve given your project every possible chance of success, you can’t go wrong with sanding, priming, and finishing with Alkyd paint.
I personally believe that, while absolutely correct, this way of painting cabinets causes the most upheaval on your household and family, so it’s not the way I’d do it again.
Before you make your choice, read more about the whole process in my original kitchen cabinet painting post here.
Pros & Cons of Option 3 (Alkyd Paint)
Pros: Can be mixed in any color. Easily available at Benjamin Moore and Sherwin Williams. Beautiful and durable finish.
Cons: Takes a long time to dry between coats. Requires sanding and primer.
Products for Laminate Cabinet Painting
This post would not be complete without touching on the subject of laminate cabinets. These are my two recommended options for painting any sort of non-wood cabinet or furniture:
DecoArt Chalk Paint and Satin Enamels
As in Option 1 above, this is my favorite method for painting laminate, and the method I used on my camper’s laminate cabinets. But alas, the products can be hard to find. So the next option is my new favorite for laminate.
Zinsser BIN primer and Valspar Cabinet/Furniture Enamel
If you’ve never used Zinsser BIN primer before, let me introduce you to a game changer. This stuff is THE BEST for covering stains or knot holes and adhering paint to slippery surfaces.
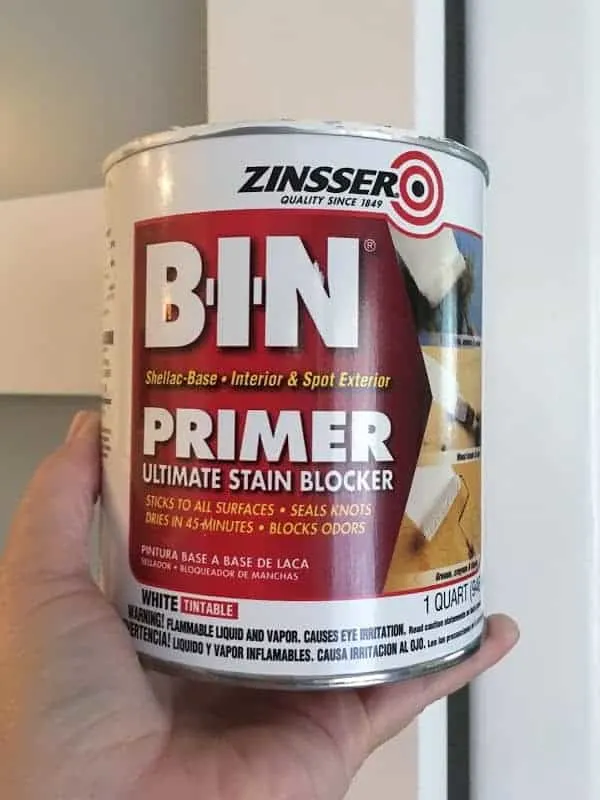
I would use it on everything except that it’s overkill for most projects. It’s a shellac based product, which makes it the perfect bridge between paint and surface. But it’s also stinky, and cleanup is difficult because it’s not water based.
So maybe it’s over the top for some things, but it does a great job of gluing paint to laminate. I haven’t yet written a post about this, but we used it on a cabinet at our latest flip house and it worked even better than chalk paint for adhering the enamel to the laminate.
This would be my #1 choice if it weren’t for the fumes and more difficult cleanup. To solve those problems, just use adequate ventilation and plan on disposing of your rollers and brushes afterwards, rather than trying to wash them.
All the Cabinet Painting Supplies other than Paint
Once you’ve picked your paint and primer, you still need tools to apply them. Here are all the other supplies you’ll need. (These are all the same, regardless of which type of paint you choose.)
- Krud Kutter – for cleaning before painting
- Mohair Paint Roller and handle – for rolling paint on larger flat areas
- Soft Paintbrush – I like a 1″ brush for details and edges
- Painter’s Tape – for taping off edges and for labeling doors
- Caulk – for filling seams between and around the edges of cabinets. This squeeze tube doesn’t require a caulk gun and can be easier to control, especially for beginners.
A Note About Wood Grain
I love the subtle hint of Oak wood grain that barely shows through my paint job. It makes me feel good about having solid wood cabinets and adds a richness to the color. But that’s just my opinion. If you want to get rid of yours, I recommend this method for covering wood grain.
The Best Method for Painting Cabinets
Finding the right painting products is only half the battle. Now you need to know what to do with them. Here’s the method I use on ALLLL my cabinet painting projects to save time, space, and sanity.
The secret? Unless you are painting the insides of your cabinets (which I don’t recommend) you don’t need to move anything out of your kitchen! No sanding means no dust, which means all your dishes and food can stay in place.
Even if you complete your project a little at a time over several weekends (because this is real life), you can still cook every night. Not that you’d want to, but you could.
This means you can carry on with your life, even as your cabinet painting project rages on.
Here’s how:
1. Prep – The Most Important Step
Even with the right products, the key to a good finish is in the preparation. None of my recommendations include sanding (yay!), but all of them include cleaning.
While I know you’re itching to get started, painting over dust and grease is a recipe for peeling paint and frustration.
Do yourself a favor and clean every inch of your cabinet surfaces or furniture with Krud Kutter first. Simply spray on lightly and wipe off with a clean damp cloth or paper towel, being sure to get in all the crevices of the cabinet doors and drawer fronts.
This is especially important in kitchens near the stove and sink.
2. Paint Door Fronts
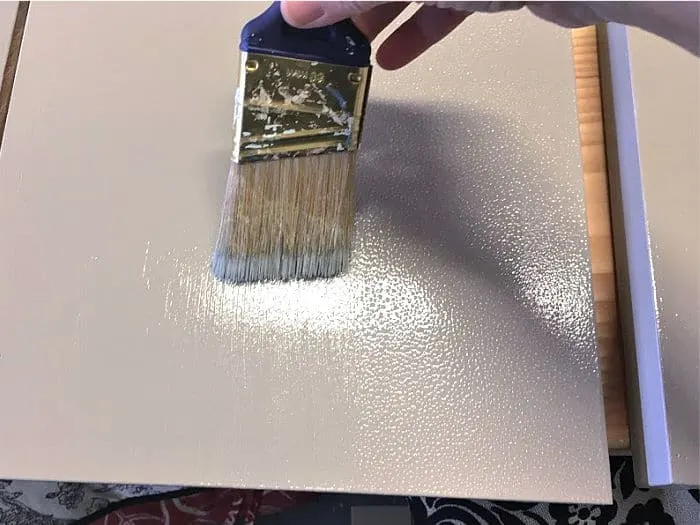
Once your cabinets are clean, you can paint the front of the cabinet doors. Use a roller for large areas, and a brush for smaller detailed spots like raised door frames.
Pro Tip: if your roller leaves spongey marks, you can lightly feather a dry soft brush over the wet paint to smooth them down. Follow a straight up and down pattern, along with the wood grain.
3. Label & Remove Doors
While the first coat of paint on the front of your cabinet doors are drying, label the inside of the doors and cabinets, using the raffle ticket method.
Raffle ticket labels: Make two pieces of tape with the same number on each. Stick one to the inside of the cabinet and one to the inside of the door. When it’s time to reattach your doors, simply match up the numbers!
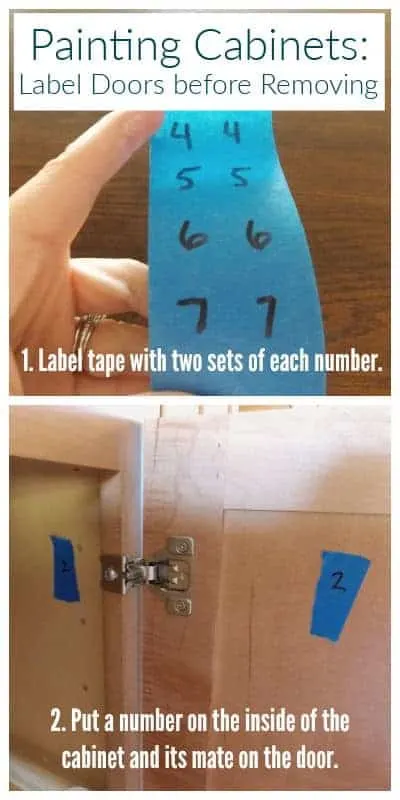
When your doors have dried to the touch, use a screwdriver to remove them, along with their hinges. Then remove any pulls or other hardware. Label and keep the hardware if you plan on reattaching it.
4. Paint Cabinet Boxes
Now that the doors and hinges are out of the way, you can paint your cabinet frames. Use the same process as you did to paint the doors.
5. Paint Sides and Backs of Doors
While your frames are drying, you can paint the edges and backs of your cabinet doors. I like to spread a sheet on my kitchen table and do a door or two at a time.
Just be sure you have a place to dry them each without leaning them against each other or the new paint will stick.
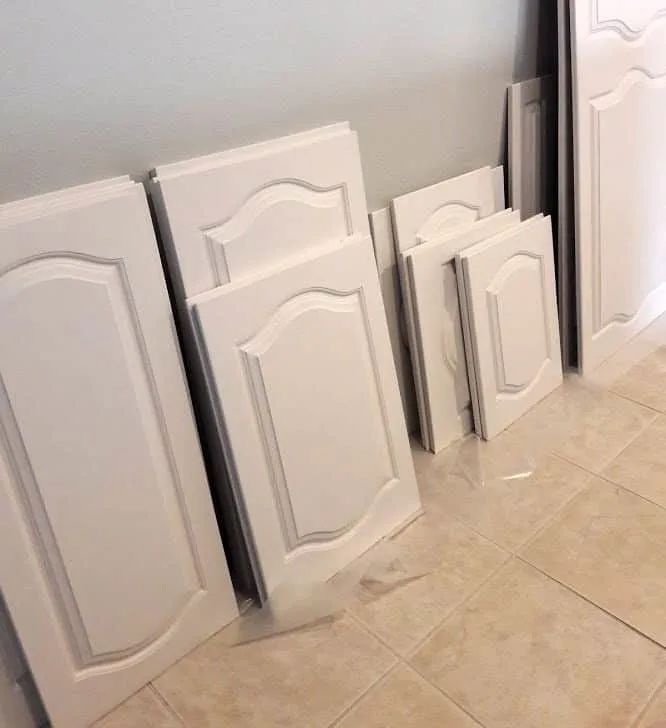
Drying trick: Once the paint is dry to the touch, I use wax paper strips on the floor and tucked between doors, to keep them from sticking as they cure.
6. Replace Doors
After your doors and frames are good and dry (most paints will need a few days to really cure hard), you can replace them. You may want to use bumpers on the doors to keep them from sticking to the frames, especially during the first few weeks.
7. Update Hardware
This step is optional, but new hardware is so much fun! Now is the time to update your drawer pulls and knobs. Check out this post to make attaching new cabinet hardware easier.
What about Laminate?
The process for painting laminate cabinets and furniture is exactly the same, just with the appropriate products, listed in the first part of this post.
Frequently Asked Questions about Painted Cabinets
You can see all the comments and questions on my original cabinet painting articles by following the links at the end of this post, but I’ve tried to distill them into the main questions here.
Can I use latex paint?
Well yes, you can use anything you want. But latex paint, as in regular wall paint, will not give you as smooth or durable a finish as enamel paint.
I’ll admit that, in a pinch, I’ve painted cabinets and furniture with latex paint that I had on hand. Generally I’ve had good experience with Valspar Signature in Satin, but I wouldn’t trust a whole kitchen remodel to it.
I’ve been much happier with the cabinets and furniture I’ve painted with the Satin Enamels and the Valspar Cabinet Enamel, specifically when it comes to a smooth finish without brush strokes.
Can I spray my cabinets?
Yes, you sure can! I just bought a sprayer and am not the person to ask about how to spray anything (yet), but I know many people swear by it. The difference is in the prep.
With a sprayer, you’ll need to remove all your doors and hardware first, and be sure to cover everything else to prevent overspray.
Some sprayers require you to thin the paint, but I know the HomeRight Finish Max (that I bought) is supposed to be great for chalk paint and I’d assume it would be for enamel paint as well.
Do I need a primer?
This is the big question – what does primer actually do?
Primer is good for 3 things: sealing natural wood so the paint goes on evenly, covering stains so they don’t show through the paint, and creating a surface the paint will adhere to.
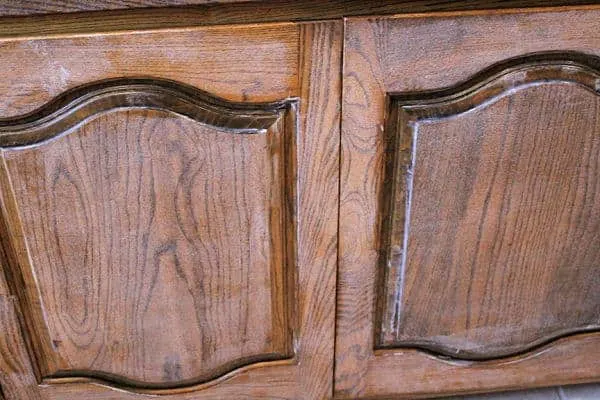
In other words primer has two jobs basically: to get the surface ready, and to help the paint stick.
- If your surface is wood that’s in good shape with any kind of previous finish on it, you don’t need primer.
- If your surface is wood that is old and dry, or new and completely unfinished, you need primer.
- If your surface is laminate, or certain kinds of older wood with tannin stains showing through, you need primer.
- If you have any doubt and don’t ever want to second guess whether you did things right, you need primer.
By primer, I mean either actual primer or chalk paint, as detailed in the product options above.
No sanding? Really?
Really! Unless you choose option 3 above, with the sanding, priming and Alkyd paint, you don’t need to sand.
You might want to lightly sand if you can see or feel imperfections in the wood you’re painting, but if your wood is in good shape, then get ready to throw on the paint!
One note about sanding: if you are sanding paint that may be older than 1978, be sure to test first for lead. It’s quick and easy with this home lead test kit. If your paint contains lead, you’ll need to contact an abatement team to remove it for you. Or you can decide not to sand, and use either of the first two methods above to paint over it safely.
Do I need a top coat?
No. None of these options need a top coat. In fact, they are all special paint formulated for their durable finish.
I don’t recommend a top coat at all, but if you just can’t stand it, you can use Polycrylic. It won’t yellow over time like polyurethane will.
What if my cabinets are not in good shape? Will painting over them fix that?
If your cabinets are peeling, chipping, or flaking, that’s a whole ‘nother problem, and no magic combination of primer and paint is going to fix that.
(With the possible exception of Peel-Stop, which I haven’t tried but I’ve heard it’s formulated for just this problem. If you try it, let me know how it goes. I believe it’s best for applications that don’t require a smooth detailed finish, since I think you’d still see the edges of the peeling paint as texture under the new paint.)
Before you start even cleaning your cabinets to paint them, you’ll need to scrape off any peeling paint and patch with wood-filler. Then you’ll need to sand them to a smooth finish and apply a primer over the wood filler.
Will the paint chip over time?
OK, this is the tough one, and I’m going to be completely honest with you. The answer is yes, a little. And anyone who tells you differently is selling something.
Any paint job on anything has the potential to chip over time with heavy wear and tear. Every product, method, and painting professional aims at reducing this problem to almost zero, but I’d be lying if I guaranteed your paint job would never chip.
I usually find that the cabinet housing the trash under the sink, and the drawer holding the silverware are the first to show signs of love. So I keep a little jar of the paint I used on the project to touch up every year or so.
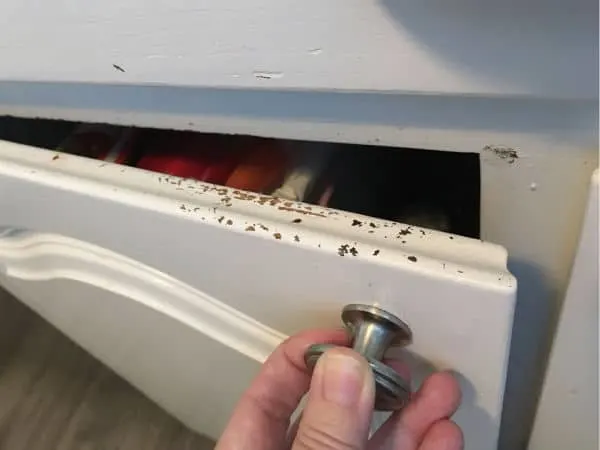
That’s the simple truth, and the reason we don’t paint our countertops, usually. Things that get a lot of beatings will eventually show their age. Hence the need for home maintenance.
Just like you clean your gutters, or empty your dryer vent, you’ll occasionally need to attend to your paint job. But these methods will cut down on the need for that job significantly, if you do them right.
The best way you can avoid chipping paint is to thoroughly clean your cabinets before even touching them with paint. Spend a little time on prep, and you’ll spend less time later on touch ups!
Suggested Reading
So that, my friends and patient readers, is everything I’ve learned about painting cabinets and furniture, in a nutshell. (Imagine the non-condensed version!)
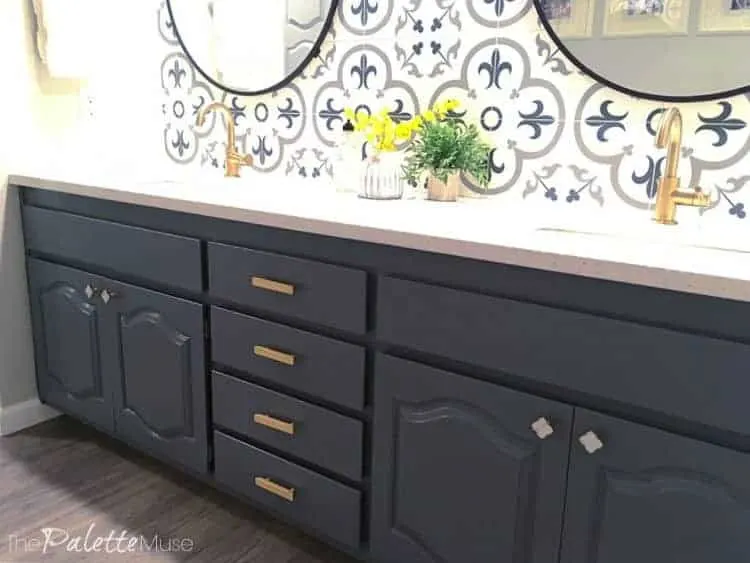
If you still need more details, or if you just don’t feel ready to get started yet and want to procrastinate by doing more research, here are the posts that inspired this one. Check them out for even more details.
- What NOT to do when Painting Cabinets
- The Best Way to Paint Kitchen Cabinets
- Painted Kitchen Cabinets – How They’re Holding Up
- The Original Kitchen Cabinets Post
- Painted Bathroom Cabinets
- How to Paint Laminate Cabinets
- Installing Cabinet Hardware
- Replacing Cabinet Hinges
- And finally, there’s this, my comprehensive guide to cabinet painting, all in one printable ebook, with 2 exclusive worksheets:
And leave me a comment below if you’re stuck on something and need help. I know painting cabinets or furniture is a daunting prospect, but you can totally do this!

Diane
Thursday 25th of January 2024
I agree with a lot of the comments in this article... you explained things well and give reasons for your advice.
Lulu
Monday 4th of September 2023
Thanks for this great article! I know that I’m late to the party, but I’m hoping you can help me. Can these methods be used on furniture? My cousin gave me solid wood Broyhill Fontana coffee and end tables that are in perfect condition. But they’re orange-y! They have what seems to be a factory low gloss sheen topcoat. Which of your options would you use? Thanks so much!
Meredith
Tuesday 19th of September 2023
Hi Lulu, Yes you can use all these methods on furniture! Broyhill is a great brand, and definitely worthy of an update. I'd recommend the satin enamels if you can find the color you want. They'll give you a great satin finish that will stand up to wear and tear. Alternatively, I'd say use the chalk paint with a polyacrylic finish. Best of luck!
Pam
Saturday 10th of June 2023
I am so glad I did my research and happened to read your blog on cabinet and furniture painting. My husband and I have the daunting task of painting all the cabinets in our 30 year old fixer upper, and I want to do it right the first time. The hours that we will spend on this project, I don't want to look back and say, "what were you thinking." Not only that, we are saving litterly thousands of $$$$.
Meredith
Friday 16th of June 2023
I'm so glad it was helpful! It's great to be able to save money and the sky's the limit with what you can do!
Ms. My
Tuesday 7th of March 2023
Great Article! Painting is still an appealing choice because it allows you to invest your money elsewhere. New cabinets and assembly can easily consume nearly half of your kitchen remodeling money.
Meredith
Thursday 23rd of March 2023
So true! We are not remodeling a kitchen, and the new cabinets are accounting for half the budget!
Jason
Friday 20th of January 2023
If you aren’t spraying cabinets with professional products your cabinets are going to look like you painted them. This article is worthless