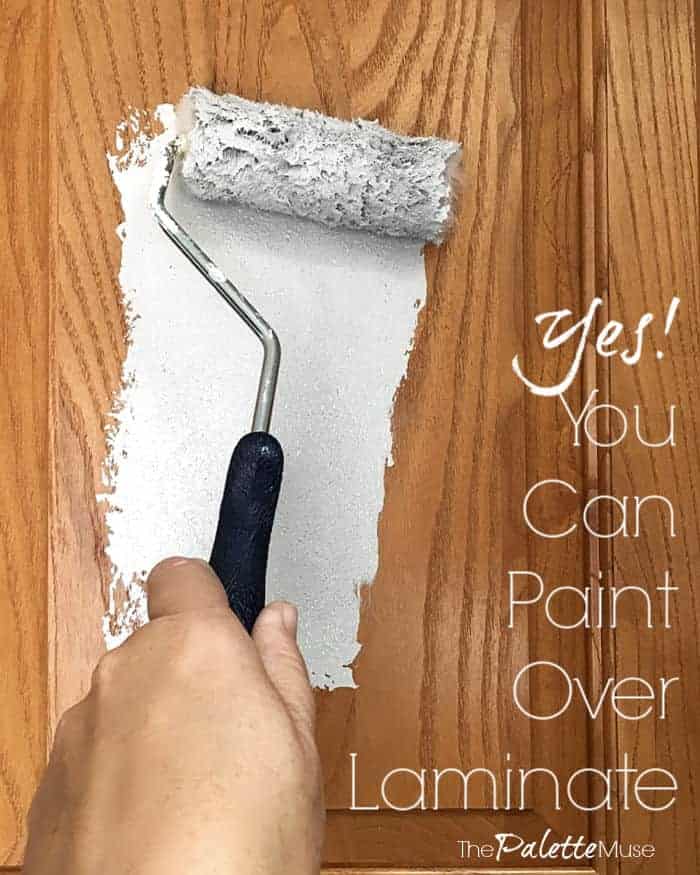
What do you do if you want to paint your kitchen cabinets, but they're not real wood? Using the right method, you can paint right over those laminate cabinets, or any other kind of laminate furniture that needs a color update!
This is a post that has been almost three years in the making, and boy is it a relief to finally get it out! When I published my original tutorial on the best way to paint kitchen cabinets (without sanding!), I got a barrage of questions like "Does this method work on laminate cabinets?" Or "My cabinets are melamine, will this work?"
The short answer is yes, with one easy modification. I'll show you how, but first, let's talk about laminate.
This post contains affiliate links. If you make a purchase, I may receive a small commission at no additional cost to you.
Yes You Can Paint Laminate!
What is laminate, you ask? It can basically be any type of furniture, cabinets, or wood-like product that is made by attaching a thin layer of printed plastic (sometimes called Melamine or Thermofoil) to a substrate of plywood or particle board. Usually the plastic is printed with a wood pattern to mimic actual wood flooring or cabinetry, but it could be any color or pattern.

If you paint a piece of real wood furniture or cabinetry, the wood will absorb some of the paint or primer into its pores, which creates a tight bond and helps the paint stick to the wood. Laminate, on the other hand, does not have a porous surface, so it's harder to get paint to stick to it.
(The beauty of laminate cabinets or countertops is the ease of clean-up and resistance to stains. This is the very same property that makes laminate difficult to paint.)
By the way, "Veneer" is slightly different from laminate. Veneered wood is a similar concept, but instead of a plastic layer on top of plywood, it has a very thin layer of actual wood, called a veneer. If you are painting a veneer-wood piece of furniture, I recommend the method outlined in my original cabinet painting post.

The Right Way to Paint Over Laminate
As with any paint job, the secret to success is in the preparation, not the painting. And this project is no different. So how do you prepare laminate correctly, so the paint can adhere to its slick surface?
Sanding is always a good idea when prepping to paint, but I'll let you in on a little secret: I hate sanding. It's messy, time consuming, and generally a nuisance that prevents me from jumping into a new project. So if there's any way around it, I will take it.
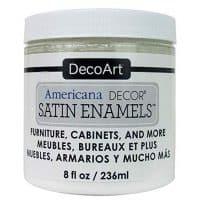
Long story short, I contacted my favorite paint people, DecoArt, and asked them if they had a product they recommend for painting laminate cabinets, similar to the Satin Enamel I used on my kitchen cabinets.
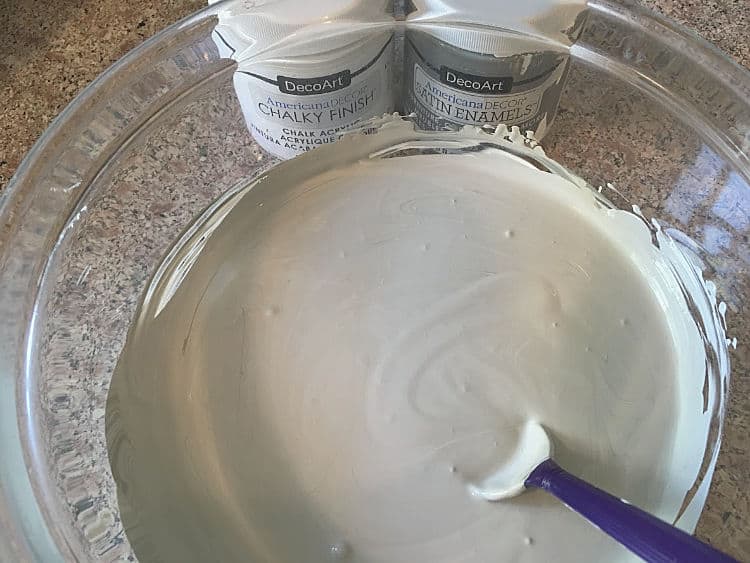
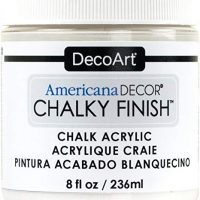
To my surprise, they responded by recommending I use Chalky Finish paint as a primer, and Satin Enamels as a top coat. Brilliant! And then they sent me some of both to try.
(Thank you DecoArt for providing the paint for this project! As always, my opinions on the products are my own.)
So without further ado, I give you the answer to...
How to Paint Laminate Cabinets without Sanding
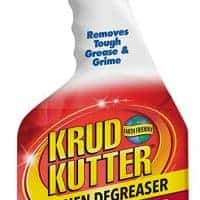
First, you'll need to make sure your laminate is in good condition. Peeling or buckling will not be fixed by painting! Then clean your cabinets really well. Especially in the kitchen, cabinets can harbor all sorts of greasy grime that will prevent even the best paint from sticking. I love Krud Kutter for this job. Just spray it on and wipe it off with a damp rag, taking care to get into all the crevices between surfaces.
The rest is simply a two part process, consisting of a primer coat of Chalky Finish paint and a top coat or two of Satin Enamels paint. Easy peasy! Well, sort of. Here's the breakdown. (Skip to the end if you want a concise, printable checklist of the whole process.)
You'll need about a jar of Chalky Finish paint and a jar of Satin Enamels for each 20 sq. ft. of cabinetry you're painting. (I used mostly white, with a little gray mixed in to make my own custom light gray cabinet color.) You'll also need a paint roller and tray, and a soft paint brush.
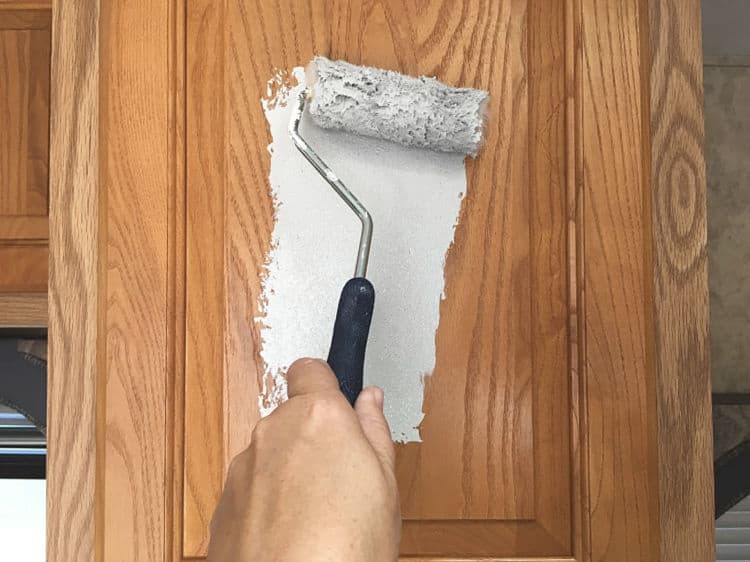
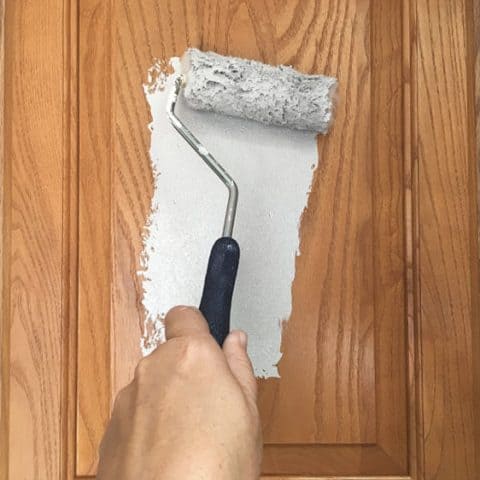
Leave your cabinet doors attached and roll on your first layer of Chalky Finish paint on the face of the doors and drawers. (Don't worry yet about the edges or the backs of the doors.) Then use a soft paint brush to get into all the areas the roller couldn't reach, like the insets in the doors. If your doors have knobs or pulls, remove them and keep them in a baggie for reattaching later.
Pro Painter Tip: Chalk paint can be a little thick. As you're rolling or brushing it on, be sure to clean up any areas where the paint builds up or pools in corners. And if you brush along the length of the surface, as if following the wood grain, this will give you a smoother finish later. If you end up with drips or raised areas, these can be sanded down after the paint dries, before your finishing coats.
This layer of paint won't take long to dry, which is one of the advantages of chalk paint. While the paint is drying, label each door and corresponding cabinet with numbered blue tape. Like this:
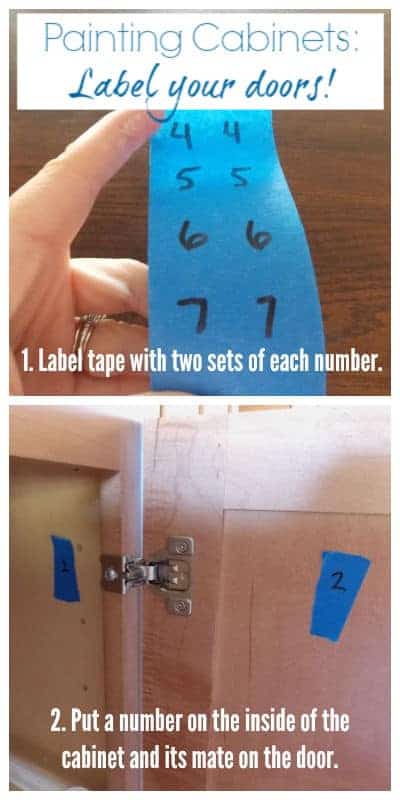
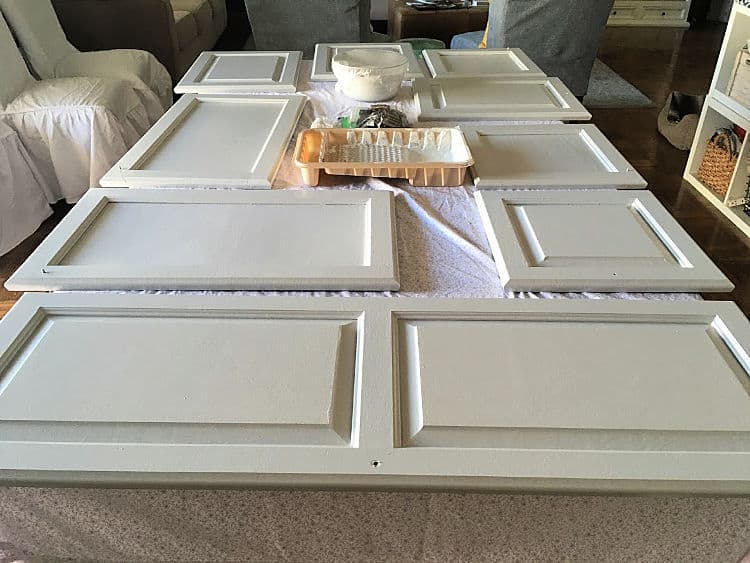
I promise you think you'll remember where each door goes, especially if you're doing a small kitchen, but take it from me - you will not. Remove the doors, laying them on their backs to let the paint finish drying.
Now go back and paint the cabinet frames in the same way: roll the larger flat areas, and use the brush to get into any tight corners or edges.

Tip: you may need to use blue painter's tape to mask off any items that come into contact with your cabinet frames, such as vent hoods, or wall edges.
Remove the cabinet hinges and use a paint brush to finish applying chalk paint to the edges of the doors and drawers. (If you want to paint the inside of the cabinet doors, flip them over and do that now.)
Once all the paint is dry, inspect everything for raised drips, unwanted brushstrokes, or other imperfections in the surface of the chalk paint. You can lightly sand these down using a handheld sanding sponge or sandpaper. Or, if you're like me, you can call them "character" and move on to the next step.
Finally, paint over everything the same way with the Satin Enamels paint. You may need two coats to get an even, satiny finish. Again, it's important to roll and brush in the direction of the "wood" grain, and avoid paint build-up in the corners and edges.
Let your project dry for at least 24 hours and then reattach the hinges and pulls and match up the doors to the proper cabinets. I recommend that when you reattach the cabinet doors, leave them open for another day or so, just to let the paint really finish curing. This will prevent them from sticking together when they close. Or you can attach little bumper pads, which also helps keep the doors from banging closed.
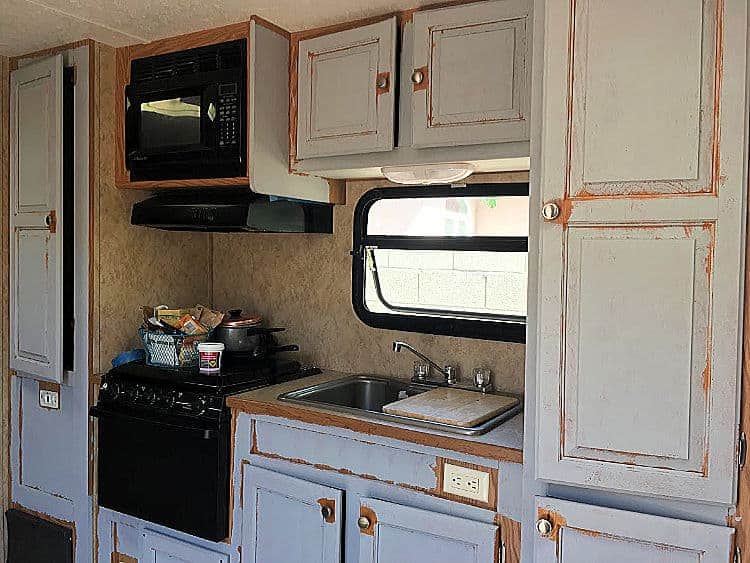
No More Ugly Laminate Cabinets!
In my camper makeover, these cabinets went from two-tone orangey wood color, to a pretty light gray. I couldn't be happier with the transformation!

(Check out the whole camper makeover reveal post to see the rest of the projects!)
And just to be sure that this paint job would hold up, we took the camper out for the weekend on a muddy, messy camping trip and these cabinets performed amazingly well. The satin finish allows me to easily wipe down whatever drips or splats onto the surface, and they stand up well to scuffs and bumps.
Chalk paint is famous for sticking to just about anything, and in this case it makes the perfect primer between the laminate surface and the Satin Enamels paint. It's easy to apply and dries quickly. And the Satin Enamels provide the perfect durable finish over the chalk paint. (All chalk paint needs a top coat of some kind.) So they make the perfect pair for a DIY kitchen makeover, or updating an old piece of laminate furniture.
Update: I've heard that the DecoArt products can be hard to find right now, so be sure to check out this comprehensive cabinet painting tutorial for my updated product recommendations. The process remains the same.
One Last Thing...
If you're wondering how to avoid some common cabinet painting pitfalls, be sure to check out my post on how not to paint cabinets.
Finally, here's the laminate painting process in a quick, printable format. And as always, let me know if you have questions along the way!
Paint Laminate Cabinets
Can you paint laminate? YES! All you need are the right supplies, and a little patience!
Instructions
- Check to make sure your laminate is in good condition. If it's peeling or chipped, make those repairs before painting.
- Clean your cabinets thoroughly with Krud Kutter to remove any kitchen grease or dust. Leave the cabinet doors attached to the frames for now.
- Use a roller to apply Chalky Finish paint to the cabinet doors.
- Use a paint brush to chalk-paint any spots the roller couldn't reach. Be careful of drips or paint build-up!
- Label your cabinet doors and remove them and all their hardware.
- Use the roller and/or brush to apply chalk paint to the cabinet frames.
- Finish applying the chalk paint to the edges (and backs, if desired) of the cabinet doors.
- Repeat steps 3, 4, and 6 with Satin Enamels paint. You may need two coats of the Satin Enamels for an even finish.
- Allow plenty of time (at least a day) for the paint to dry.
- Reattach doors to frames and leave open for a few more days while the paint is fully curing.
Notes
Sanding is not necessary to prepare laminate for paint, but you might want to check between coats to make sure you're getting an even finish. You can lightly sand between coats if you see raised brush or roller marks.
Recommended Products
As an Amazon Associate and member of other affiliate programs, I earn from qualifying purchases.


Lorre Clouse says
Is the chalky finish paint water or oil based. Which should I use on Formica?
Meredith says
Yes, chalky finish is water based. When you say formica, are you referring to the countertop material? Because that would be a different product, referenced in this post: https://thepalettemuse.com/100-room-challenge-week-3-painted-countertops/
sandy says
What kind of roller? Foam?
Meredith says
I like mohair rollers because they give a smooth finish, without leaving air bubbles like foam sometimes can.
Lyn says
How long do I wait for charm paint to dry then I can put satin paint
Meredith says
The chalk paint should dry within a couple of hours, unless you're in a very humid area. So it should be ready to cover with the satin paint by the next morning, or even once you've worked your way around the rest of the project.
LA says
Sorry but this is complete nonsense. Take it from someone who tried this and ended up with chalk paint that peeled off the laminate surface in sheets when applying the next coat (latex paint). We had to scrape and sand off all the remaining chalk paint, apply Kilz primer, then finish with the latex paint. Chalk paint does not work as a primer on laminate!
Meredith says
Wow I'm sorry to hear that! And I thank you for sharing. Apparently, chalk paint doesn't work for everyone, and that's a good thing to know about if you're considering doing this project. I do love Kilz primer too, but I really liked how the chalk paint worked on my laminate, with no fumes and easy clean up. Can I ask how your method is holding up? My chalk paint has been doing great for several years now. I'd love to hear if anyone else has had this problem too, so people can have all the facts before taking on a big project like this.
Colleen says
Instead of using Art Deco brand satin enamel , can another brand of satin enamel be used. Thanks
Meredith says
Yes! You can use other brands of satin enamel. I like Valspar's Cabinet and Furniture Enamel. You can read more about that one in this article: https://thepalettemuse.com/what-you-need-to-know-before-painting-cabinets/
MaryLou Mattana says
Great idea. Can this also be used on laminate countertops? I absolutely hate mine and would love this simple change
Meredith says
I can relate! There's a better product for countertops. You can read more about it here: https://thepalettemuse.com/100-room-challenge-week-3-painted-countertops/
Cindy says
I just now ran across this article. I realize it is almost five years old! I have a question about applying the chalk paint and enamel top coat with a roller. Would you get a lot of air bubbles from using a roller? Wouldn’t a good grade brush give you a smoother finish? I’m wanting to use this method to update my kitchen cabinets but I’m still thinking long and hard because once you start, there’s no going back!
Meredith says
Hi Cindy, yes I know this is a big commitment, but it's been so worth it! And yes, you should be careful to use a good quality roller or brush. My roller is mohair, so it's super soft and doesn't leave bubbles. (Also, this matters more with the enamel coat than the chalk paint base coat.) If you can't get your hands on a mohair or high quality synthetic soft roller, then a brush would be the way to go. (If you decide to use a roller because it's so much faster, you might want to keep a dry soft brush close by to smooth out bubbles if you start seeing them.) And as you mentioned, this post has been around awhile, and my cabinets are still in perfect condition, so don't be afraid to do it!
Jean says
Those look like little jars of paint, I'm wondering how many I would need, I just have a smaller apt size kitchen. 19 doors of different sizes and 7 drawer fronts.
Meredith says
Hi Jean, each jar covers about 20 square feet, so you'll need to estimate how much square footage your cabinets cover (length times width) and then divide by 20. It's like a big word problem! Also, factor in extra for second coats and touch ups.