Just over a year ago when I published an in-depth post on how I painted my kitchen cabinets, the biggest question I heard from my readers was "how will it hold up?" It always bothered me that I didn't have a first-hand answer yet to that question, and I knew I'd need to do a follow-up someday. So today I'm happy to be back with the long-term results.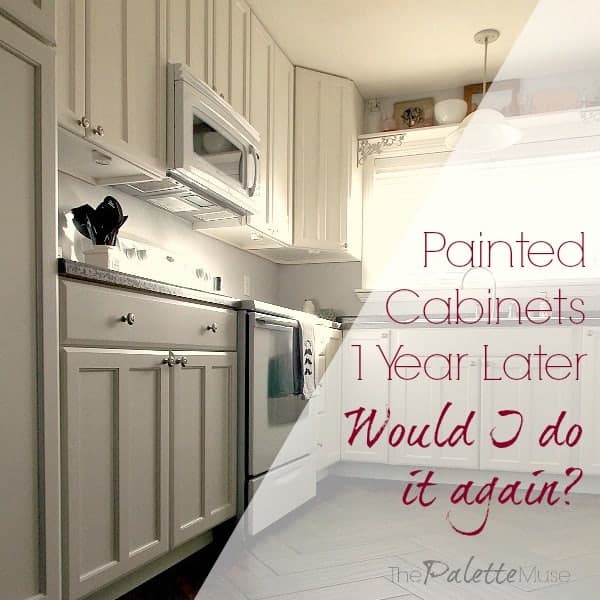
Would I do it the same way again? The short answer is: "YES!"
But since one word does not a blog post make, here are a few more details...
First of all, I can honestly say that (aside from the pile of dishes in the sink) my kitchen is in just as good shape today as it was when I first finished the project. I couldn't be happier with the results, even after a year which included lots of spaghetti spills, blender disasters, and general chaos in the kitchen.
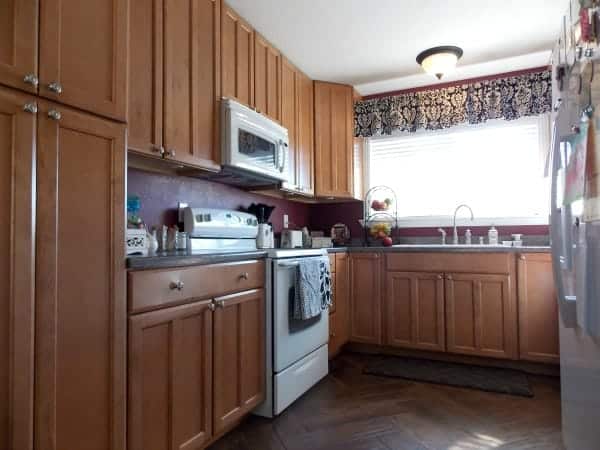
Here's a quick reminder of how the kitchen looked before:
And now after: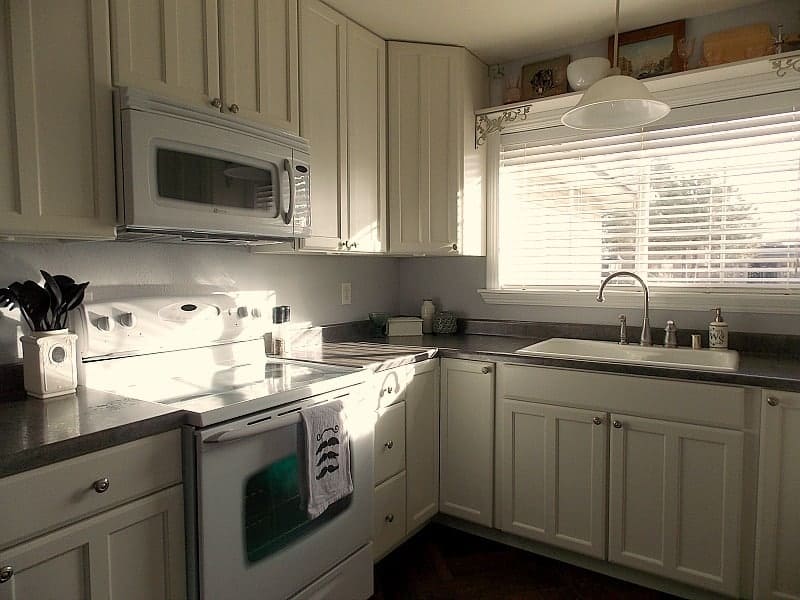
My three favorite things about having painted kitchen cabinets are:
- They're bright and clean looking and really lighten up the room.
- They're super-easy to clean with just a cloth.
- Any small nicks can be easily re-covered with a quick dab of paint.
You can check out my original how-to guide to see the whole project from start to finish, as well as what products I used, but let me just say here that good paint is one of the keys to a long-lasting finish. I used Benjamin Moore Advance, and was so impressed with how easy it was to use and how nice the finish turned out. And now I'm just as impressed with how well it's held up to loads of wear and tear over the past year.
The other key to a durable finish is proper preparation. I know there are all sorts of ways to get around sanding and priming, but I'm a believer in both. After taking the time to do the whole process, I can say that the only spot that has needed touching up of the paint is on the corner of a cabinet door that I didn't sand properly. Bet you can't even see where the repair happened in this photo.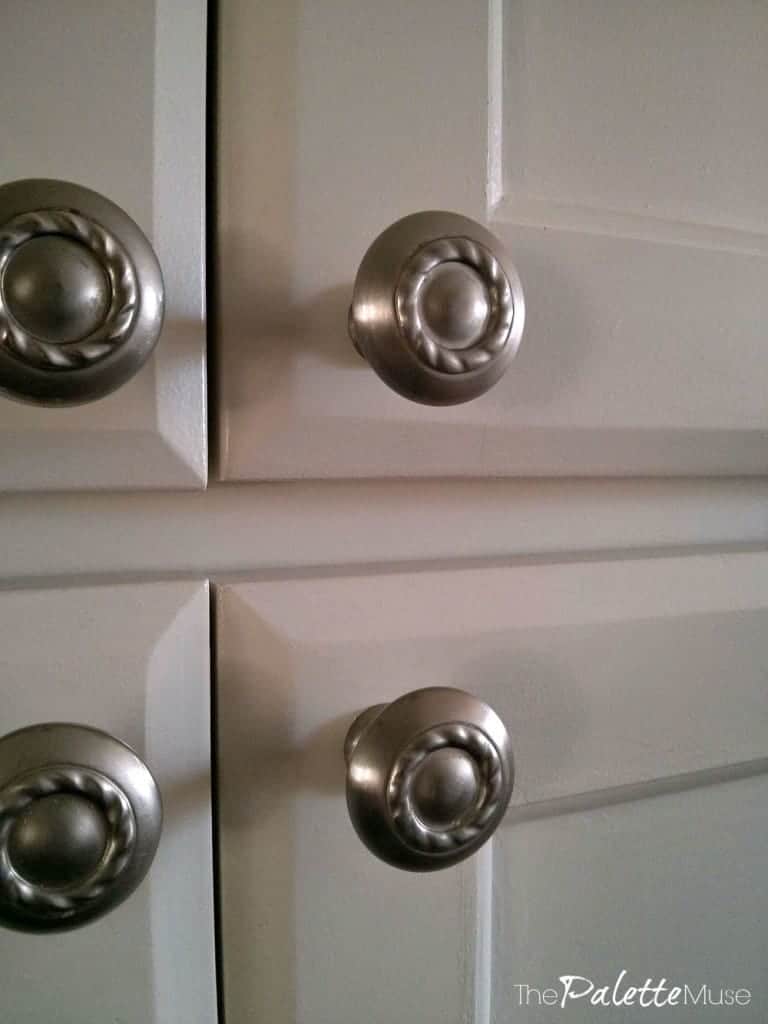
A fourth favorite that's worth mentioning here is the price. For about $160 I feel like I got a whole new kitchen. So if you're wondering if it's really worth it for you to DIY your own kitchen cabinets, I vote yes! I can't tell you it was quick or easy, but I've never regretted a single moment of the whole project, except maybe not having done it sooner.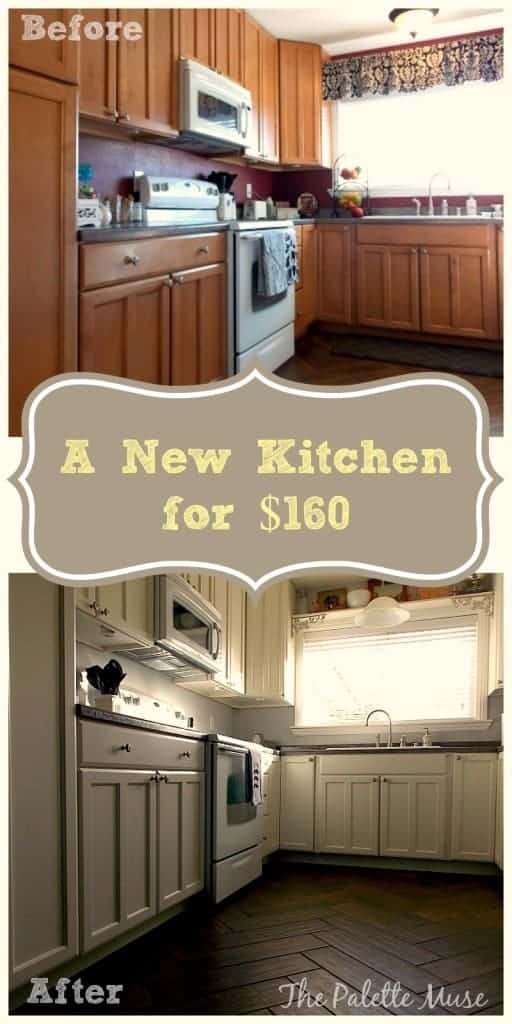
For your own project, check out my complete Kitchen Cabinet Painting Guide, and 13 things I Learned along the way. Also, for more background information, check out this completely updated guide on how to paint kitchen cabinets. Also, see "What NOT to do when painting cabinets" for more context.
In the meantime, here are three quick tips that, even if you take none of my other advice, will help make your cabinet painting project easier.
- Label your cabinet doors using this raffle ticket system BEFORE you remove them.

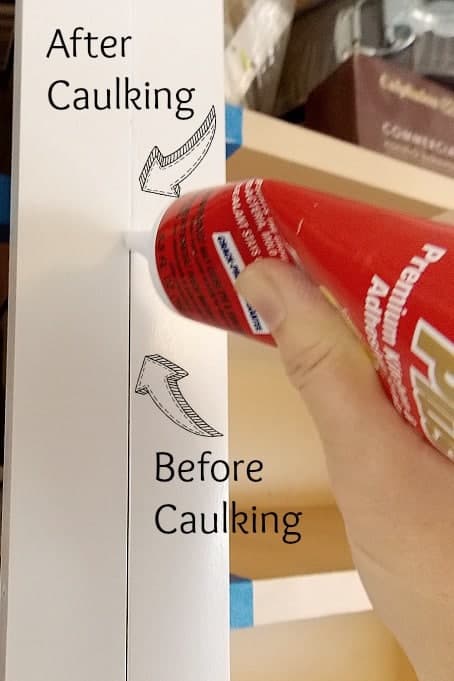
- After the first coat of primer or paint, use caulk to fill in any edges and gaps for a flawless finish.
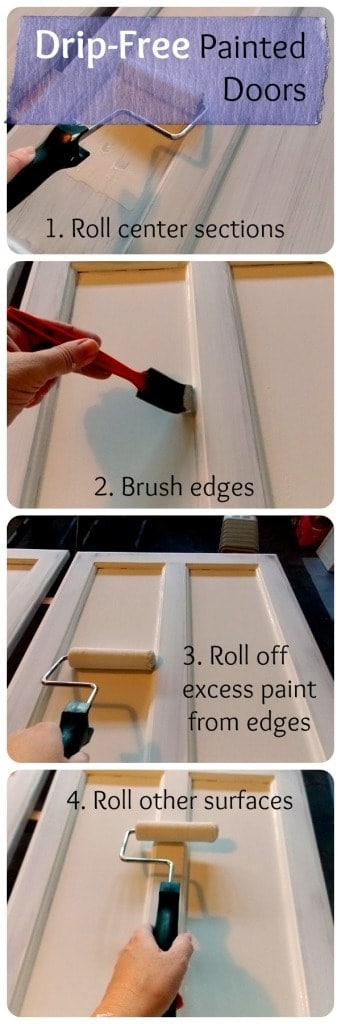
- Paint paneled doors from the lowest surface to the highest, and lay flat to dry, to prevent drips.
KITCHEN CABINET PAINTING SUPPLY LIST:
(Affiliate links included)
- Sandpaper: 100, 200, 320 grit
- Sanding Block
- Orbital Palm Sander and replacement sanding pads
- Paint (I used Benjamin Moore Advance)
- Primer (tinted close to paint color)
- Small Mohair Roller and Handle
- Synthetic Bristle Brush (I actually like the cheap foam brushes)
- Paint Trays (I cover mine with foil, so I don’t have to clean it every day!)
- Microfiber Cloths
- Rubbing Alcohol
- Drop Cloth or Floor Coverings
- Blue Painters Tape
- Krud Kutter
- Screwdriver for removing hinges and knobs
- Caulk or Wood Filler
I wish you the best of luck with your own kitchen cabinets, and let me know if you have any questions!
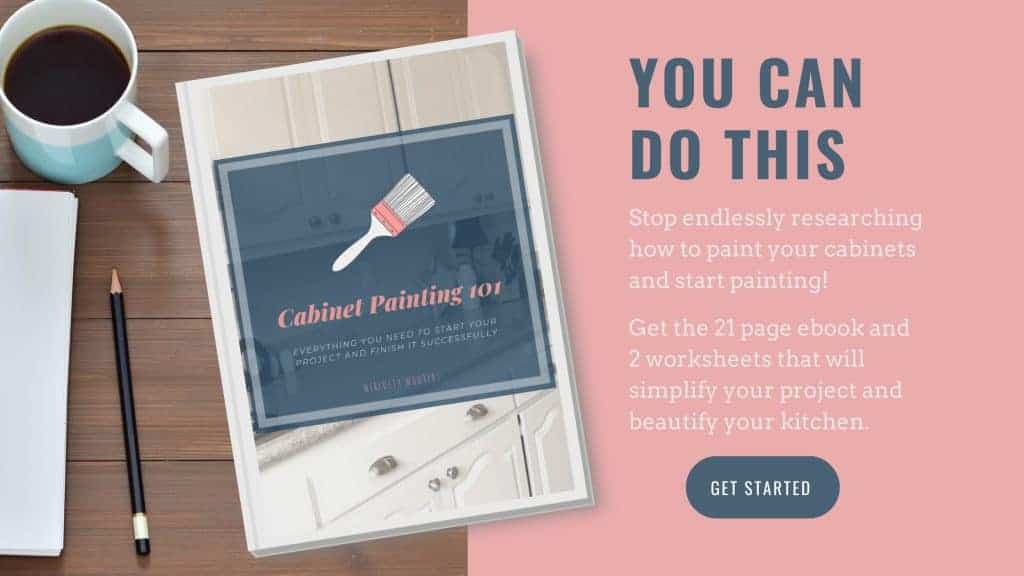
P.S. I've had so many questions about cabinet painting, I decided to write a book! Check it out if you're tired of scrolling and googling, and still wondering how to get started on your project:


rachel621 says
It's already been a year?! Man, time flies. Glad to hear that you are still in love with it! Painting can be a risk and I remember how excited and nervous you were. They are beautiful. What is your opinion of painting a piece of higher end furniture? I know your not a marriage counselor (lol), but my husband is very opposed to me painting a huge wall unit Hooker Entertainment Center and a coffee table we bought off of Craigslist recently. We bought them for about 5-8% of original purchase price and he knew my plans before we ever saw them. He was fine with it at first but is all grumble, grumble now. They don't match the room I had envisioned but I think he has grown attached.
Meredith says
Rachel your comment about marriage counseling cracked me up! When I was a designer, I used to claim that half my job was actually mediating between couples who wanted different things. My opinion is based partly on the worth of the piece. Hooker could be even more valuable someday, but less so if it's painted. But that's all in the future and you don't want to put your life (or decor) on hold for something that may or may not ever come to be. How's that for an ambiguous answer?! You should love your home regardless of the monetary value of the pieces in it, so if you can come to agreement on it I say go for it! But don't tell him I said that. 🙂
jacquiegum says
Hard to believe it's been a year! They still look fabulous, but I am not surprised, knowing the research you out into your projects. By the way, good tip to label with a raffle ticket system. I learned this the hard way with library shelving. LOL Great follow up
Meredith says
Thanks Jacquie! That makes sense that the same labeling concept would apply to shelving as well. Talk about a jigsaw puzzle!
Carole West, Garden Up Green says
Agree Looks Fantastic! The white even made your floors look new. Great tips and I like the follow up, excellent idea.
Meredith says
Thank you Carole!
Val @ Love My DIY Home says
Your kitchen is beautiful. I would love a white kitchen - you did a great job!
Meredith says
Thanks Val! I have loved having a white kitchen!
Born To Organize says
It's beautiful!
Ironically, we went from painted cabinets to natural, stained cherry when we remodeled about a decade ago. I admire your patience and skill in completing this project on your own. And I agree: prep is king.
Meredith says
Oooh, stained cherry sounds beautiful! Maybe if I had started with that, I wouldn't have felt the need to paint!
Sheila says
Thanks for sharing this. It inspires me to paint mine this year! I will read n reread all your posts before I do.
Meredith says
Thanks Sheila! Let me know if I can answer any questions along the way...
Bre @ Average But Inspired says
I am SO glad your cabinets are holding up, Meredith!! Quick question for you - when you touch up any nicks or dings, do you do anything other than brush or roll the paint on? I need to touch up our white cabinets soon and want to make sure I do it the right way! Also, thanks for sharing at our first The DIY Collective party!
Meredith says
Thanks Bre! If you used self-leveling paint you shouldn't need to do anything but dab a little paint on the nicks. If you used anything else, I would lightly sand around the nick first, just so you don't end up with ridges showing through. Does that make sense?
Ashley ~ 3 Little Greenwoods says
I really-really-really want to do this to our orangey oak kitchen cabinets! That you so much for letting us know how they held up and for the awesome step-by-step tutorial for painting cabinets.
Thanks so much for sharing your creativity at the The DIY Collective this week!
Have an awesome weekend!
~ Ashley
Meredith says
Thanks Ashley! It was a lot of work, but so worth it in the end. Best of luck on yours, if you do end up painting them!
Jeri Walker (@JeriWB) says
I loved the original post so much! It's great to see an update. I've told a lot of people (okay maybe three) about your post. One in particular was surprised so much prep work needed to do into the process, and I wasn't surprised. Too many people don't realize what's needed to get a good finish. Your post knocks it out of the park.
Meredith says
Thanks Jeri! That's probably the biggest complaint I get about this method is all the prep work, but it's so worth it in the end!
Johlene@FlavoursandFrosting says
I love how they look - brand spanking new, and much less than you would pay for new ones!
Meredith says
Thanks Johlene! I still feel like I have a new kitchen, even a year later. Thanks for stopping by and commenting!
Susan Cooper/findingourwaynow.com says
Had it really been a year? Seems like yesterday to those of us who didn't have to do the work. Lol. I was wondering how it held up. Still looks as beautiful as day one. Such a huge project, but wow when you state the minimal cost and show what you can do with it....amazing!
Meredith says
Thanks Susan! I know, I can't believe how fast the last year has flown by!
LizB says
Great job! Lots of hard work! My cabinets are red oak stained the 80s honey color. Very sturdy, custom made and beautiful wood grain. My husband doesn't want to paint and I have mixed feelings, afraid the wood grain will show or I won't do a good job and create a mess. We will soon replace our linoleum floor with hardwood. So I'm afraid there will be too much wood. Any advice? Nervous in NC. 🙂
Meredith says
Hi Liz, I know just what you mean! You hate to cover over something that looks and works great, but maybe just isn't your style, when you're not sure you can do better by painting. That's actually how I felt when I started too. My cabinets were in great shape, and people thought I was crazy, but I just really wanted white. I was afraid of making them worse. (Maybe that's why I've been so thrilled with the outcome!) My advice would be to wait and see how they look with the new floors. If it's too much wood, or the colors are clashing (like in my situation) you'll have an easier time taking on the cabinets. But if they look great, then you're off the hook and your hubby gets his way! 🙂 p.s. I've run across a couple of good tutorials online about filling in the wood grain of oak. Try searching for them if you do decide to paint...
Christine says
wow, that kitchen looks soooo amazing!!!!! I what a wonderful job you did!!! I love that you let everyone know how they are holding up after a year!!!!
Meredith says
Thank you Christine! I've had a lot of questions about them, so it seemed easier just to write a whole follow up post. 🙂
Vicky says
What do you do if your cabinets are already painted? Follow the same steps?
Meredith says
Yes, exactly. If your paint is in good shape you can just follow these steps. If your paint is peeling or cracking, you'll need to scrape it and sand it really well to remove most of it first.
Renee Bouffard-McManus says
Did you paint the inside of the cabinet doors?
Kelsey Fisher says
I really appreciate how in-depth your original post about this was, I'm getting ready to paint my cabinets in just a couple months when it's a little warmer here in NW Washington. Yours came out beautifully, hopefully following your careful instructions will help me as well!