Whether it's furniture, cabinets, or wood trim, sanding and prepping is usually a necessary part of getting a good finish on your DIY project. Here are the basics on how to sand and prepare wood properly.
I'm so glad you've joined me for the latest in my DIY Basics series! Today we'll be talking about how to sand wood properly and as easily as possible, an essential first step to most home improvement projects involving paint or stain.
First, let me just admit to you that sanding and prepping is my LEAST favorite part of DIY projects. When facing a new project, I just want to pick up a paintbrush and get to work. I can't be bothered with the behind-the-scenes work that lays the foundation for the fun stuff.
Fortunately, I have a husband and a design partner who won't let me get away with that. They know (as I do deep down inside) that properly preparing a piece for paint or stain is just as important as picking which pretty color you're about to attack it with. So I do it when I need to.
Because of my reluctance to spend time on sanding, I realized I've never written much about the subject. So today I'm going to cover some basic how-to's of sanding and prepping, so you'll be well prepared to take on your next project.

This post contains affiliate links. If you make a purchase, I may receive a small commission at no additional cost to you.
From Grit to Grain - All About Sanding Wood
Sanding serves multiple purposes when preparing wood. It gives you a uniform surface which will help your paint job look smoother and more professional, and it allows the paint or stain to adhere better, which results in a longer-lasting finish.
Here are my steps to properly preparing a wood surface for either stain or paint. (Hint: it's not just about the sanding!)
Clean First
Clean your project's surface first. If there is any residue or grime on top of the wood, you don't want to grind it into the wood grain by sanding.
If you've read any of my painting how-to's, you'll know I love Krud Kutter for this job. It's non-toxic and biodegradable, so it's not as harsh as some chemical cleaners, but it gets the job done amazingly well. (I'm always shocked and dismayed at how much grime comes off my kitchen cabinets.) And it's super easy to use - simply spray on and wipe off with a damp cloth.
Safety First!
Before you start, be sure you won't be sanding paint with lead in it! If the piece you're sanding may be older than 1978, be sure to test first for lead. It's quick and easy with this home lead test kit. If your paint contains lead, you'll need to contact an abatement team to remove it for you. Or you can decide not to sand, and use this painting method to paint over it safely.
Pick your Grit
In general, the rule is to start with coarser grit sandpaper (smaller numbers like 80 or 100) and move to finer grit (larger numbers like 220). For most basic wood prep, you can get the surface ready for paint with 80 to 120 grit sandpaper. The finer grit sandpaper is better for in between coats, to get a smooth finish.
Go with the Grain
(Yes, this is where that saying comes from!)
Sanding in the direction of the wood grain helps prevent marks from the sander, and keeps the microscopic wood fibers lined up with each other, which gives you a smoother finish. To sand in the direction of the grain means to make your sanding strokes follow the natural lines in the wood.
Fill In
Fill in any holes, or wood knots, or cracks with wood filler and a putty knife. Put a dab of wood filler on the blemish and pull the putty knife at an angle over it to press the filler into the hole, while leveling the surface.
Then sand again to get an even surface between the wood and the filler. You can get wood filler in different colors if you'll be staining, but if you're painting over it, the color won't matter.
Get the Right Tools
Make your life easier with the right sanding tools. Here's what I keep on hand for a variety of projects:
- Variety pack of sanding sheets. These are great for getting into small spaces or tackling a quick clean up. The variety pack is also an easy way to try out different grits to see which one works best for your particular project.
- Sanding sponges. I use these all the time. I love how their edges flex to get into small spaces, and the flat sides cover larger areas. This is my go-to sanding tool for prepping smaller pieces of furniture.
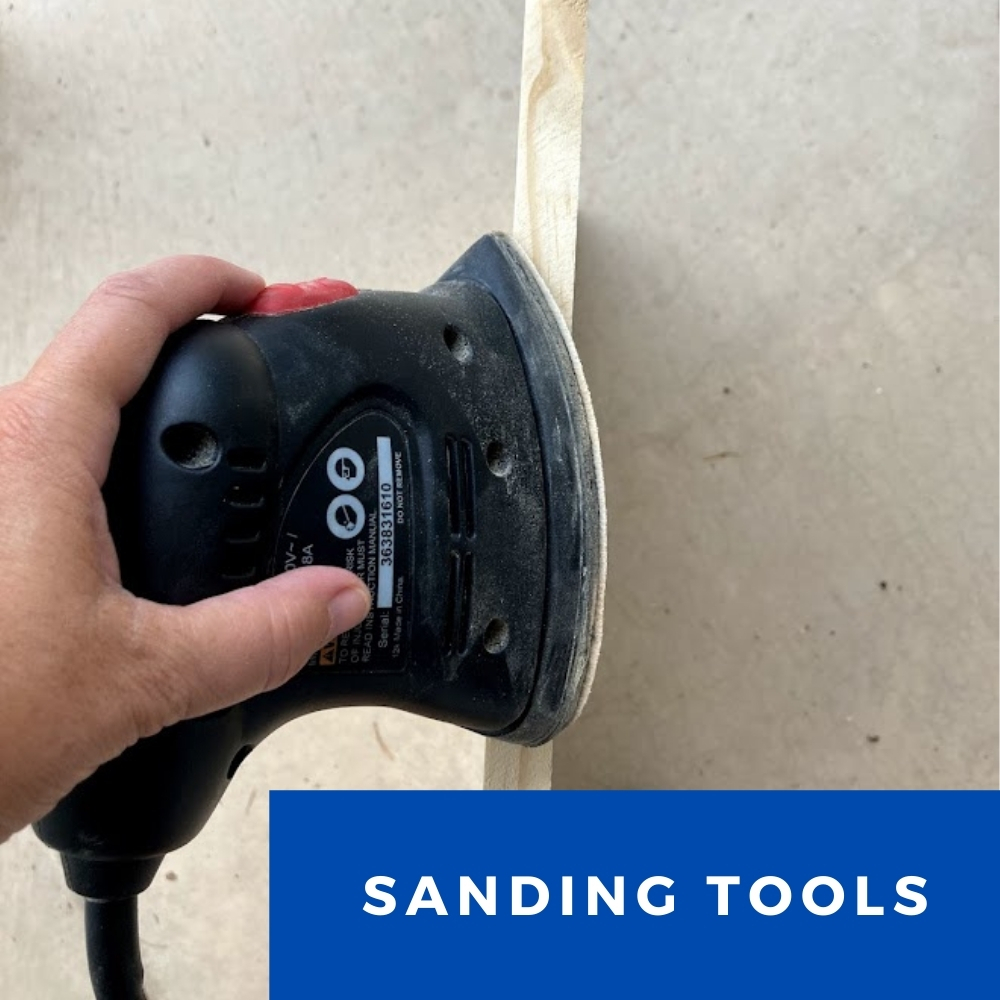
- Electric detailing sander (sometimes called a mouse) and sanding pads in a variety of grits. I got mine at Harbor Freight, but it's very similar to this simple detail sander. I like the point on the detail sander for getting into tight corners.
- If you are doing a larger project, you might want a larger orbital sander to cover bigger spaces at a time.
Clean Again
Once you've done all that messy sanding, you'll need to clean up well before opening your paint or stain. Otherwise, sanding dust can gum up your products and derail your project. Vacuum your wood pieces and workspace well to collect any leftover dust, then gently wipe your wood surface down to collect the sanding dust off the surface.
You can use a very slightly damp cloth for this part, or a tack cloth to do the job. Water is sufficient for most projects, especially if you plan to stain the wood because it will slightly raise the wood grain temporarily. However, for painting projects, it might be safer to use the tack cloth and not introduce any water into the wood grain. Otherwise, you might get bubbling in your paint as any humidity from the wood escapes through the paint.
Personally, I live in the desert, so I go for the damp cloth and just keep the water to a minimum and allow a few minutes for sufficient drying before painting the surface.
Do I really need to sand first?
Now that you know how to do it, maybe we should touch on the question of whether you really need to sand before starting your project. And the answer is: it depends.
That sounds complicated, but let me make it simple for you. If you are using this process for painting wood, you do not need to sand first. (But you do need to clean first!) If you are staining the wood or using more traditional paint products, then you'll need to do some basic sanding and prep first, as detailed above.
At the very least, you need to start with a clean, dust-free, and grime-free surface. Secondly, when you paint over something (anything really), your paint will change the color of whatever was there before, but it will not change the texture.
In other words, if you are painting over a previous lumpy paint job, your new paint job will come out looking lumpy too. You can fix this by sanding off the previous layers of paint first, and starting with a fresh, smooth surface for the new paint.
When in doubt, sand first. You can't go wrong by overpreparing and it sure beats going back and starting over later!
Now for the Fun Part: Paint
Once you've gotten through the sanding, you're ready to take on the pretty stuff, like paint or stain. But first check out this comprehensive post about the best way to paint cabinets and furniture for everything you'll need to know before moving on to that step.
DIY Basics Series
If you found this article helpful, be sure to check out my other posts in this series:
- How to Hold a Paintbrush
- How to Measure Square Footage
- How to Use a Screwdriver (yes, really!)
- What NOT to Do when Painting Cabinets
I love to hear from you! If you have any questions about sanding or wood prep products, let me know in the comments below and I'll get back to you.
Happy sanding!


Leave a Reply