It’s finally here – reveal week of the $100 Room Challenge! I have to admit, there were a few moments along the way that I questioned whether I would get this one done. You would think that a whole month would give you plenty of time to finish a project that only includes painting closet doors, painting bookshelves, and a little stenciling. But like me, you would be wrong. The optimist in me always thinks projects are small when I get started. Then the procrastinator takes over, telling me I’ve got plenty of time to get it done. Then reality hits and the work actually gets done, usually a little behind schedule and with a little more stress than I had planned. But all’s well that ends well, and I think this one ended pretty well.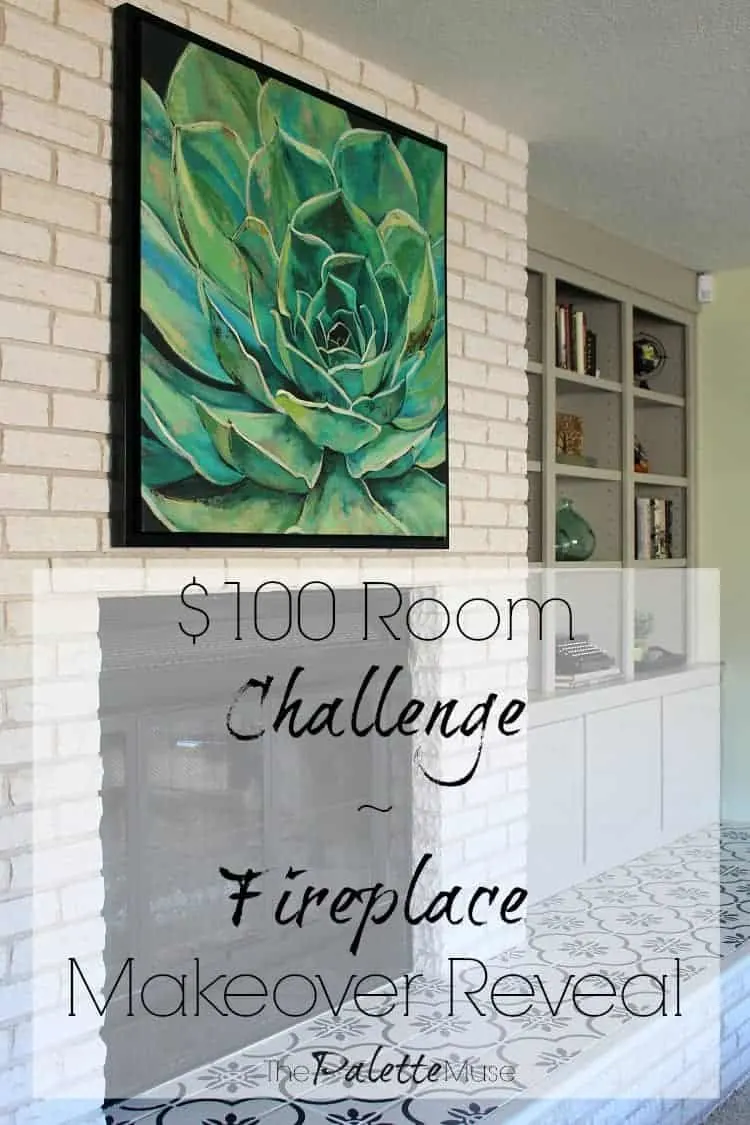
When we first bought this house, I looked at this wall in the den and thought, “I’m pretty sure I can do something with that.” But I wasn’t sure what that something would be, until it came time for this challenge.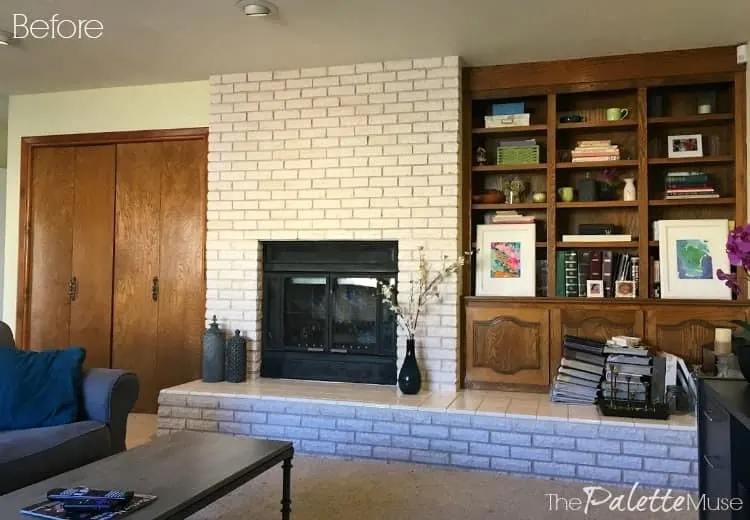
~ This post contains affiliate links. If you make a purchase, I may receive a small commission at no extra charge to you. Thanks for supporting The Palette Muse! ~
$100 Room Challenge Family Room Fireplace Makeover
If you’re new to the $100 Room Challenge, you can see where it all started on Lemons, Lavender, & Laundry. Erin had an amazing idea and it’s blown up into a whole thing. I love it because I get my projects done, and my husband loves it because I have to stick to a strict $100 budget.
You can see the first few weeks of my challenge here:
Week 3: Painting Bookshelves & Cabinets
And now, without further ado, let’s look at some pretty pictures:
$100 Room Challenge Family Room Photos
This wall’s dark orange-y wood brought down the mood of the whole room. I decided to lighten it up by painting the wood in “Ashen Gray” by Valspar. I’ve fallen in love with this color! It’s the perfect warm gray, without turning beige.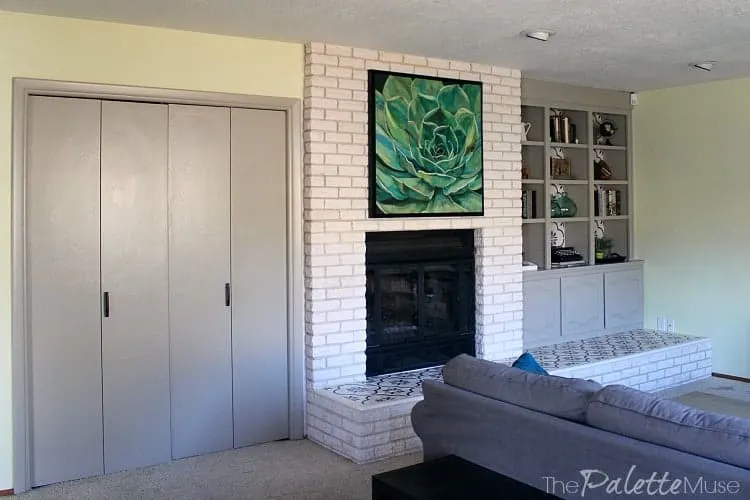
That immediately helped to open up the space visually, but then I was left with these tiles on the hearth that I don’t like. They were a glossy white 6×6 and just didn’t have much style. I thought about re-tiling, but that would have blown my budget. So I decided to stencil over the tile for a patterned concrete tile look.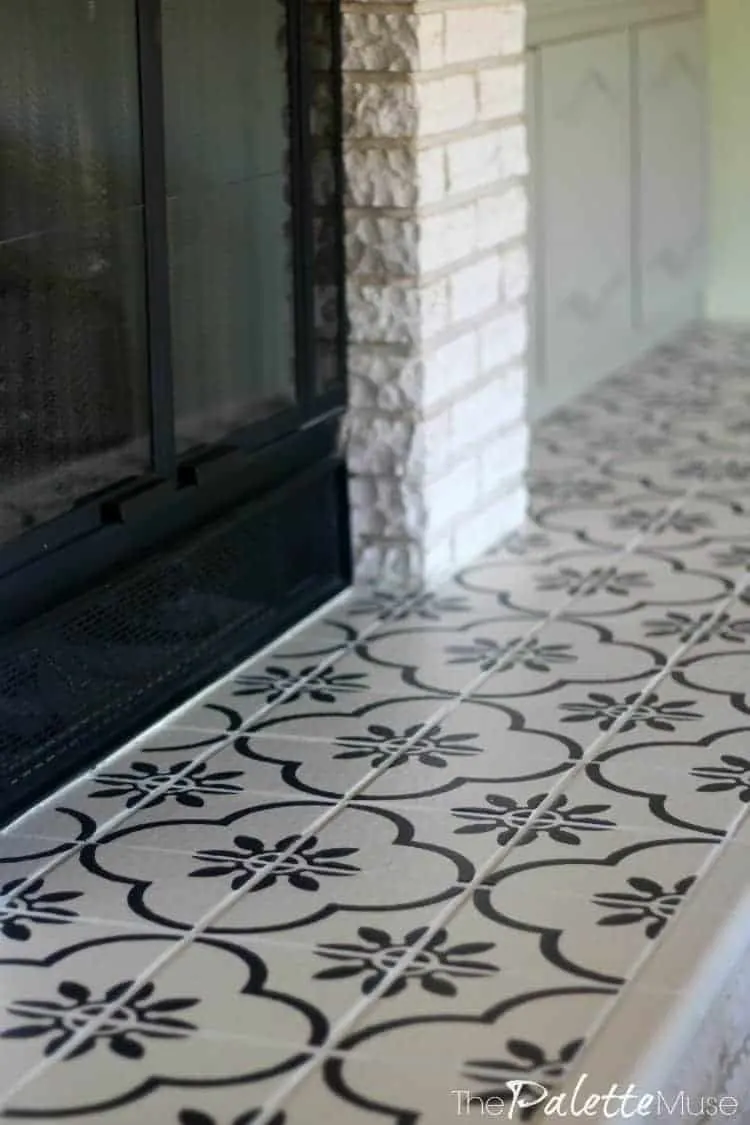
Y’all, this was WORK. Maybe because I’m a perfectionist, maybe because I’m just a slow stenciler, but this project just about did me in. I shared the lessons I learned along the way in this tutorial, if you’re thinking of trying this. It’s totally do-able, but I may have slightly underestimated how much work it would be. Oh well, it was totally worth it in the end, and I’m thrilled with the results.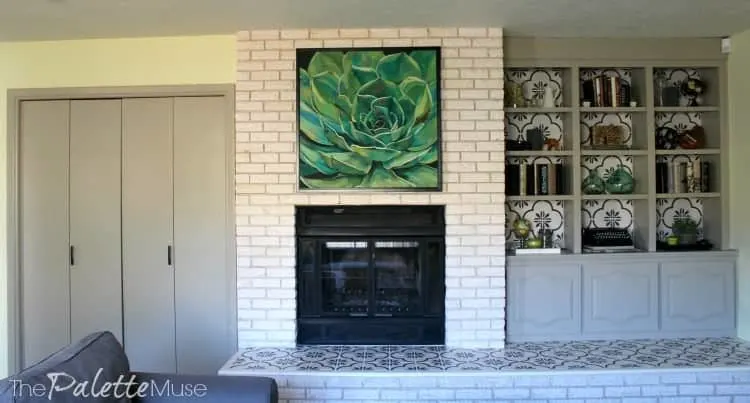
I think that stenciling the tile hearth and carrying the same pattern onto the back of the bookshelves really helps tie the whole wall together, and it tones down the choppy white brick of the fireplace. Now it all looks intentional and the pattern keeps your eye moving towards all the fun odds and ends I’ve collected on my bookshelves.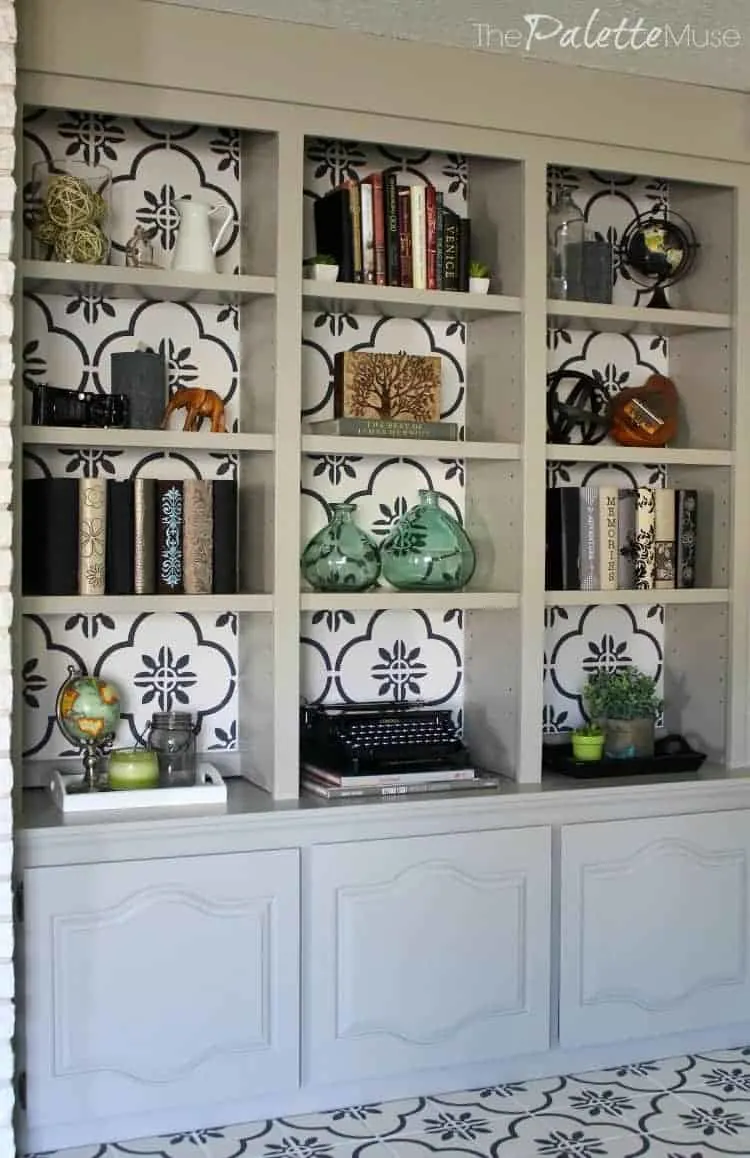
Speaking of which, I’m just going to come out and admit right now that it took me almost as long to style these shelves as any other part of the project. Maybe once I’ve recovered from the pain, I’ll put together a bookshelf styling tutorial to capture what I learned here.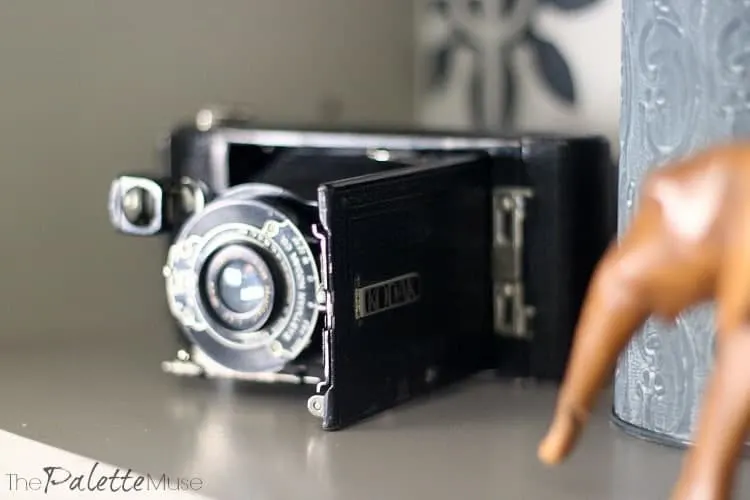
I’ve collected a few treasures that I knew I wanted to display, and I’m so happy they finally have a home where they bring a smile to my face every time I look at them.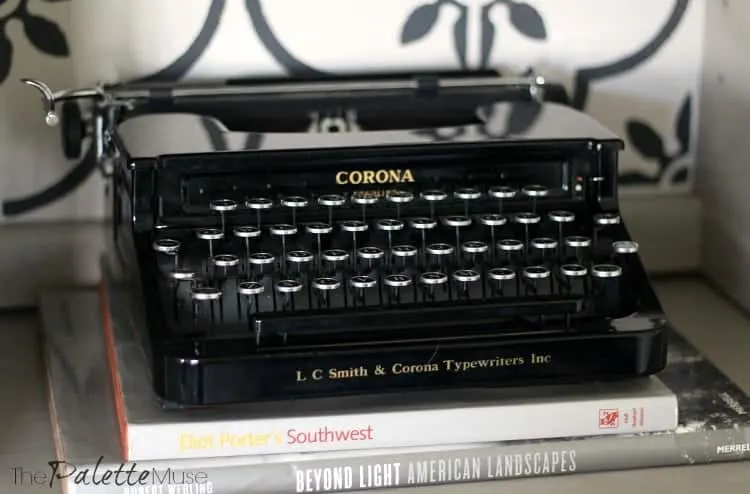
Stepping outside the family room for a minute, here’s the view before from my dining room: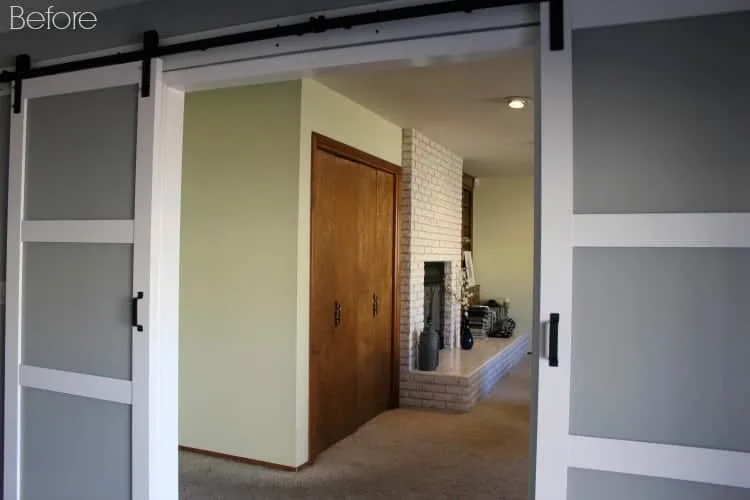
And here’s the after. Much better. Those barn doors deserved a better view.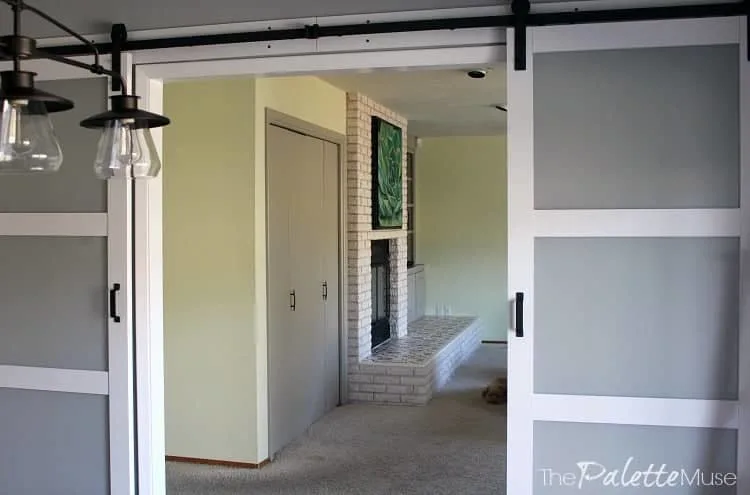
Budget Breakdown & Resources
Now this room has a fabulous fireplace wall, organized cabinets, and pretty decor, but in doing this project I’ve realized I really need a different color on the walls. And new flooring. And new baseboards.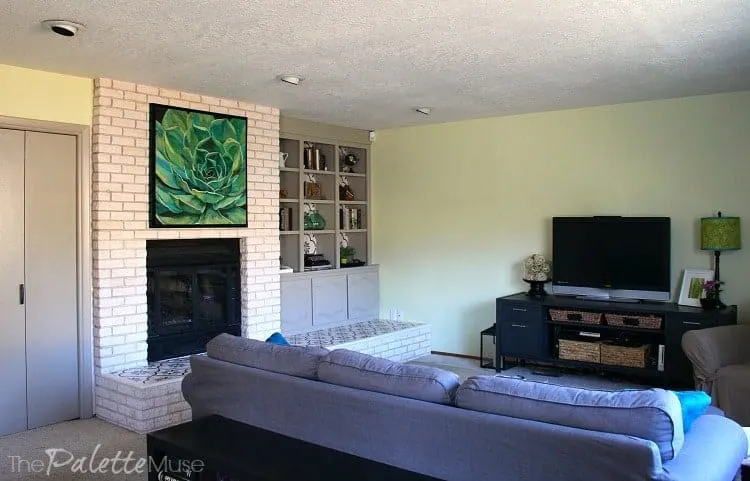 Good thing I only spent about $100 on this wall, because the rest of that stuff is not going to be cheap!
Here’s how my budget worked out for this project, along with links to find similar products:
Primer & Paint for closet and shelves – $0 (leftover from other DIY projects around the house)
Closet Hardware (door pulls and hinges) – $20
Paint for stencil (DecoArt Chalky Finish in “Everlasting” and in “Relic”)- $12
Tile Stencil & Brushes – $21
Polycrylic – $18 (because I lost mine halfway through the project. Who does that?)
Painting over fireplace – $20 garage sale treasure
Decor (glass vases & potted plant) – $20 from Homegoods
Grand Total – $111
Darn it, I would have come in under budget if I hadn’t had to buy more Polycrylic. I had a whole gallon somewhere in my garage, but when it came time to use it, I just couldn’t find it! So I had to buy more, just to use a few ounces. Still, $111 isn’t half bad for such a big project. I’m going to call that close enough.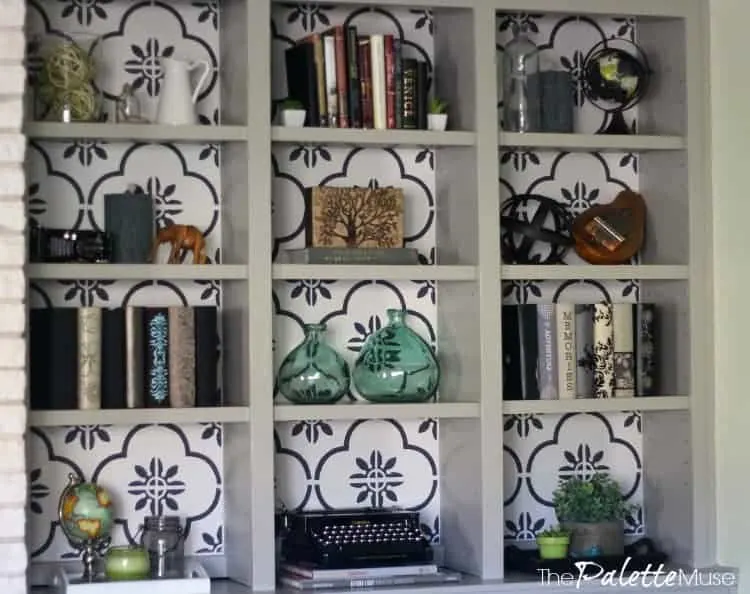
Now I’m off to sit on my couch and enjoy the view, while brainstorming what room I want to take on for the next $100 Room Challenge. In the meantime, check out all the other amazing reveals to inspire you in your own projects!

Kim Laville Carter-Young
Saturday 24th of February 2018
Meredith, I love EVERY single change in here! Lightening the wood made such a big difference in there - bravo!
Meredith
Tuesday 27th of February 2018
Thanks Kim! It's amazing what a little bit of paint can do!
wendyduffy
Friday 23rd of February 2018
Meredith I am so impressed with what you did! The tile is by far my favorite. Amazing job!
Meredith
Tuesday 27th of February 2018
Thank you Wendy! (It's my favorite too!)
Morgan
Wednesday 21st of February 2018
This looks awesome! I love the new colors and the tile is so prettty! What a great idea to stencil the back of your bookcases too! It’s such a stylish wall now! Your styled shelves look gorgeous! Awesome job!
Meredith
Tuesday 27th of February 2018
Thank you Morgan! It was a lot more work to carry the stenciling up the back of the bookcases, but I think that's what gives it that extra sense of style!
Kelli
Thursday 15th of February 2018
It looks amazing. The print on the wall really makes the space pop. And you are right; adding the stencil behind the bookcase kept the eye moving. I don't know if I have the patience to stencil after reading this and others who have also did this. So beautiful though.
Meredith
Wednesday 21st of February 2018
Thanks Kelli! This may have been my last stencil project too. At least until I forget how much work it was!
Melissa
Friday 9th of February 2018
All your hard work was so worth the effort! It turned out amazing - your room looks completely different!! I love it.
Meredith
Wednesday 14th of February 2018
Thanks Melissa! I had my doubts along the way, but it was totally worth it!