Between painting my kitchen cabinets and remodeling an entire house to sell, I've had enough of big projects for a while. So today I thought I'd share a super fast and easy up-cycle. I was at Target the other day (not an uncommon occurrence) and found these fabulous placemats on clearance.
I looked at them for a minute, thinking "I don't really use placemats." But I was sure they needed to come home with me anyway. Once I got home, I realized they were the perfect size and pattern for adding a little much-needed color to my couch. Now I just had to figure out how to refashion them into pillows, which turned out to be much easier than I thought. Read on to see how...
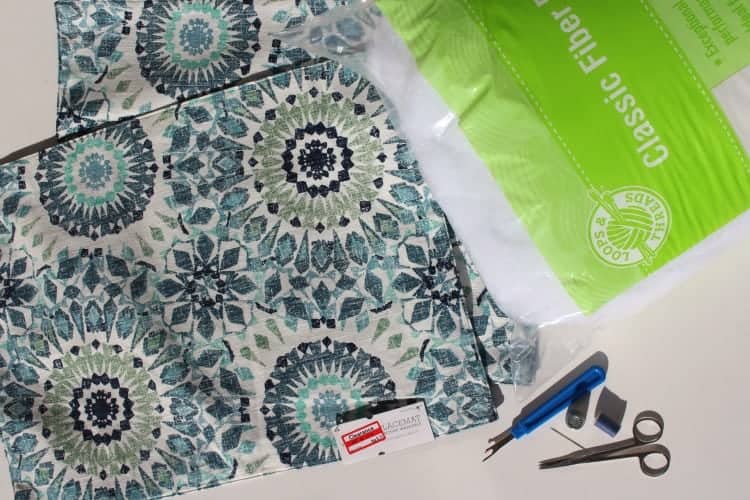 Ingredients:
- Double sided fabric placemat. Be sure the placemats are made from two pieces of fabric sewn together around the edges.

- A seam ripper.
- Fiber Fill. Each standard size placemat will take about 10 oz. of fill to make a full pillow.
- Needle and thread. The thread should be a coordinating color to the front and back of the placemat.
Placemat Pillow Instructions:
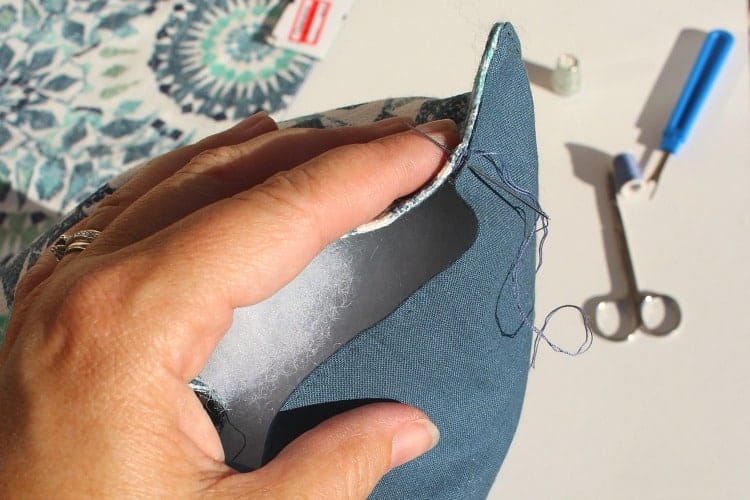
- Decide which way you want your pillow to be facing. (Some have directional designs or patterns.) Use the seam ripper to gently cut and pull several stitches out along one of the bottom edges of the placemat.
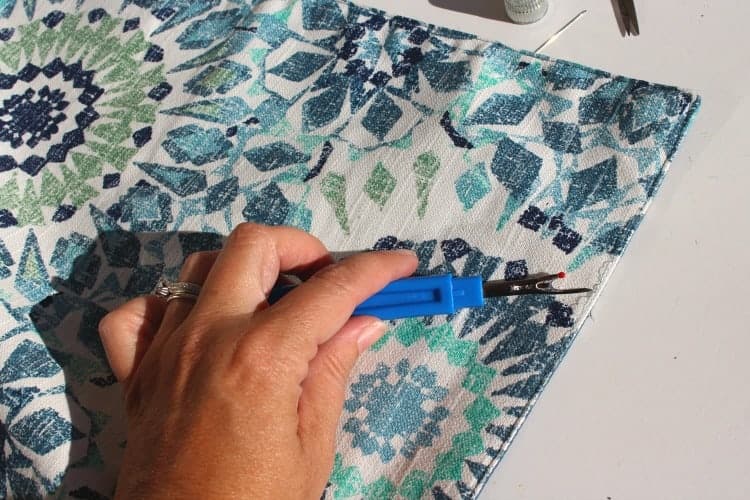 You want to have an opening of about 3 inches. (You can do a larger opening to make the stuffing process easier, but then you'll have to sew more at the end, and as a general rule I try to sew as little as possible.)
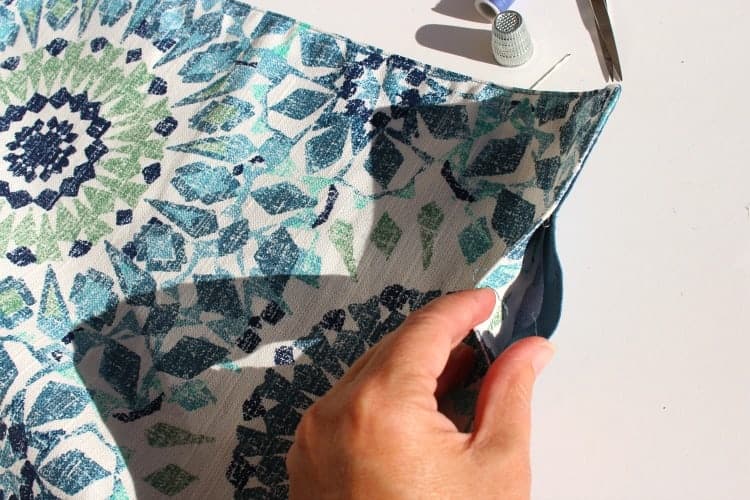
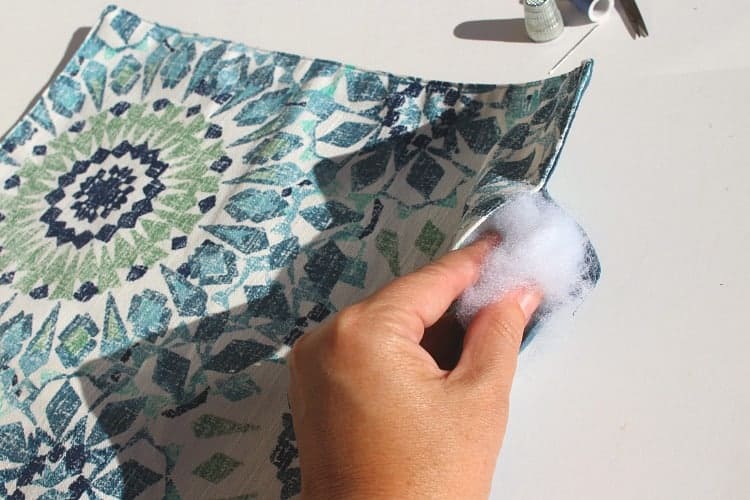
- Pull apart small chunks of the fiber fill and stuff them into the opening. As you're stuffing, be sure to work the filling down into the far edges of the pillow. Keep stuffing until the pillow feels full and fluffy. You'll want to use plenty of stuffing, so it will keep its shape over time. (My kids take the term "throw pillow" very literally, so I need my pillows to be well-stuffed.)
- Now simply sew up the opening, using a simple stitch. I know almost nothing about sewing, so I'm sure there's a name for this stitch, but I just call it the in-and-out stitch. In one side and out the other.
 Make sure you overlap where the original stitching was, so that it doesn't unravel over time. It doesn't have to be perfect if your thread color coordinates well with your fabric.
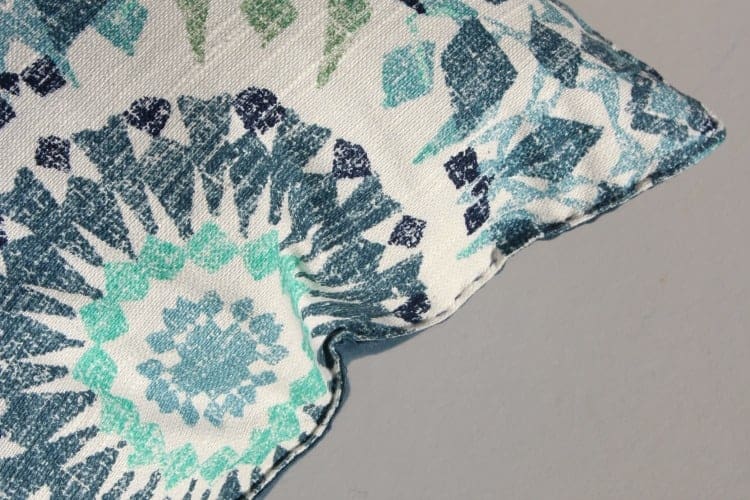
That's really all there is to it!
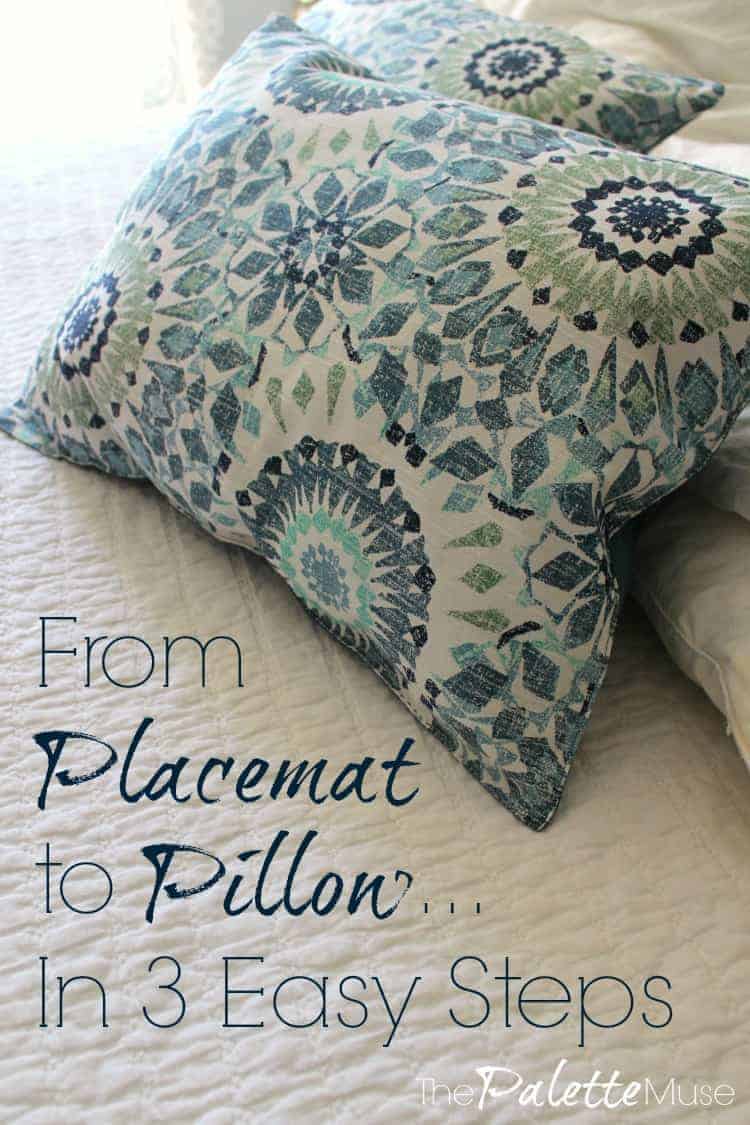
The size of the placemat turns out to be the perfect shape for a lumbar pillow or throw pillow.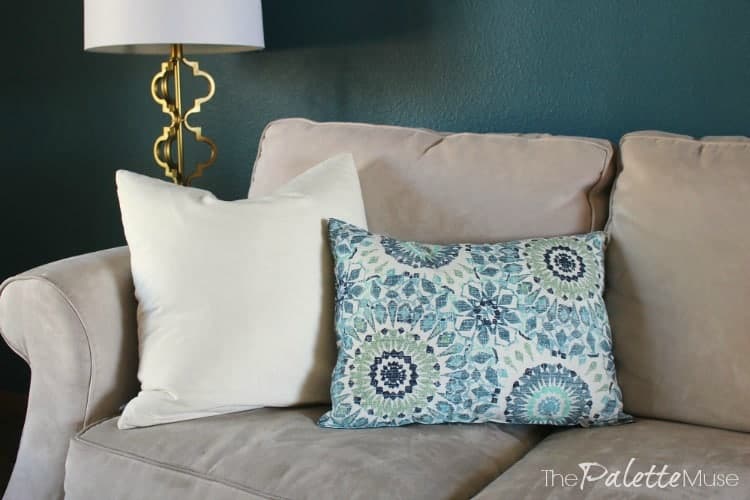
Oh, and did I mention the total cost for both pillows was under $9.00?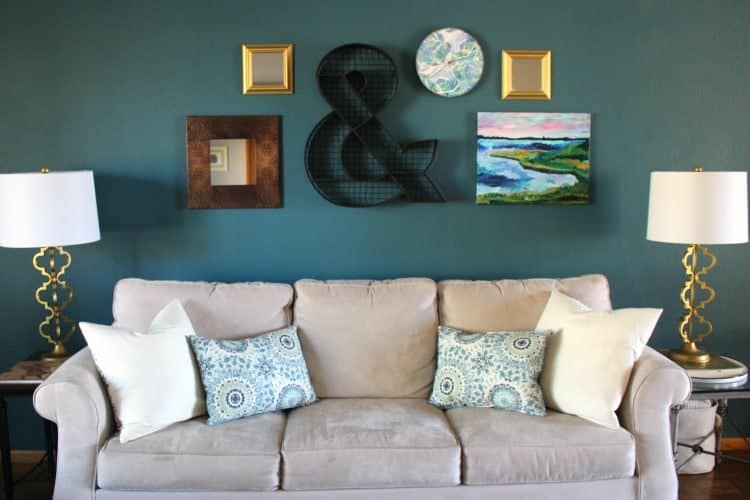 It's hard to beat that price, even if you do have to put in a little work to get there. Now you can happily buy up all the clearance placemats you want, knowing they don't have to live the rest of their lives in the dark recesses of your table linens drawer.


Sandey says
Fabulous! Always love to see what you are up to. 🙂
Meredith says
Thanks Sandey, your kind words always make my day!
Maureen Blair says
So clever and easy! What's the name of that fabulous teal wall color? Thx!
Meredith says
Thanks Maureen! It's "Perfect Storm" from Valspar, which you can get at Lowes.
Alana Dawson says
Heading to Target right now. Fingers crossed for some clearance placemats!! What a terrific and easy tutorial Meredith!
Meredith says
Thanks Alana! Good luck on your search! Even if you can't find these, they always have such pretty things...
Jeri Walker (@JeriWB) says
Oh my, making pillows out of placemats never would have occurred to me, but what a great affordable idea to give a try one of these days.
Meredith says
It wouldn't have occurred to me either, if I hadn't had to find an excuse to buy those pretty placemats!
Andy says
When you have a pillow fight, you don't want to use just any pillows, you want pillows with style! Now you're all set. 🙂
Meredith says
That's right! If you're going to have a pillow fight, better have one in high style!
loveyoumoredesigns says
These are lovely, I make them all the time. I started making them last Christmas around this time. Kathleen Charm Bracelet Diva {at Home}
Meredith says
Thanks Kathleen!
Elena says
You are so smart. How simple to make throw pillows. Thank you so much.