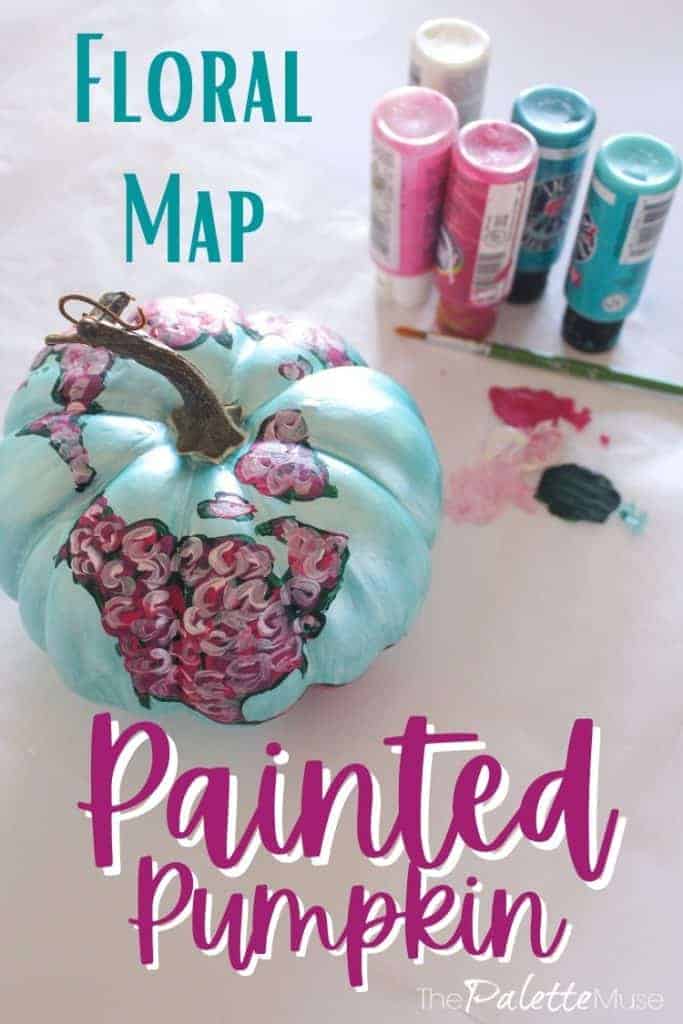
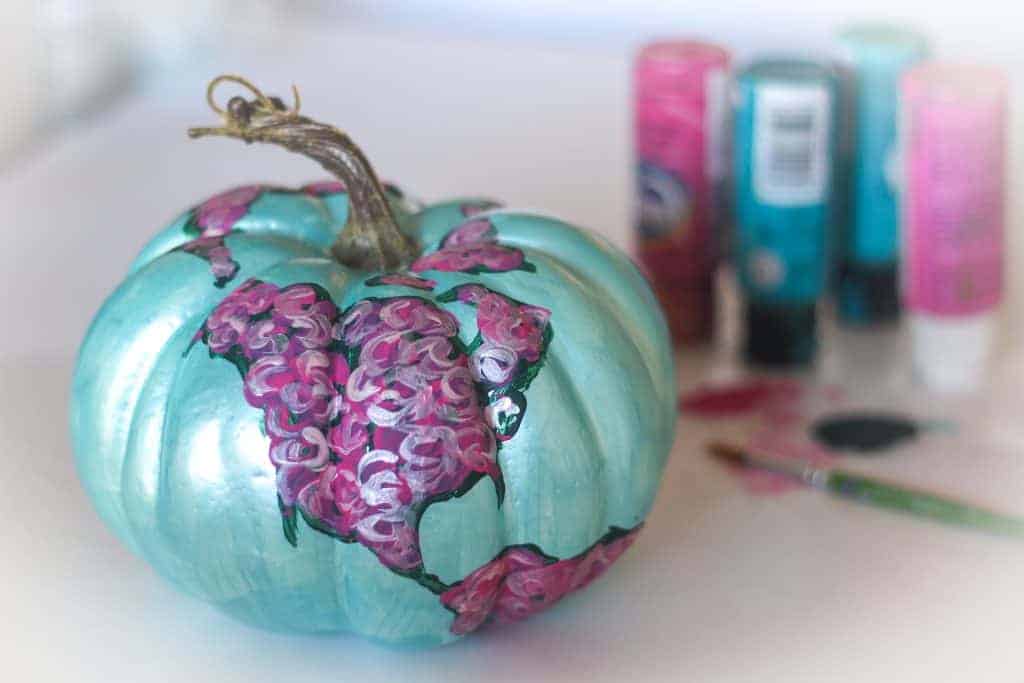
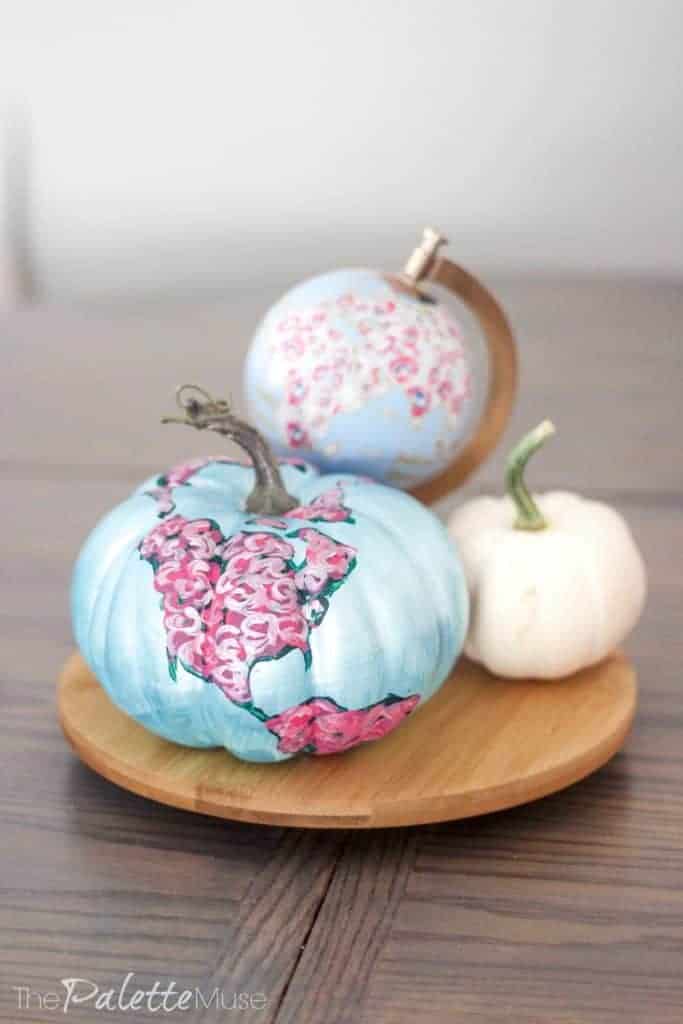
This floral map painted pumpkin is easy to make, and so much more colorful and fun than your average jack-o-lantern.
I love Autumn, but I don't love orange. It's a dilemma I face every year when I want to decorate for Fall and I'm left with neutrals if I don't want orange and browns.
(Nuthin' wrong with orange and browns. They just don't quite fit my home decor.)
I've stocked up on several white, cream, and tan colored pumpkins and assorted Fall decor over the years, which I love. But this year I thought it was time to try something different.
I love color, and I always want more of it in my life. So I decided to splash a little more color into my decorating with this new painted pumpkin project.
This post contains affiliate links. If you make a purchase, I may receive a small commission at no additional cost to you.
Floral Map Painted Pumpkin
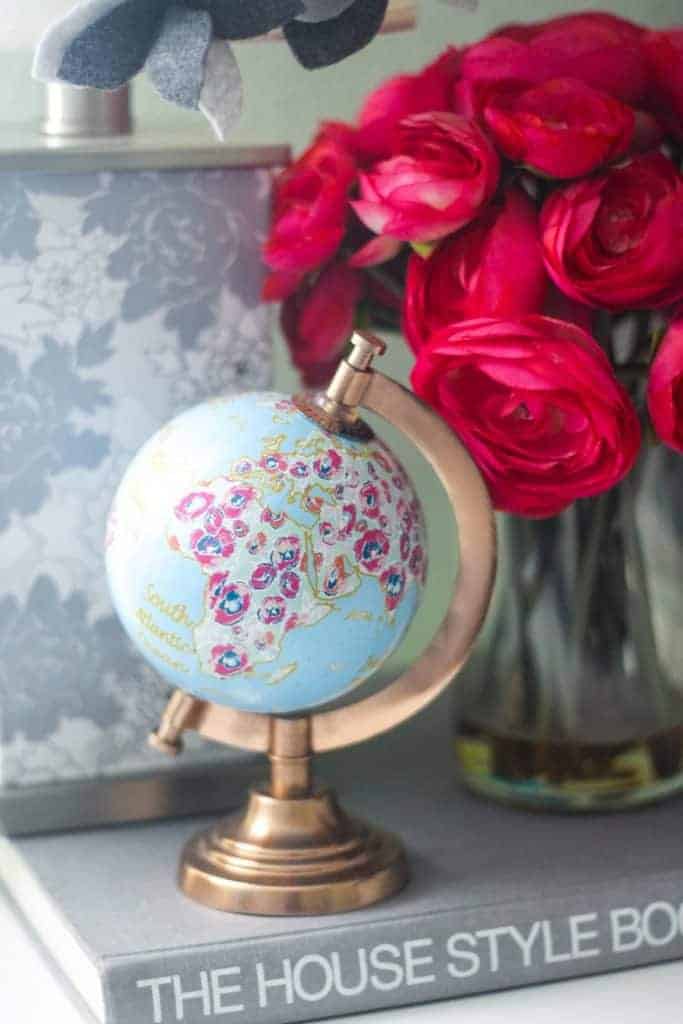
This little guy was inspired by the floral map mural I painted in my office a couple years ago, as well as a cute little globe I bought at Target. Since I didn't feel I had enough floral maps in my life yet, I decided to try putting one on a pumpkin!
How do you paint a pumpkin?
It's easier than you might think to paint on a pumpkin. I chose to use a craft (faux) pumpkin, so it would last longer than the sad, squishy jack-o-lanterns of after-halloween demise. But you can also use the same acrylic craft paint on a real pumpkin.
And you can use any pumpkin painting design you'd like, but for this tutorial, we'll be painting an abstract floral map.
Pumpkin Painting Supplies
This is about as simple as it gets. For a painted pumpkin, you'll need:
- A pumpkin, at least 6 inches around. (Craft pumpkins will last forever but you could also use a real pumpkin if you like.)
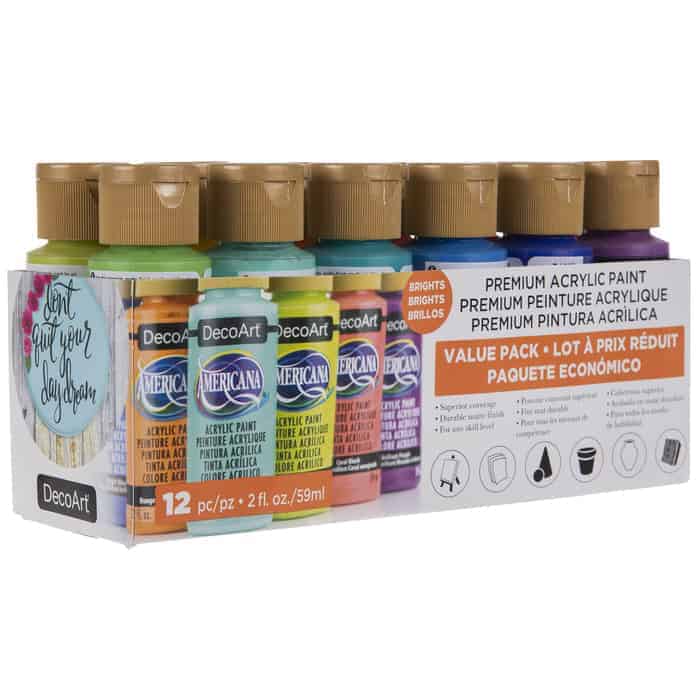
- Acrylic craft paint in four colors. (I have loads of leftover paint, so I just rummaged through my kit. If you're buying paint, I recommend DecoArt, and you'll want blue, green, dark pink, and light pink.)
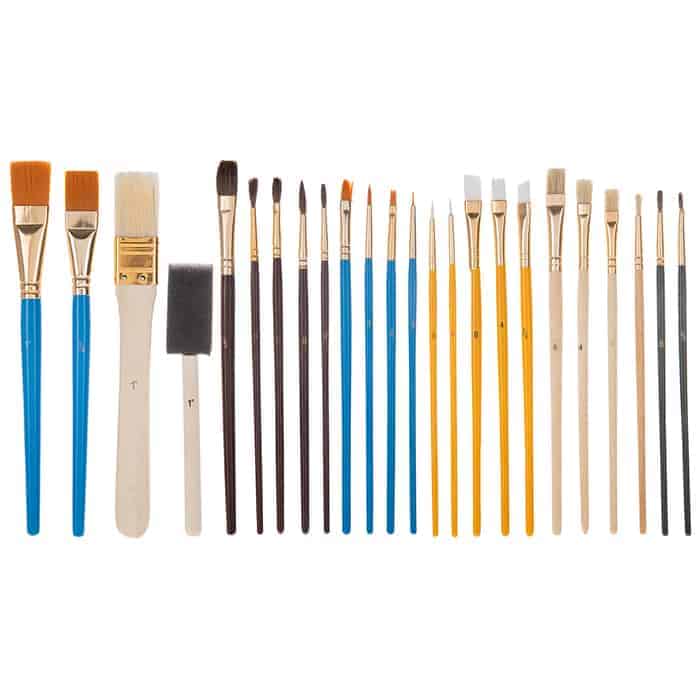
- Paint brushes. (I used a 1" for painting the background and a finer tip for painting the continents.)
How to Paint your Floral Map Pumpkin
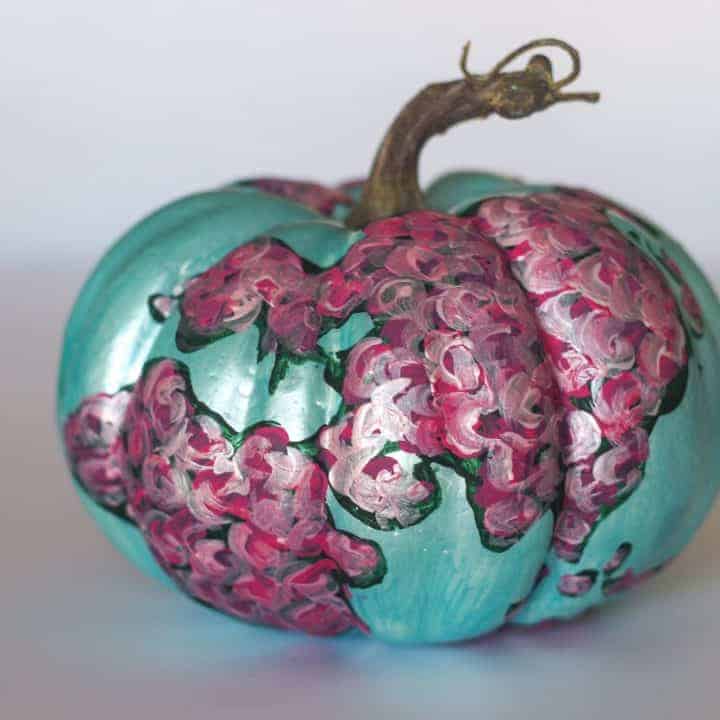
First, paint the background blue. Just slap that paint on and have fun with it. You may need a second coat if the paint looks streaky or blotchy. Let dry.
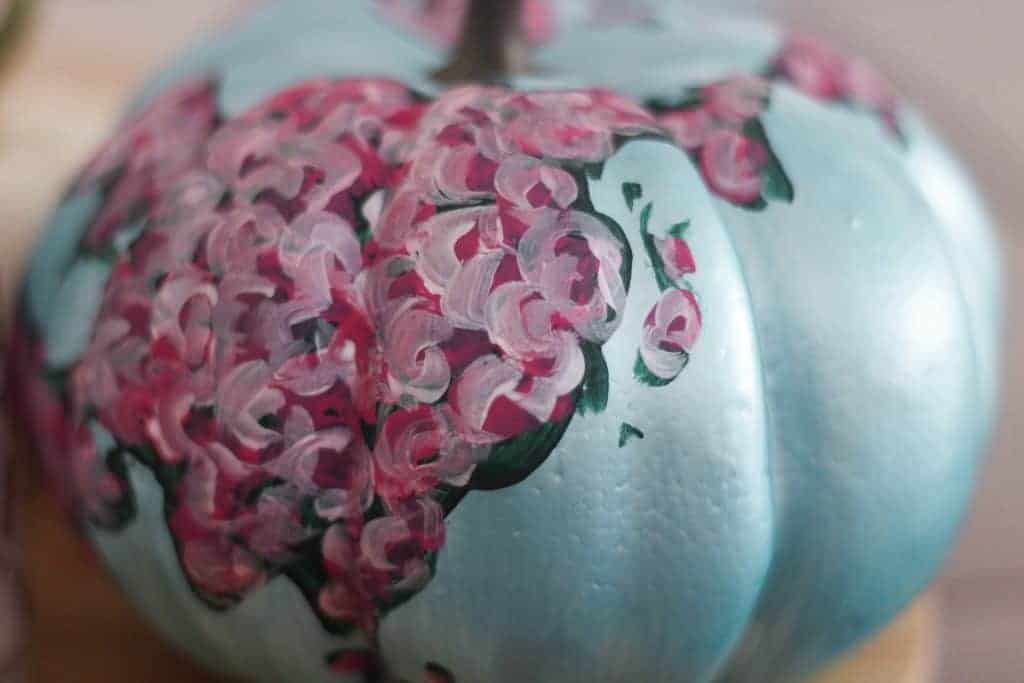
Now paint the continents in green. (I know, easier said than done!) For this, I looked at a simple outline of a map, like this one. Don't worry too much about getting your lines accurate. This is an abstract painting after all!
You could also use a stencil if you want to get real technical about this, but you'll need to find one sized to your pumpkin's diameter.
Let the green paint dry well, so your pink (in the next step) doesn't mix with the green.
Next, paint swirly dark pink flowers inside the green of the continents. Again, these don't need to be perfect, or even look like flowers. If you paint a small circular swish, that will be a great outline for an abstract rose.
(Check out the video below for a demonstration of how to do this.)
Finally, add smaller swirls in light pink on top of each dark pink swirl. These will look like abstract petals. You can do this step even while the dark pink is still wet and it will look nice and blended in some spots.
That's it! Let the whole thing dry and then you can place it wherever you want a little color in your Fall decor. Your friends will wonder where you got your beautiful hand painted floral pumpkin, and you can say, "I made it myself!"
Now I want painted pumpkins everywhere! Have any other pumpkin painting ideas for me?
Floral Map Painted Pumpkin
Spooky jack-o-lanterns not your style? Paint your pumpkin into a pretty floral globe! With just a few colors of craft paint, you can transform a plain pumpkin (or faux pumpkin) into a work of art.
Tools
Instructions
- Select your pumpkin. You can use real or fake pumpkins, and it will be easier if your pumpkin is at least 4" tall.
- Paint the whole pumpkin in your background color (aqua) and let it dry.
- Paint the general outlines of the continents in green. You can look at a map or use a stencil, but it doesn't need to be perfect!
- Dab splotches of dark pink paint randomly on top of the green continents.
- Use the light pink paint for smaller accent dabs of paint scattered on top of the continents.
- Continue adding paint until you're satisfied, then allow the whole thing to dry completely.
Notes
You can use real or fake pumpkins, but I chose to use a fake one so it would last longer. I got mine at Hobby Lobby but sometimes you can find smaller ones at the Dollar Tree.
Recommended Products
As an Amazon Associate and member of other affiliate programs, I earn from qualifying purchases.


Leave a Reply