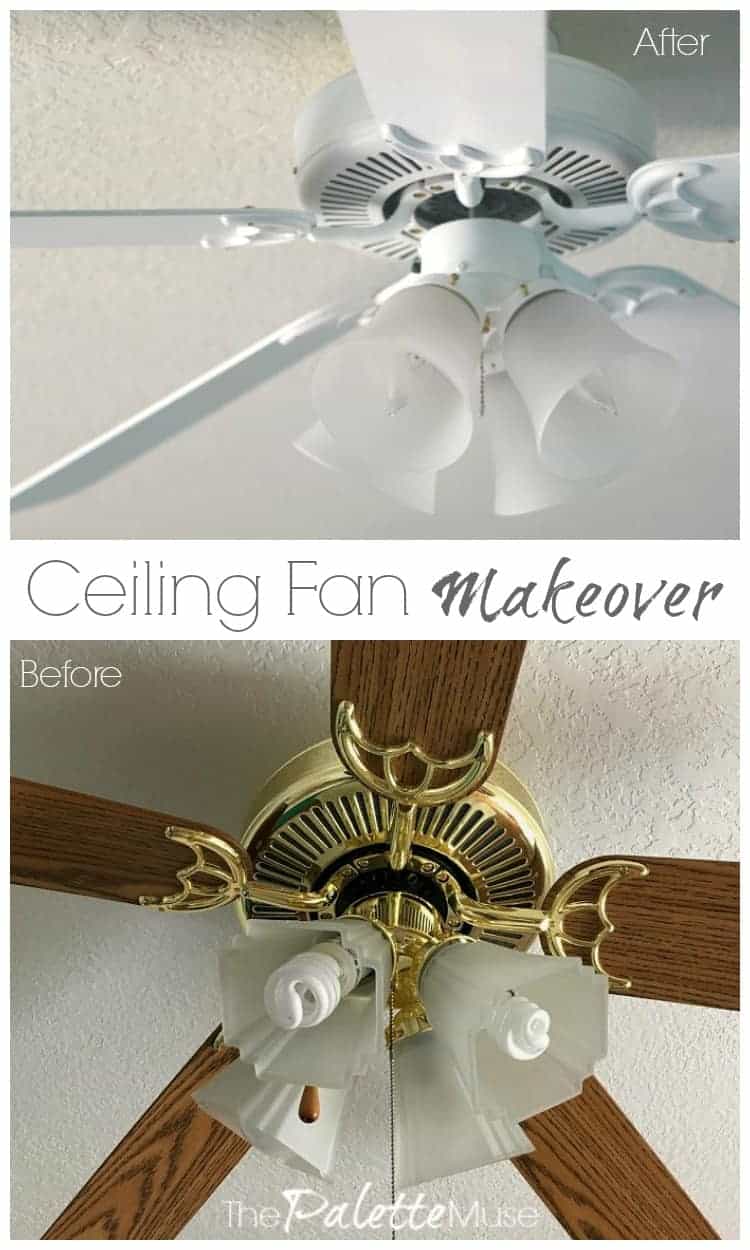
No need to replace that dated ceiling fan! Simply update it with this bright and clean white makeover for under $10.
When I started working on my daughter's bedroom for the $100 Room Challenge, I knew the first thing that had to go was that awful ceiling fan. (I think I referred to it as "the brass monstrosity" in my last post.)
But with only $100 to makeover a whole bedroom, that didn't leave a whole lot of budget for a new light fixture.
No problem, I'm used to working with tight budgets and ugly light fixtures! I had never done a ceiling fan before, so this was a challenge I was excited to try.
If you're just joining, be sure to check out last week's post with my plans for this month's $100 Room Challenge, and information about what the challenge is all about.
Big Question
Now, on to the big question of the week... Can you make over a ceiling fan without uninstalling it?
The short answer is yes. (Yay!)
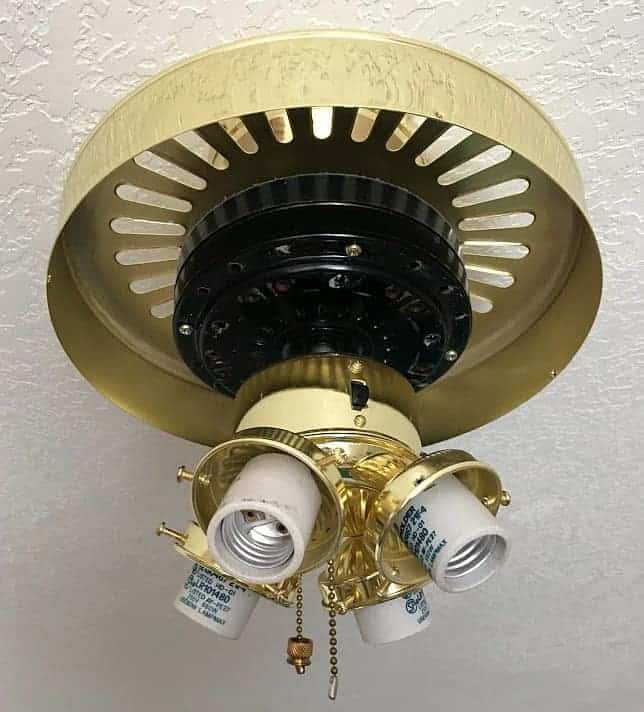
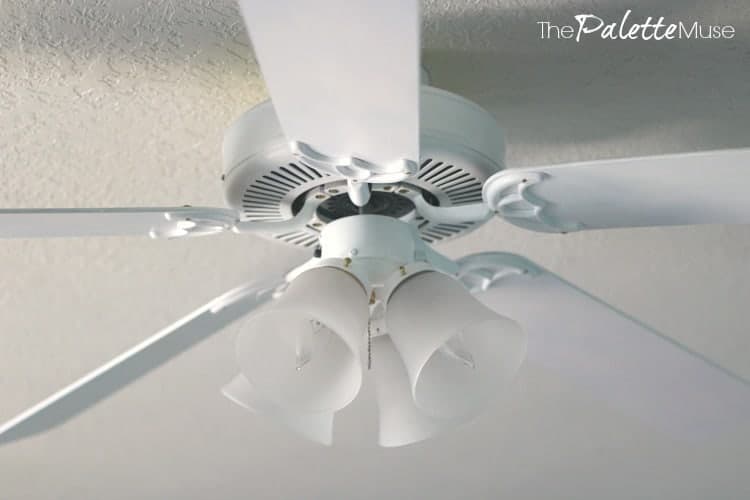
Here's a little reminder of what the ceiling fan looked like before:
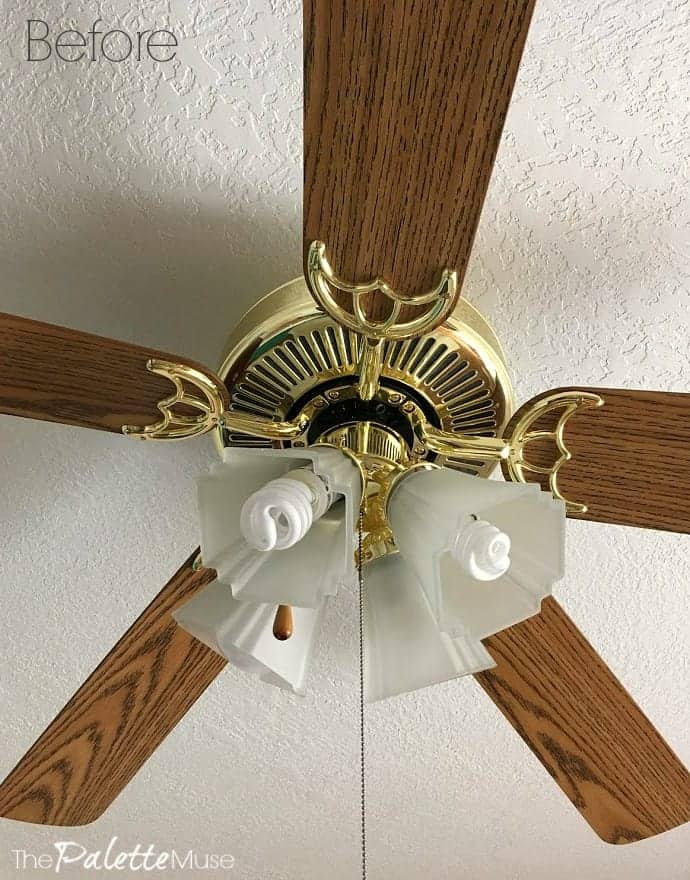
Icky faux wood blades, super cheap brass fixture, dated light shades, mismatched pull chains, and let's not forget the cheesy exposed CFL light bulbs! It all had to go. And for almost no money.
For this ceiling fan makeover, I decided you can't go wrong with all white.
Since the room is going to be aqua blue with white and gold accents, white seemed like a good color for the fan. That, and I had some leftover white paint from a previous project. We're already off to a budget friendly start!
This post contains affiliate links. If you make a purchase, I may receive a small commission at no additional cost to you.
Step by Step Ceiling Fan Makeover
Here's how to makeover your own ceiling fan. I'm sure all models are slightly different, but this will give you the basic idea of the steps involved, then you can tweak them to fit your project.
(Step 0: turn off the fan at the wall and tape over the switch so no one accidentally flips it on while your fingers are close to the blades. My dad, the electrical engineer, made me add this one for all of our safety. Thanks Dad, for looking out for us!)
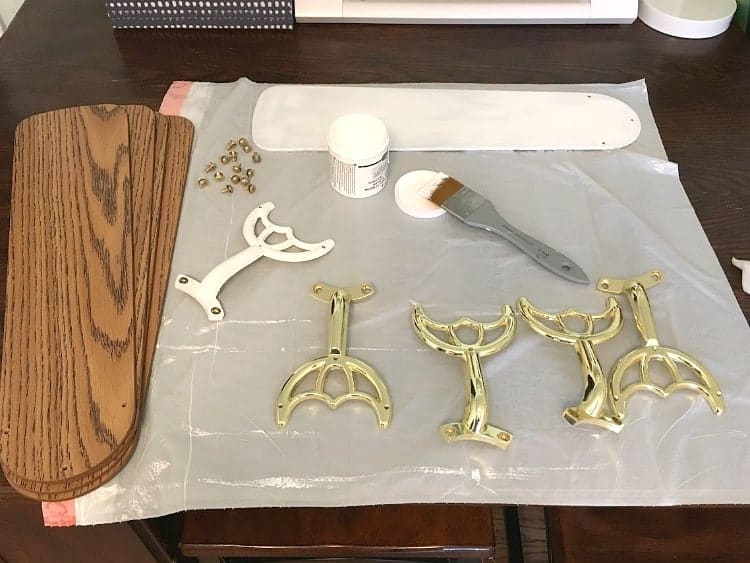
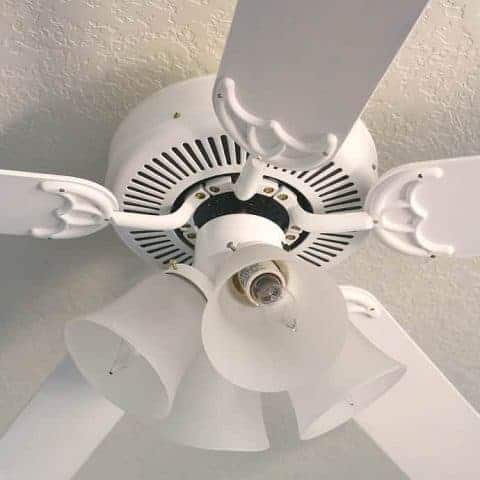
1. Disassemble fan, working from the bottom up.
Carefully unscrew the light bulbs and remove the lamp shades. My shades each had three little screws holding them in place. Simply loosen each screw a little at a time, until they clear the lip of the shade.
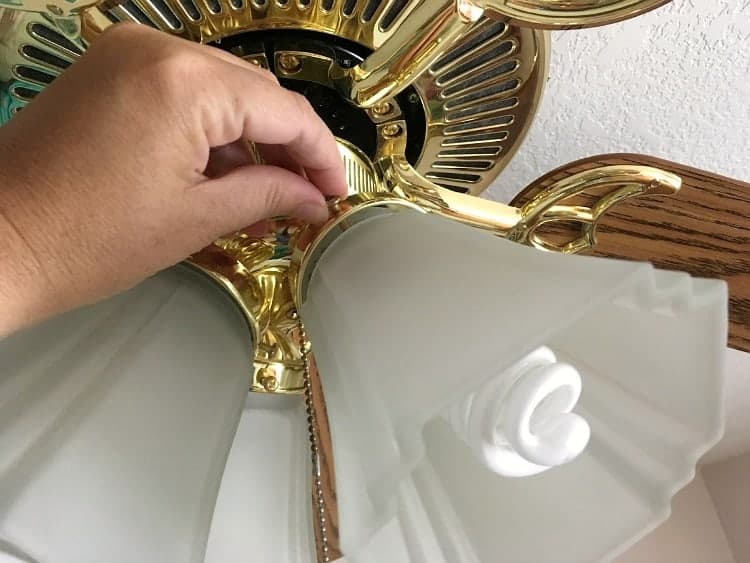
Set aside the bulbs and shades, and hang on to the screws in a plastic baggy.
Take off the chains by unsnapping the extension piece from the attached chain. Then, unscrew the part where the chain attaches to the fixture.

Using a Philips screwdriver, loosen the three screws holding each fan blade in place on the fixture. Be careful, the screws have little washers on them that like to fall off and bounce all over the room when the screws come out!
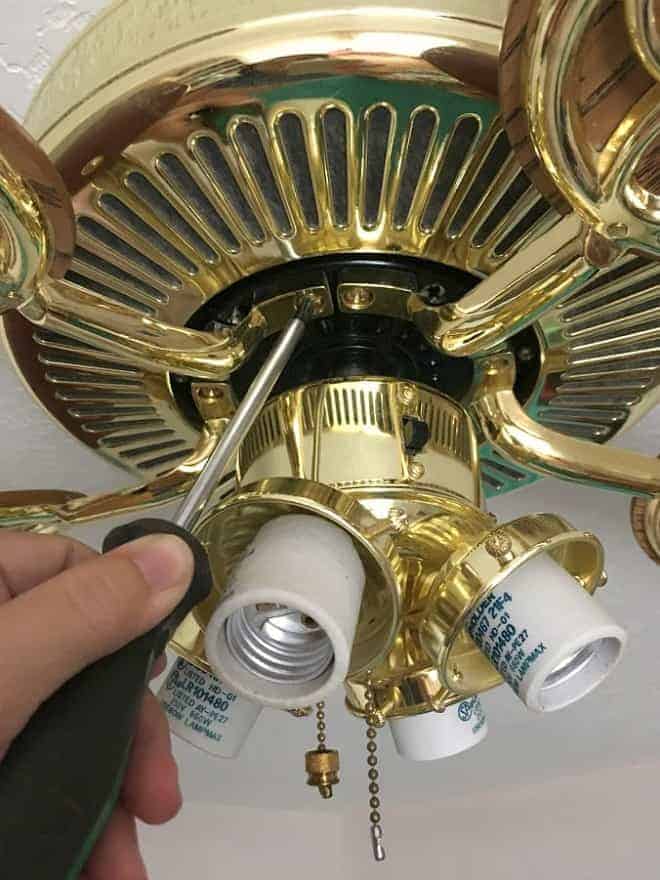
Put all the fan blade screws in a different plastic baggy.
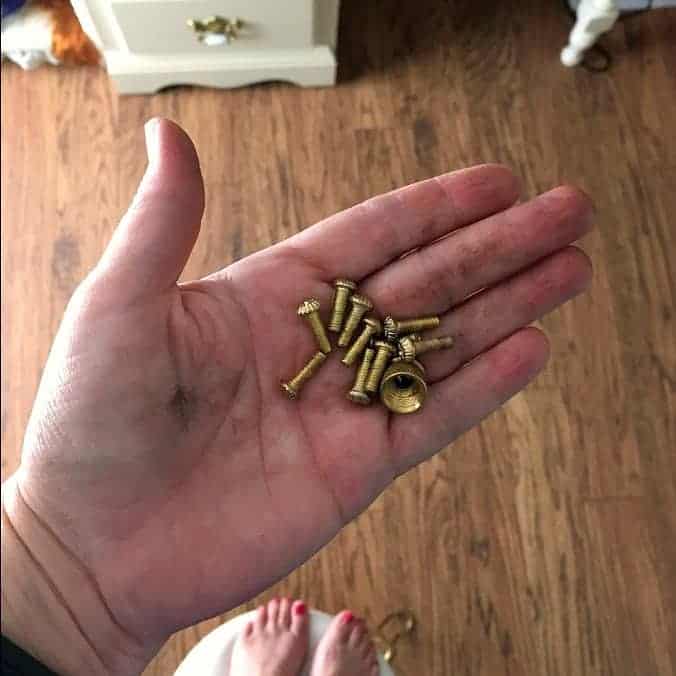
Tip: you might want to label your bags of screws, in case it takes you a few days to complete the project and you forget which screws go where.
The last step in the removal process is to take off the piece of housing that covers the mechanism of the fan. Mine was attached with three tiny little screws.
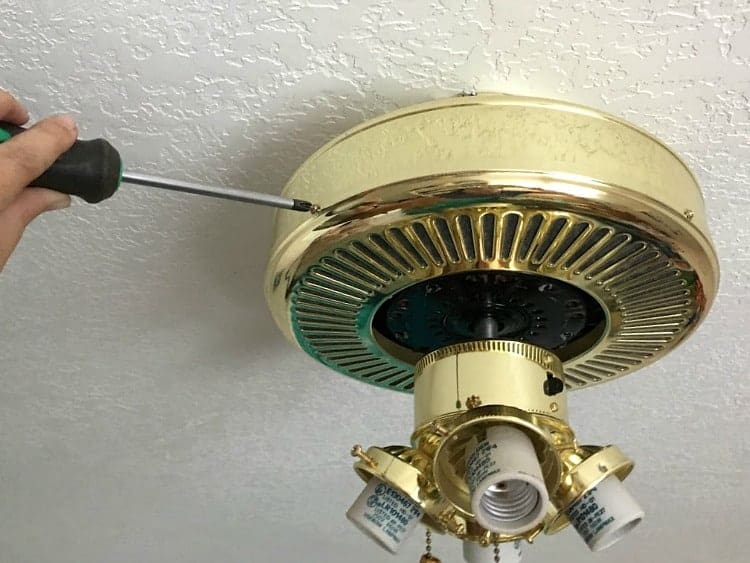
(Be careful again of falling washers!)
That's it! That's all the disassembly required. No wiring necessary, nothing to be scared of. Just some basic unscrewing and you're ready to paint!
2. Paint all the fan parts.
I used some DecoArt Satin Enamel paint that I had leftover from my kitchen cabinet painting project, but you can probably use just about any wall paint or good quality craft paint.
The fan doesn't really get any wear and tear once it's reattached, so you don't have to worry too much about using a specific type of paint.
First, paint the parts of the fan that are still attached to the ceiling. That way, the first coat can be drying while you're working on the pieces and parts all over your worktable.
I gave everything two coats of paint, which I did pretty much all at one time, since the paint dries so fast.
You can paint the fan blades while they are attached to their frames, but I decided to go ahead and unscrew mine, just to make it easier.

(I also decided not to paint any of the screws, just to keep things cleaner, and because I thought I tiny bit of brass here and there would be nice.)
Once the paint was dry, I screwed them back together before reattaching to the fan.
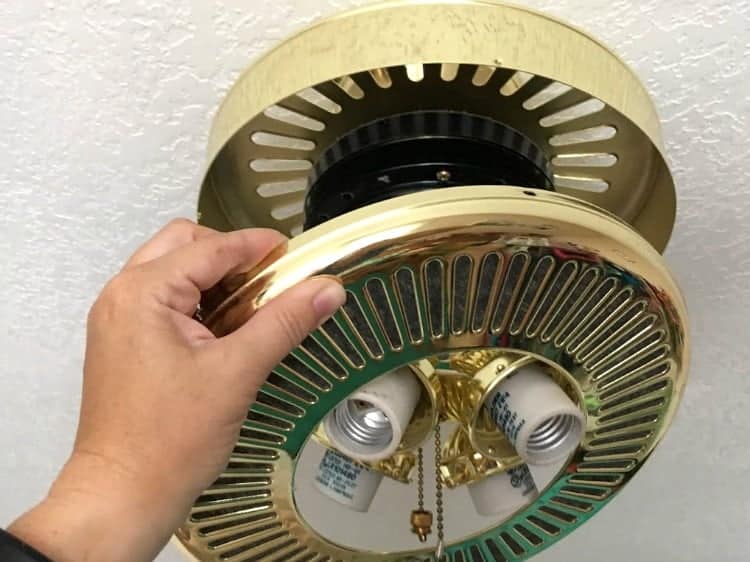
If your cover has a lint filter in it, like mine, be sure to remove it before painting.
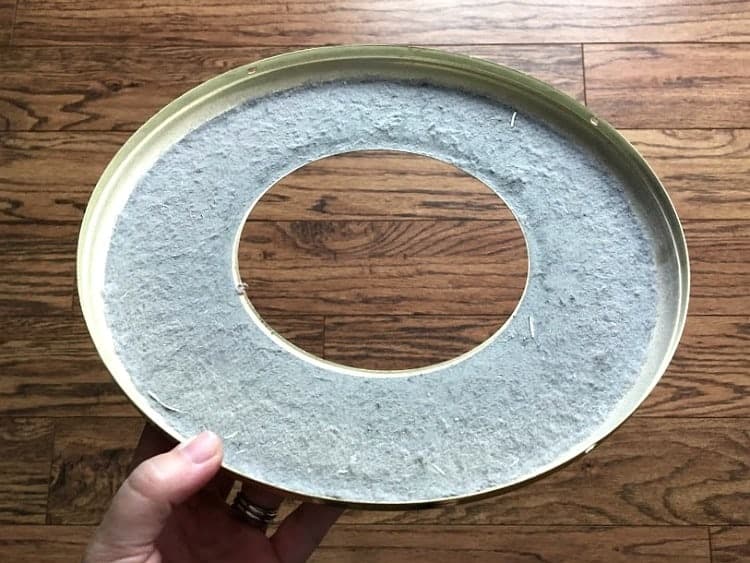
Now is a great time to clean out your lint filter. (I didn't even know they existed before I looked inside my fan and had a moment of horror!) You can rub off all the lint, just like peeling the lint out of the dryer filter.
Then pull the filter away from the cover, trying not to rip it.
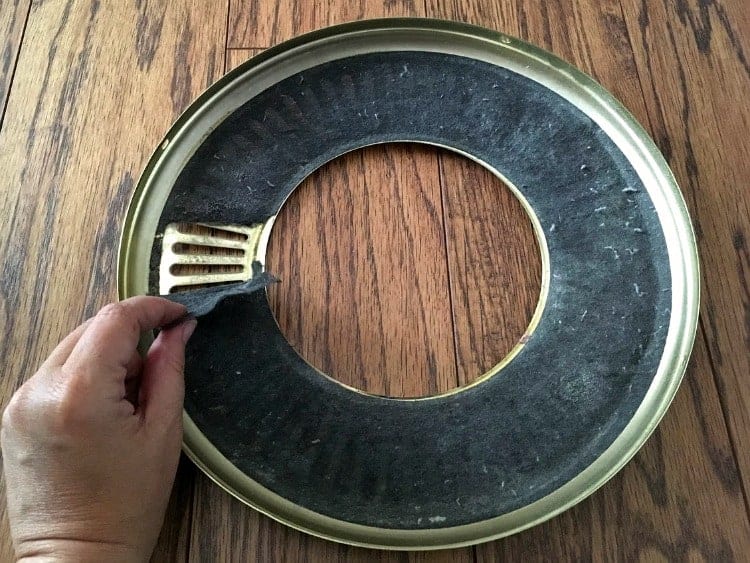
When you're done painting, you'll simply glue the filter back on with a little craft glue.
3. Put the ceiling fan back together.
After allowing all the parts to dry completely, you're ready to reassemble your fan.
To put everything back together, simply work your way backwards through all the steps under part one above. Housing first, then blades, then chains.
Screw everything together snugly, and don't forget the washers, to help your fan operate smoothly and silently.
4. Replace bulbs and lamp shades.
The only money I spent on this whole project was on the shades and new light bulbs, and that totaled about $9. I found new shades and bulbs at my local ReStore, and just donated my old ones while I was there shopping.
It sort of felt like a circle-of-life moment. (I brought the old shades with me to make sure I was buying new ones with the correct size and shape.)

Flip the switch, and make sure everything still works!
I decided not to reattach the chain lengtheners, since she doesn't need to use them very often and I hated the way they looked. I may eventually find cute pulls to attach to the shorter chains, just for fun. #notinthebudget
I can't give you a picture yet of the way the fan looks with the rest of the room, but here's a little sneak peak with the new wall color...
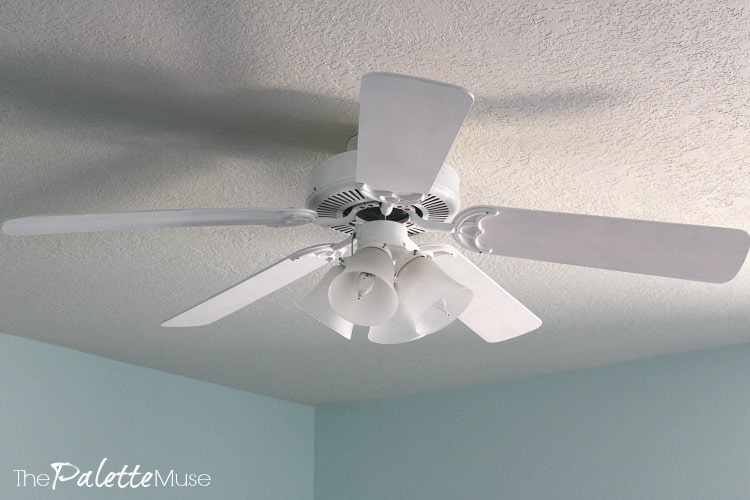
This surprisingly easy project made me wish I hadn't waited so long to try it. The whole process, including drying time, took about 4 hours and cost $9. So worth it!
The brass monstrosity has been tamed to a simple white fixture that, while it may not win any design awards, definitely compliments the room better and doesn't call attention to itself. That's all I ask out of a ceiling fan.
I know this might seem like a lot of work, but it really wasn't bad, and it saved my budget! If you're not as into DIY-ing as me (no judgment implied!), you could pick up almost the same ceiling fan here.
Be sure to check back next week for a new wall treatment and/or curtain idea, I'm not sure which I'll tackle first!
Week 1 ~ Week 2 (you're here) ~ Week 3 ~ Week 4
Follow the $100 Room Challenge by newsletter to get all the latest updates!
Or follow along on social media: Instagram | Pinterest | Facebook | Twitter
Ceiling Fan Makeover
Need a new ceiling fan but can't afford it? It's so easy and affordable to update the one you have, no wiring or electrician required!
Tools
Instructions
- First, unscrew the light bulbs and light shades.
- Unscrew the chains from where they attach to the fixture.
- Use a screwdriver to unscrew each fan blade from the fixture.
- Keep the screws from each part of the project in separate baggies!
- Using a screwdriver, remove the screws that hold the face of the housing onto the fixture.
- Peel the mesh lint screen (if included) off the housing. Remove any lint from the screen and set screen aside for later.
- Use a soft paintbrush to paint all the pieces (except the screws) of the ceiling fan with craft paint such as DecoArt Satin Enamels.
- Allow paint to dry and recoat if needed. Dry overnight or for 24 hours.
- Place the lint filter (if included) back into the housing. Secure with craft glue if needed.
- Replace all the pieces of the fan, following steps 2-5 backwards.
- If desired, update your light shades and bulbs for a complete makeover.
Notes
You can save money by getting your light shades at a thrift store such as Habitat for Humanity's Restore.
Recommended Products
As an Amazon Associate and member of other affiliate programs, I earn from qualifying purchases.


darylleephotos says
Could I get you to add Step 0? Turn it off at the wall and tape over the switch.
Meredith says
Yep that's probably a good idea! I'll go back and add that one in. Thanks for being the voice of reason. (Someone around here's gotta do it!)
Kate at KateDecorates.co says
What a difference! I like that you gave the fan a makeover without uninstalling it. I've always been tempted to give the ceiling fan in my master bedroom a refresh, but that's exactly the part I was dreading the post: taking the whole thing down and putting it back up again. Good to know that's not necessary!
Meredith says
Truth be told, it didn't even occur to me to take it down. It wasn't until I was writing this blog post that I realized that's the most appealing part of this method! Sometimes laziness does pay!
Jeri Walker (@JeriWB) says
Your reference to the "brass monstrosity" made me laugh. The end-result looks so much better. My house doesn't have any ceiling fans, but I wish it did.
Meredith says
Thanks Jeri, ya gotta have a sense of humor about these things!
Maria - Dapper House Designs says
WOW! You made that look so easy and the result is AMAZING! I would have never guessed it was an old fan. Cannot wait to see how the rest of the room turns out!
Meredith says
Thanks Maria! I couldn't believe the transformation myself!
fourseasonliz says
Fans have filters??
It looks brand new!!
Meredith says
I know, right? The things you learn when you start taking stuff apart! 😉
Johanna says
It looks great! You must've felt so accomplished! 😀
Meredith says
Thanks Johanna, I was pretty surprised at how nice that fan could look with a little love!
Kristen says
Oh it looks so much better Meredith! Good job, and looks very easy too.
Meredith says
Thanks Kristen, I really was surprised at how easy it was!
Erin @ Lemons, Lavender, & Laundry says
Awesome tutorial! The fan looks SO much better, and now I want to do the same for all our ceiling fans that look like your "before" pictures. I would never have thought it would be so easy to do. Pinning so I can do this in the future!
Meredith says
Thanks Erin, if I had known how easy it would be, I would have done it long ago! It was so worth it!
Erin says
Your ceiling fan transformation is outstanding! You made it look so easy! Wonderful tutorial!
Meredith says
Thanks Erin! I hope it's helpful to someone who's wishing they had a new ceiling fan!
Jennifer says
The ceiling fan in my girls room, partially disassembled like yours, with the first coat of white paint. I'm so glad I came across this because I was having trouble figuring out what color to repaint the ceiling fan and realized that all white would be perfect! No more brass monstrosity in this room either!!
Meredith says
That's great, I'm so glad this was helpful! You can't go wrong with white paint!
Ronette says
I was planning to do this ! My only hesitation was I wasn't sure paint would stick to the brass.my plan was to either spray paint or prime the brass.did you do either? It looks fantastic!
Meredith says
Thanks Ronette! I didn't prime or spray paint it and the paint worked great without either. It's held up really well over time, probably because it doesn't get a lot of direct wear and tear.
Linalu says
I have the same fan in white with brass accents. I used your instructions and painted the brass parts matte gray and it really transformed it. I even kept the Art Deco glass shades. Thanks for the help!
Meredith says
I'm so glad to hear that! Thanks for your feedback!
Katie says
Thanks so much for this! I just started this project yesterday and it's finished today and looks SO much better!
Meredith says
I'm so glad to hear that! Thanks for letting us know how it went!