Tween Girl's Bedroom Makeover
It's reveal week for the $100 Room Challenge! Reveal week is always my favorite, partly because I love to see a fun project come together, but also partly because of the enormous sense of relief I feel after the final push to get everything done. I can't wait to show you my growing girl's bedroom makeover!
Before we get into the good stuff, I want to say a big Thank You to Erin of Lemons, Lavender, and Laundry for hosting this challenge, and giving me the deadline I needed so I could finally get this room done!

~This post contains affiliate links. If you make a purchase, I'll receive a small commission. Thanks for supporting The Palette Muse!~
When we set out to give my daughter's room a little makeover, I had no idea what a difference we could make with only a few weeks and $100. (You'd think I'd be used to transformations like this by now, but I'm always surprised by the end result.) She wanted a more grown up room, but I just want to keep her my little girl forever, so I was concerned about how to give her a space that would fit her personality, feel fresh and fun to her, and satisfy this mama's heart who's already watching her baby grow up too fast. That's a lot to ask from one room!
Fortunately this little one has loads of style, so she had some great ideas and we were able to do pretty much everything she wanted.
Let's do some before and after shots, shall we? Then I'll get into details of how we pulled this off.
Before: boring wall color, icky fan, and almost no storage.
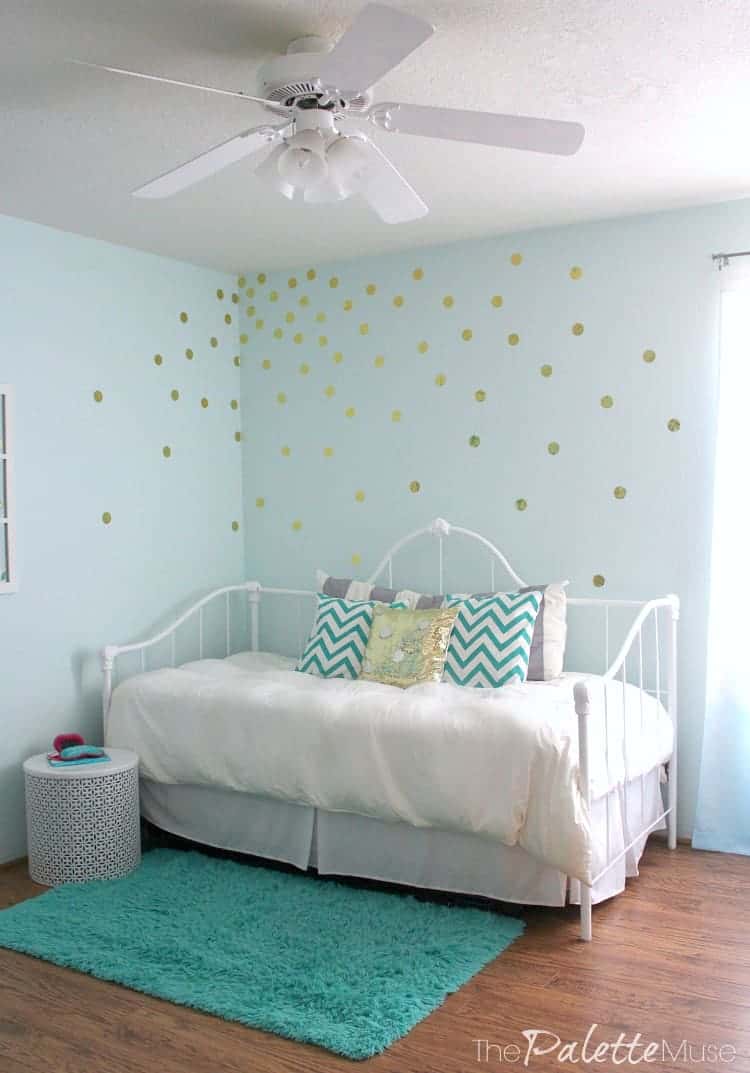
After: We moved furniture, freshened up the fan and curtains, and found new bedding and accent pieces.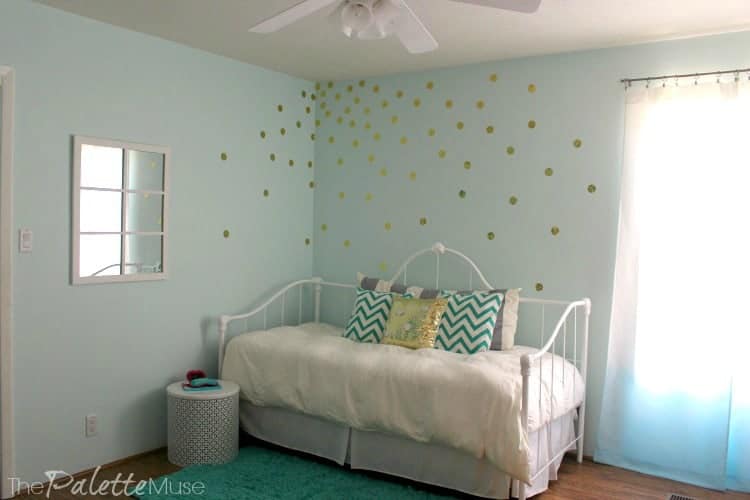
Before: Girly stuff everywhere!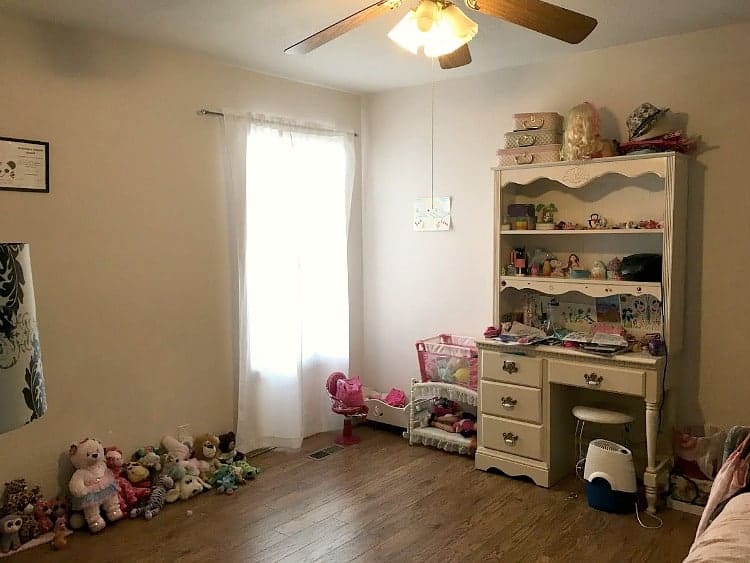
After: We grabbed IKEA Hyllis bookshelves out of my office and repurposed them for her stuffed animal display. (Since we already had them, they didn't affect our budget, but if you had to buy them, I found 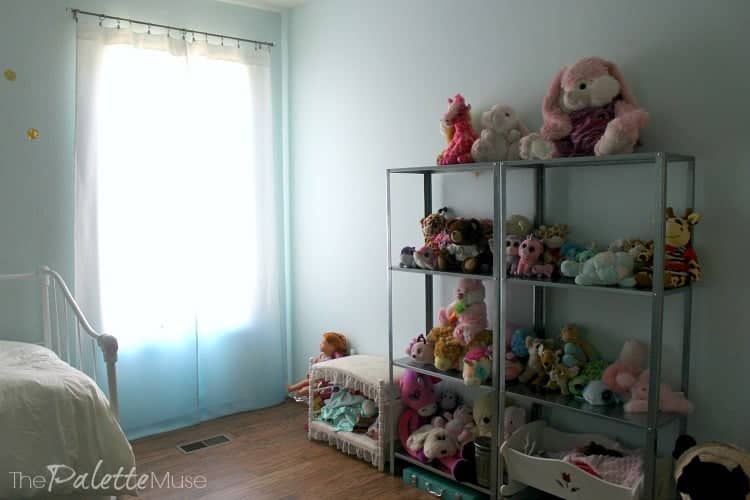
Before: Oh the clutter!
After: Moving the bed to the opposite wall cleared up this space beautifully. We removed the hutch from her desk and opened up the space with a fun bulletin board that was handed down from a friend.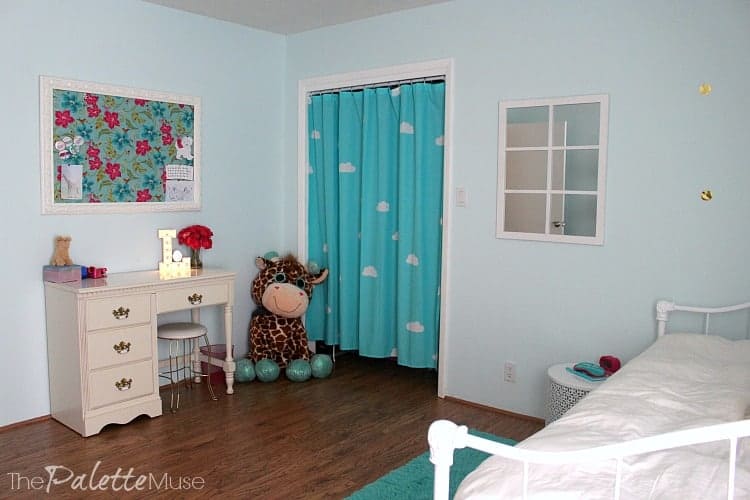
So let's break it down. Here's everything that went into this $100 Room Challenge:
Ceiling Fan Makeover - $9
You can see in this post how to do a fan makeover without removing the fan from the ceiling, or doing any wiring.
Curtain Makeover - $13
Here's how I dip-dyed the existing curtains for a cool ombre effect.
Painted the Bed - Free
I was going to spray paint the bed but had some leftover paint and decided to just use that. Next time, I would spring for a couple of cans of spray paint. It's hard to get a good clean finish on metal with a brush!
New Accessories - Free
Well I guess the accessories aren't actually new, just new to this room. I shopped my house for the window frame mirror, the bedside table and the gray and white body pillow cover. And the adorable bulletin board was a hand-me-down from a friend. Score!
New Bedding - $21
Although I already had the white comforter, I did splurge on the chevron pillows and the gold mermaid pillow. (Mermaid is the description of the sequins on this pillow. They are gold on one side and white on the other, so you can flip them one way or the other by running your hand over them. We can't keep our hands off this pillow!)
Every room needs an awesome accent piece and this mermaid pillow was just what we needed. Even so, all three pillows cost just $21. They are actually pillow covers available at Hobby Lobby and I put them over some old throw pillows I'd been storing for just such an occasion. Next time you need new pillows, try pillow covers instead!
Wall Treatment - $39
I'll give you more details about this fun polka dot wall treatment below.
Total Bedroom Makeover Cost
So that brings us to a total of $82. Under budget! That almost never happens - you can ask my husband. I wonder if that means I can add the extra $18 onto my next room challenge?
How to Make Your Own Polka Dot Wall Treatment
This polka dot wall treatment was really the foundation of this room transformation. It's super easy and pretty cheap, even if you don't have a cutting machine.
First, we painted all the walls a soothing muted aqua color. This is Valspar's "Stillness" which is pretty hilarious if you know my daughter, who never stops moving. Maybe I was hoping a calming color would help her settle down at night.
Then, I designed these 2" circles, using my Silhouette Cameo software, and cut them out of metallic gold self-adhesive vinyl. If you don't have a cutting machine, you could get a hole punch like this one, and simply punch 2" circles out of your vinyl. (If you're thinking of getting a cutting machine, let me just say I love my Cameo! I thought it was a splurge when I bought it, but I can't believe all the ways I've used it.)
Finally, we had a blast sticking the vinyl dots to the wall.
We tried a few different ideas, but liked this corner cascading pattern the best. Plus, it was a lot easier than measuring and lining up the dots in an orderly pattern!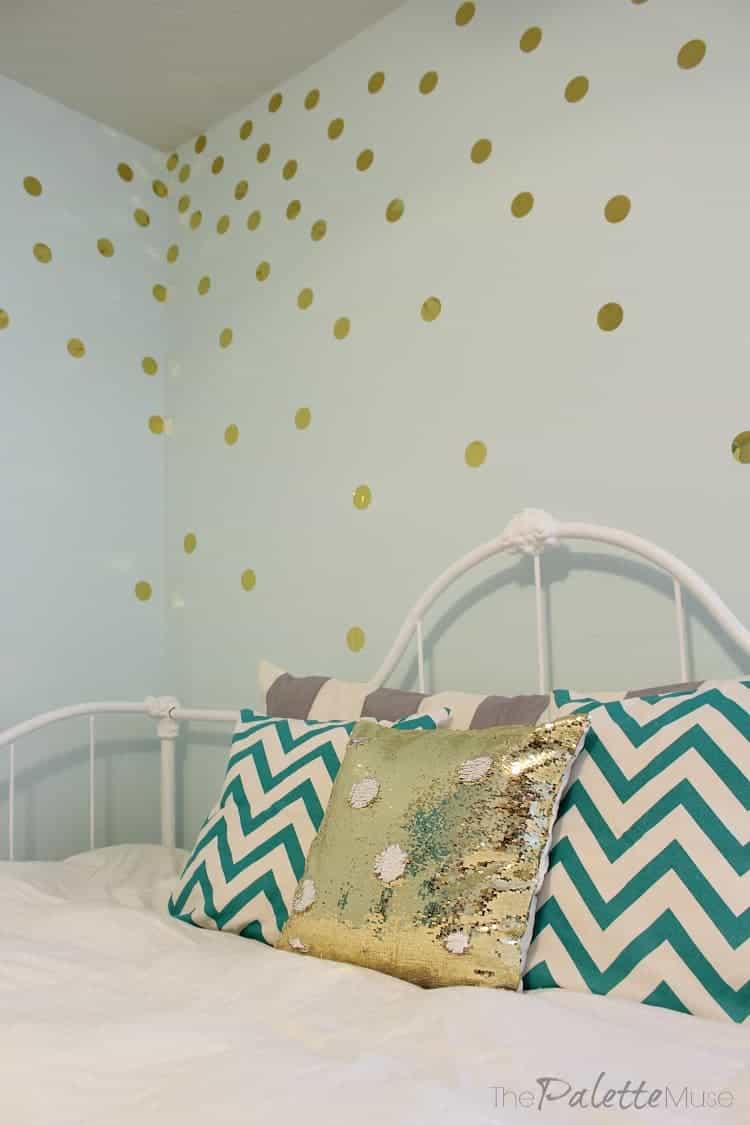
Here are a few more pictures of this growing girl's bedroom makeover...


Erin @ Lemons, Lavender, & Laundry says
AHHH... I love it! The wall color is beautiful, and the gold polka dots are perfect! Isn't it amazing was $82 can do for a space?! I am SO glad you joined the challenge! Enjoy that new space.
Meredith says
Thanks Erin, I already can't wait for the next challenge! Thanks for keeping us going!
Jeri Walker (@JeriWB) says
It looks fantastic and goes once again to show how much a room can be changed on a budget!
Meredith says
Thanks Jeri! That's exactly why I love this challenge!
fourseasonliz says
It looks beautiful!! I love the mermaid pillow! I am sure she is going to love this space for years to come.
Meredith says
Thanks Liz! I just hope the pillow survives all the love it gets!
Susan Cooper says
Nicely done - Now I need you to come over to my house to do some of your magic.?
Meredith says
I would love that Susan! 🙂
simple nature decor says
Such a sweet room for your daughter. The curtain makeover is the perfect color, it add so much wow factor. Its been great challenge. It looks like you had fun doing that polkadot DIY.
Meredith says
Thanks Maria, it was super fun!
Meg|Green With Decor (@greenwithdecor) says
How cute is this!! What a sweet room for her!
Meredith says
Thanks Meg! She's loving it, which makes me happy!
Emy says
The room looks great! My daughter is dying for one of those sequin pillows. 🙂
Meredith says
Thanks Emy! That pillow has become the centerpiece of the room!
Kati says
Your daughters room is so beautiful! I love the wall treatment. I was planning on doing something similar in my daughters room and now you have convinced me.
Meredith says
Thank you Kati! If you'd like my cut files for the polka dots, I'm happy to share them with you!
Kelly says
Wow Meredith you sure transformed this room!!! I love the mermaid pillow and the curtains! My daughter would love this room too!
Meredith says
Thank you Kelly! Sometimes it's fun to do a totally whimsical design!
Jenny says
What a perfect room for a young girl! I love that she helped you design it and put it all together - including the fun dots on the wall. Looks awesome!
Meredith says
Thanks Jenny! She even makes her bed every day now, just because she wants to keep it pretty. Score!
Kristen says
Looks great Meredith! I love the colors and that fun polka dot wall! Such a great idea.
Meredith says
Thanks Kristen! The polka dots were definitely the most fun part!
Ashley@BiggerthantheThreeofUs says
The polka dots added so much whimsy to the space! So fun.
Meredith says
Thanks Ashley! It was so fun to be able to design a whimsical and fun room for her.
loveandrenovations says
Looks so, so cute! Love that polka dot wall!
Meredith says
Thank you! We've been loving that wall too!
Kate says
Wow, what a difference! This looks SO good, Meredith! I just love those gold decals you made for the wall.
Meredith says
Thank you so much Kate!
Jessica says
The room turned out so pretty. I love the color and those fun wall decals. Your daughter must be so proud!
Meredith says
Thanks Jessica! She's loving it, which makes me so happy. 🙂
Morgan says
Well, you certainly win the award for being a super fun, cool mom! This room is such a great space for your little lady! I love the fun "cool" touches you added and I'm sure they make her feel like such a "big girl," but it's fun to see all of her stuffed animals and dolls still in her space. (Love the storage you added! I'm sure she will enjoy moving her treasures around and decorating them from time to time!) This will be a great space for many years to come! It's so fun and colorful! I'm sure she will be so proud to show it to family and friends!
Meredith says
Ha! I don't know if my daughters would agree with you on that first part, but I'll take it! She's loving her new space so much that she's even keeping it clean, so we're both happy!
Andy says
The word on the street says that the dolls and the stuffed animals in your daughter's room are going to go on strike - they may even start a revolution - if things don't go back to the way they were. What are your plans for dealing with this?
Meredith says
I was thinking they could relocate to your house. You'd be OK with that right?
Kathryn Baugher says
Super cute! love the new bedding, furniture arrangement and the desk area. What a pretty room for your daughter. I bet she'll enjoy it for years!
Meredith says
Thanks Kathryn! It was such a fun project to do together, and she's happy with it, so I'm happy!