I love "After" pictures! I am finally writing to show you the results of our tile-project-from-hell. I thought herringbone wood look tile was just what our house needed, but little did I know how hard it would be for amateur DIYers to do!
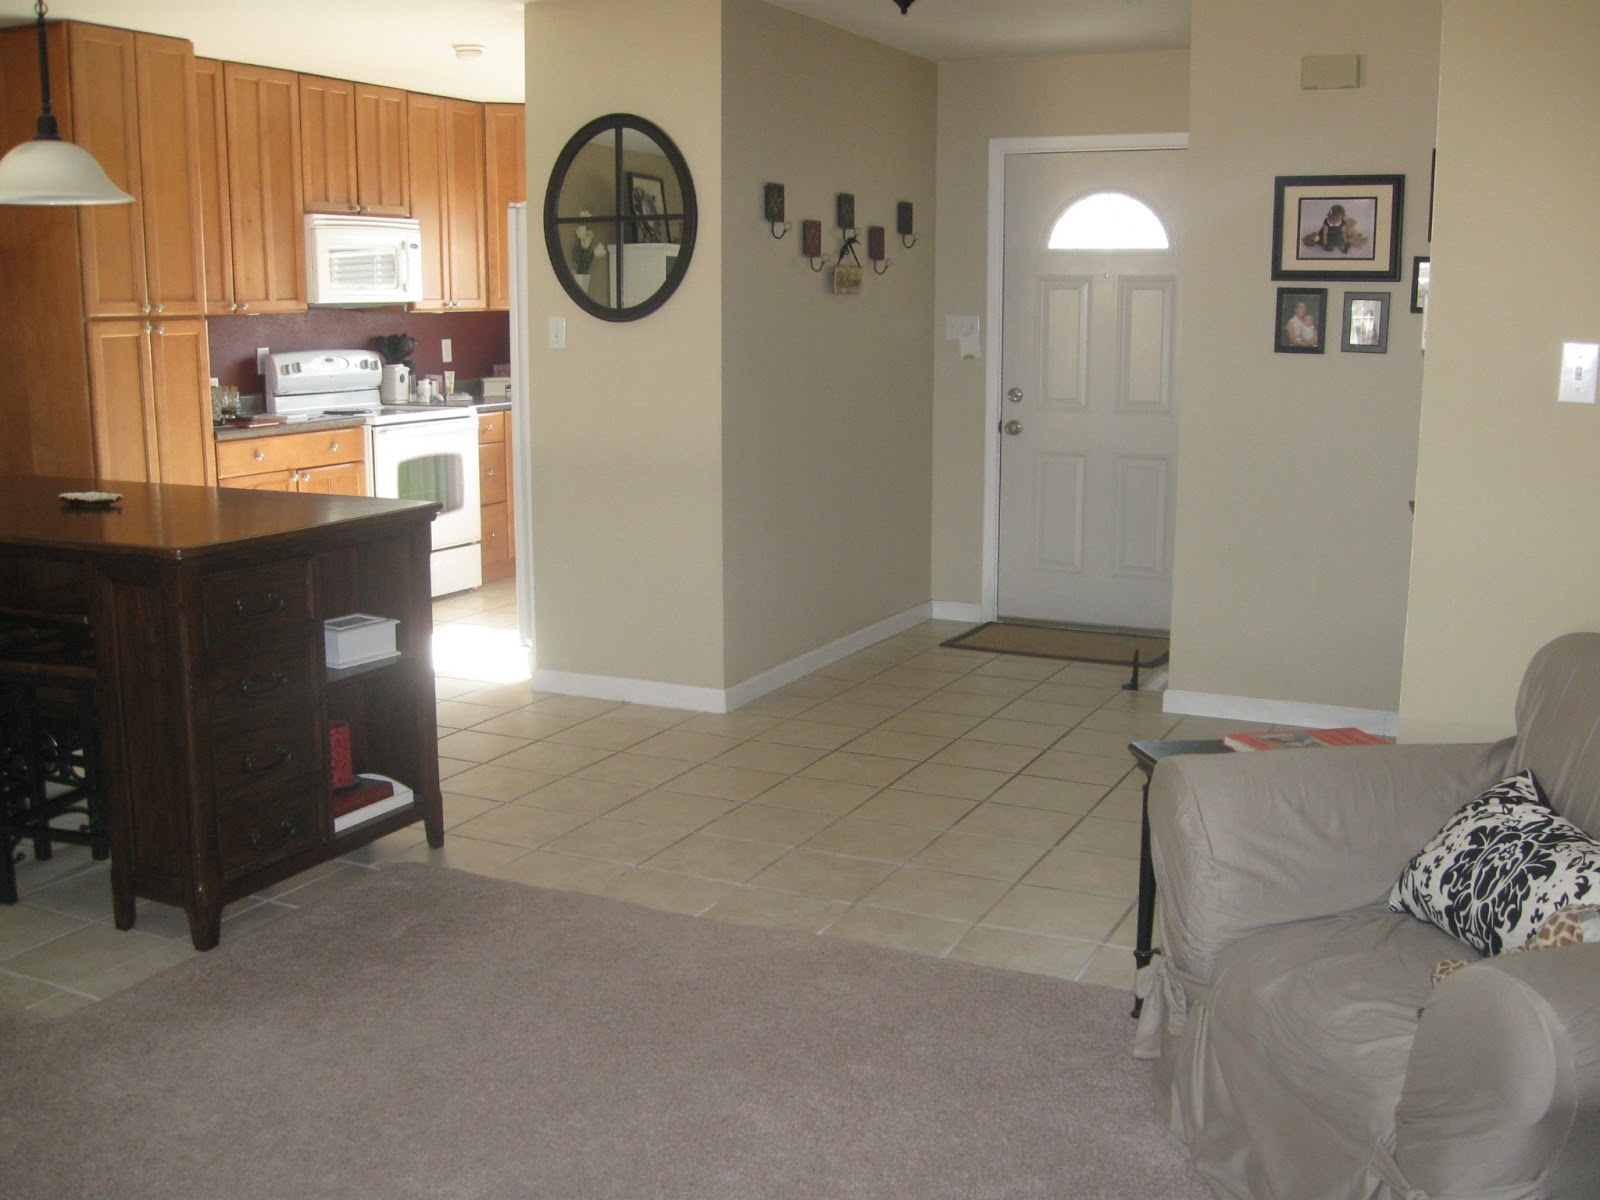 |
| Before |
 |
|
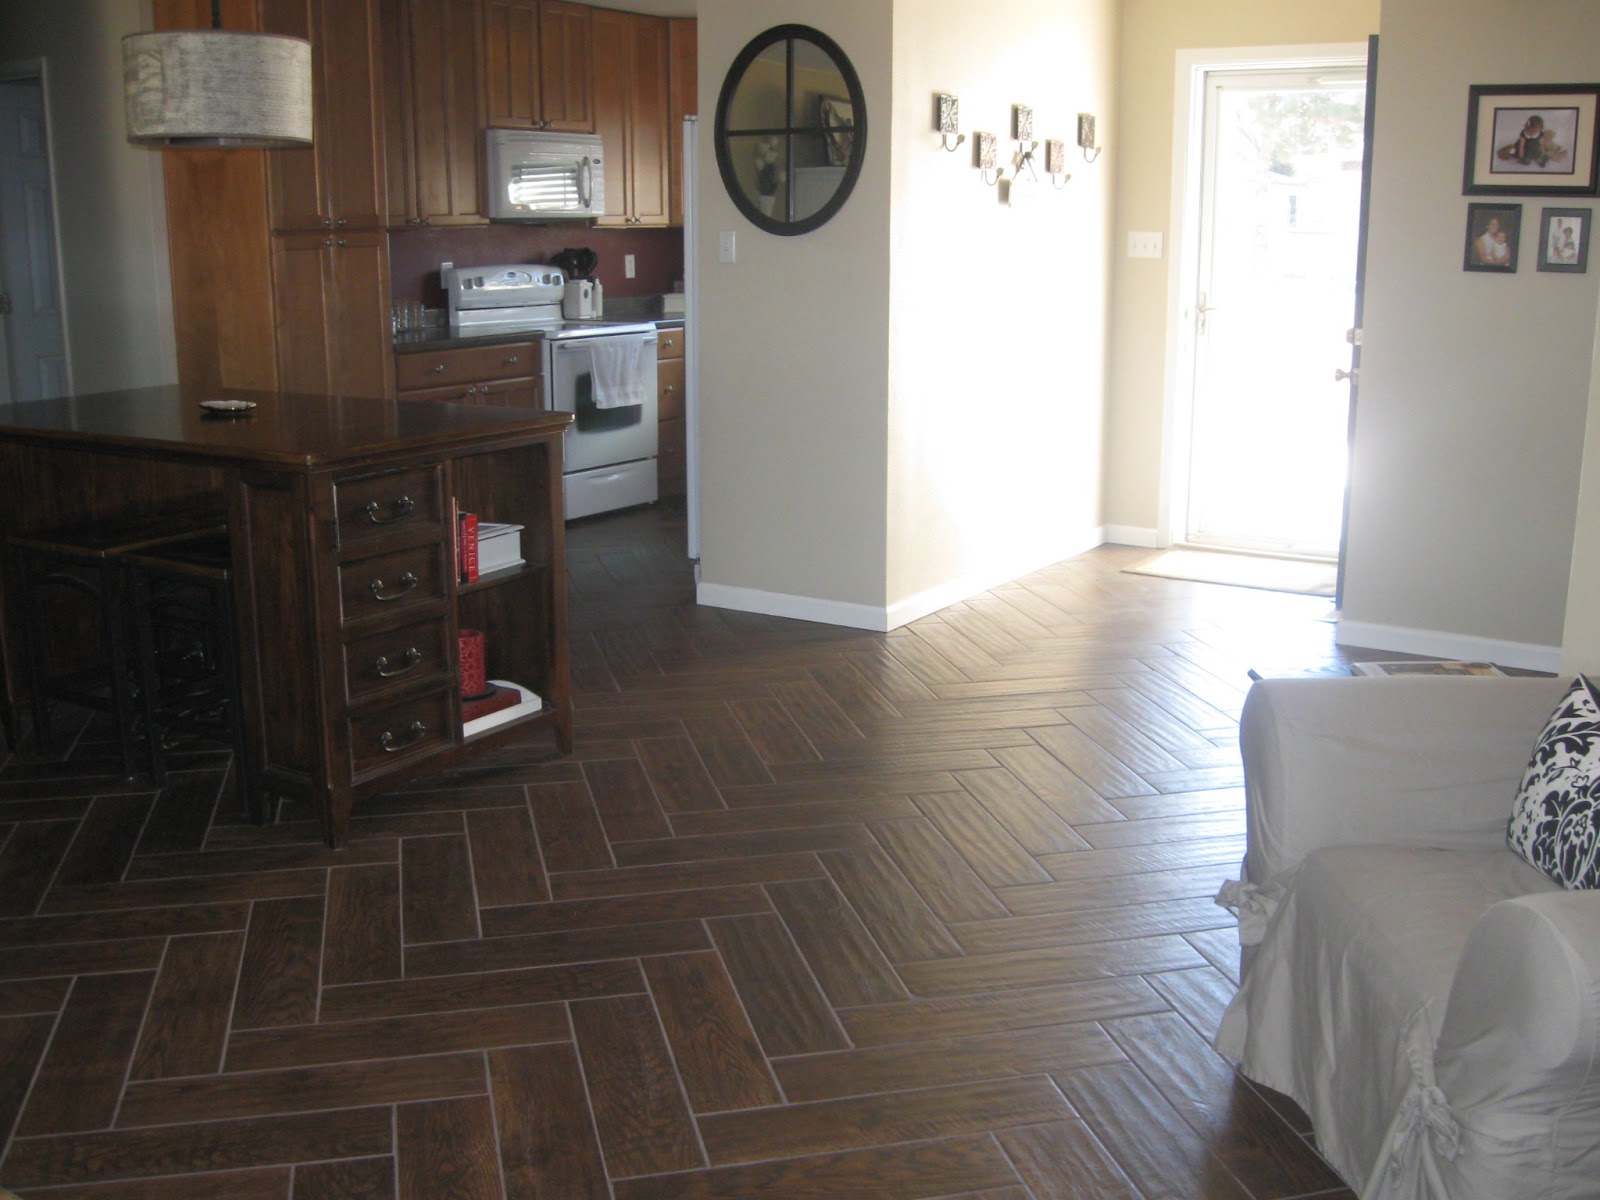
| After |
All sorts of phrases come to mind when I think of how to sum up this project:
"All's well that ends well."
"No pain, no gain."
"Ow, ow, ow. Make it stop!" Oh no, wait, that was me during labor.
Anyway... the most effective way to sum up how we felt about this project is to tell you that "herringbone" is now a curse word in our house. I mean, when we want to use the worst expletive that we can think of (and still say in front of the children) one of us will bust out with "herringbone!"
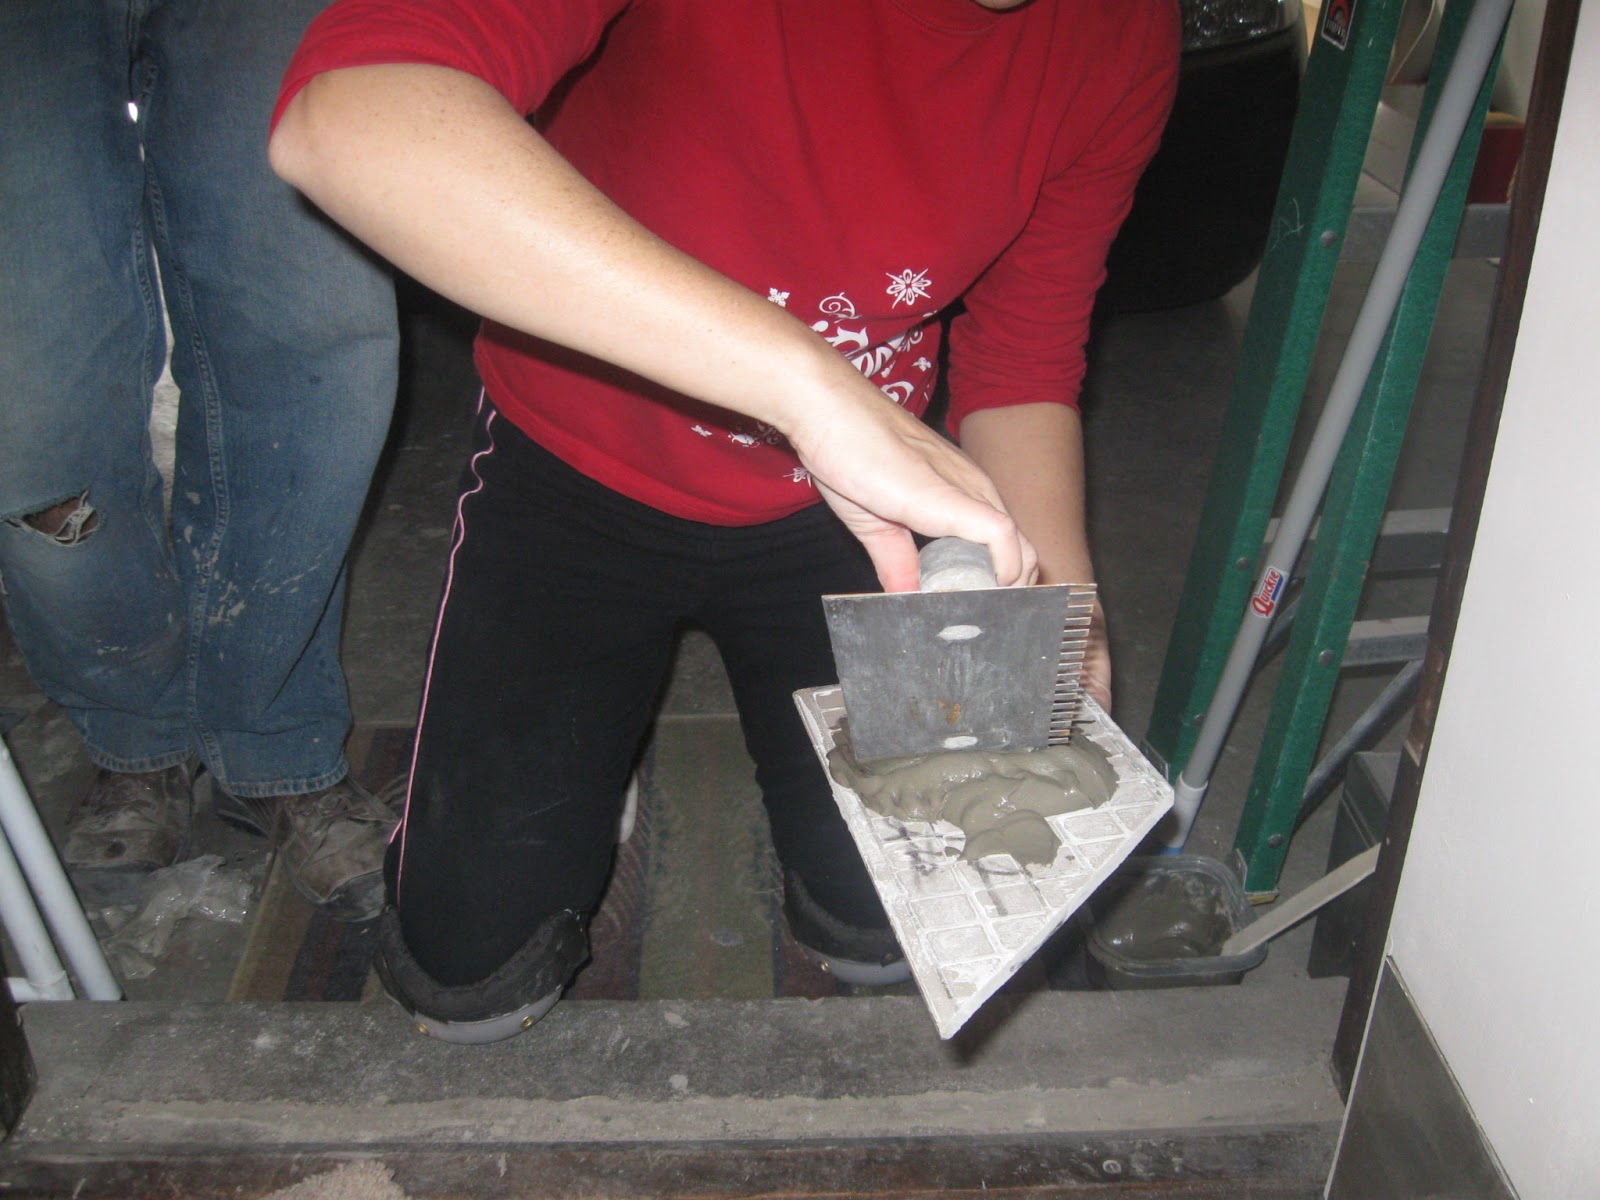 |
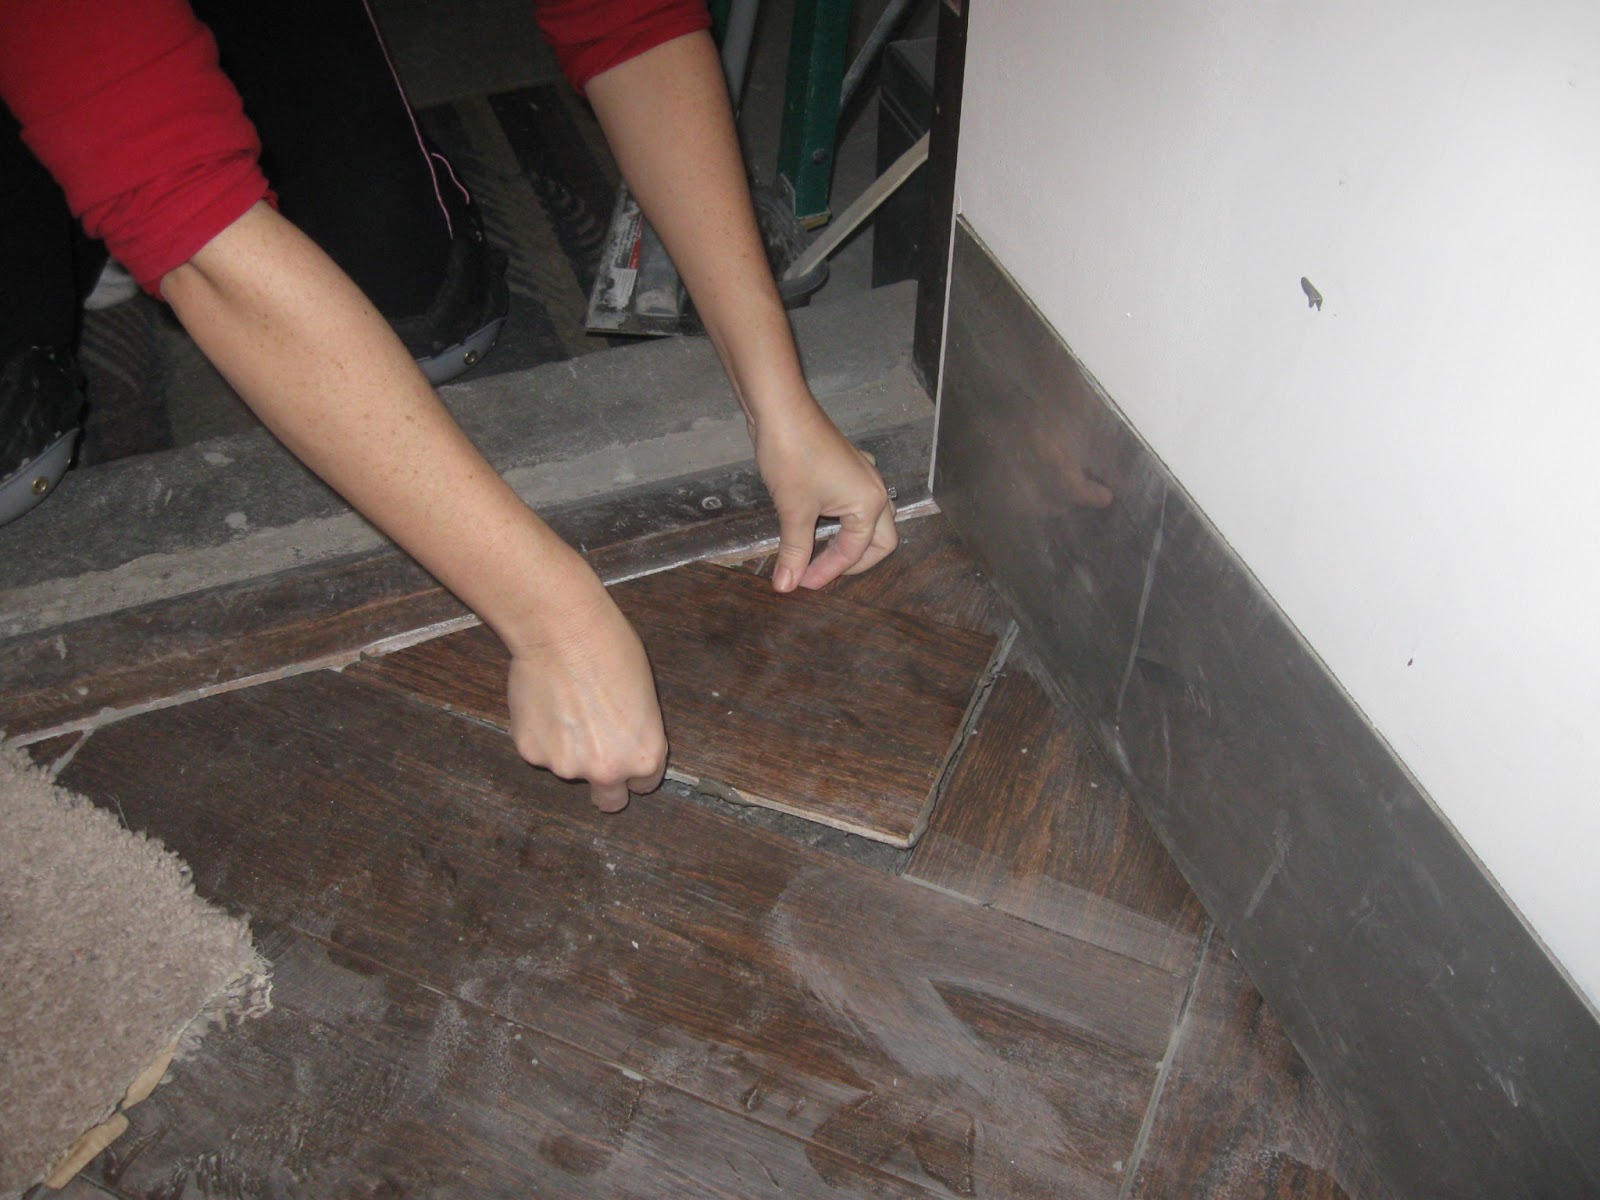
| Laying the last tile |
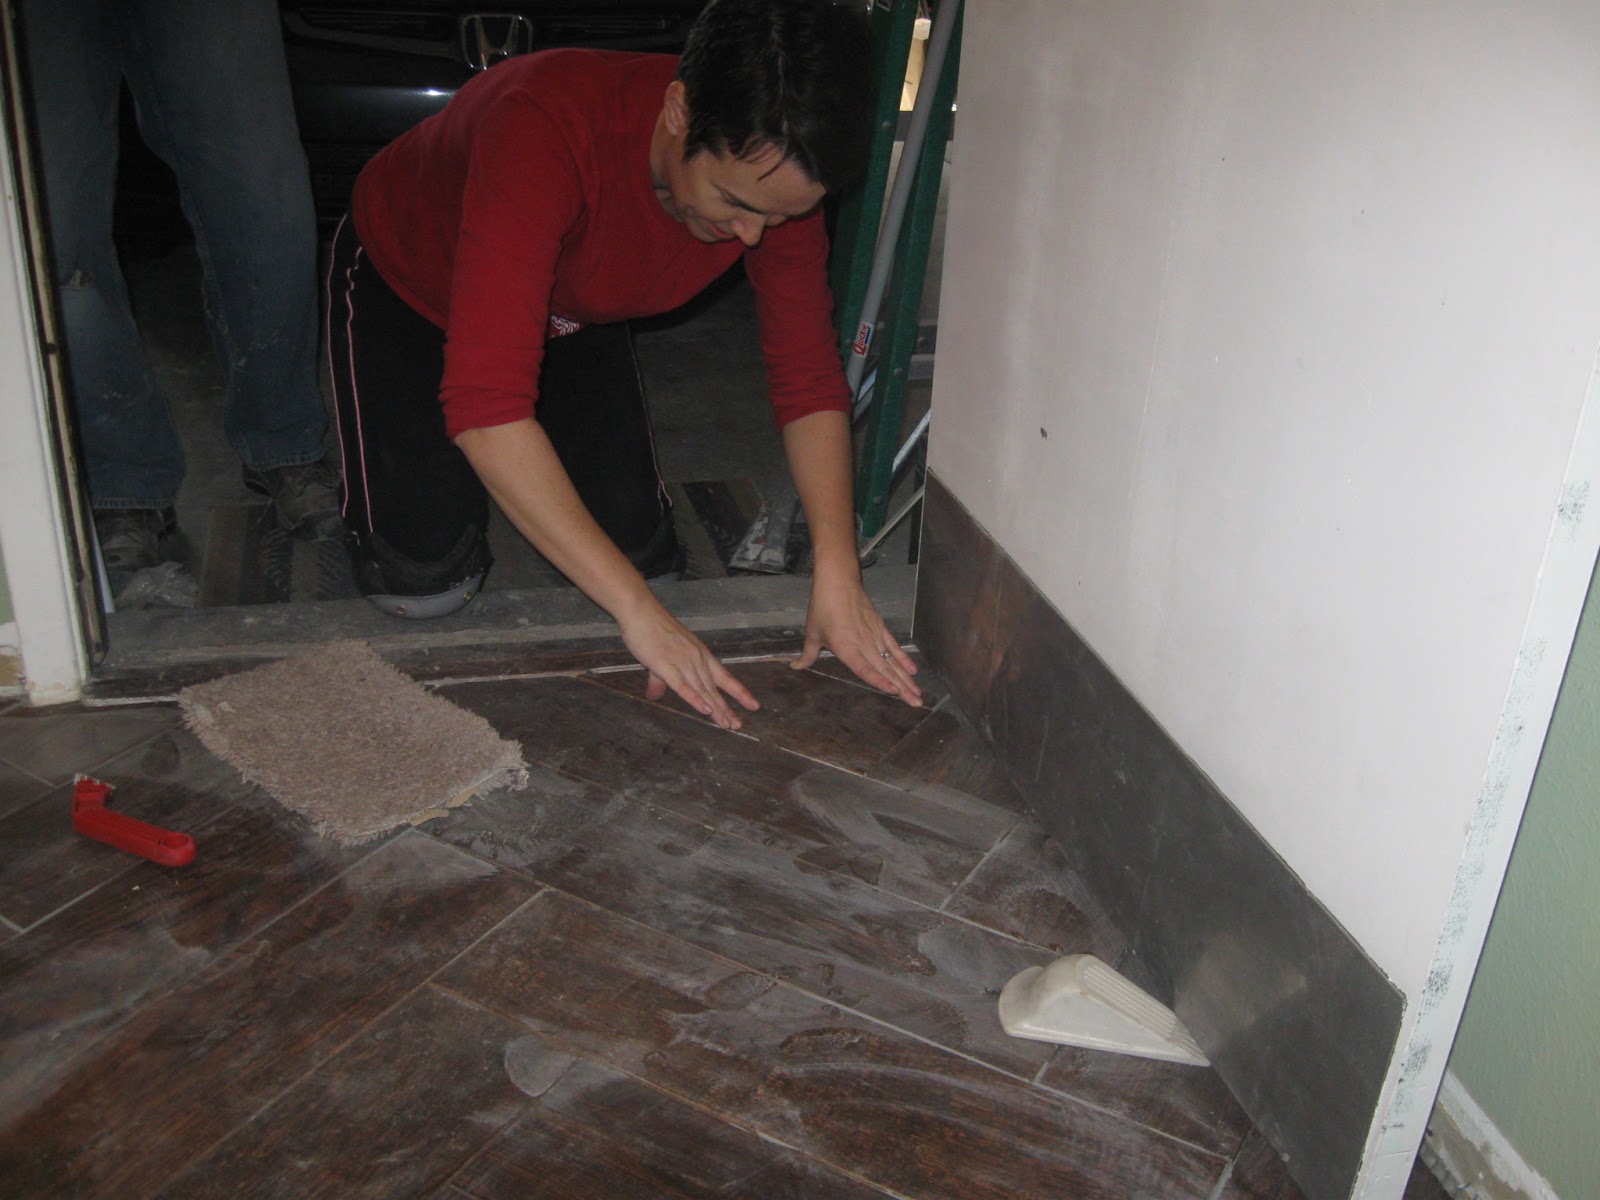
But we did get through it, we did not resort to calling in a contractor to save us from ourselves, and we managed to come out with all our fingers, and our marriage, intact. I'd call that a success. There were a couple of close calls along the way, for both fingers and marriage, but we made it! We have one more treatment to do, which I'll go into more detail about in a later post, but for now, I think it looks pretty good.
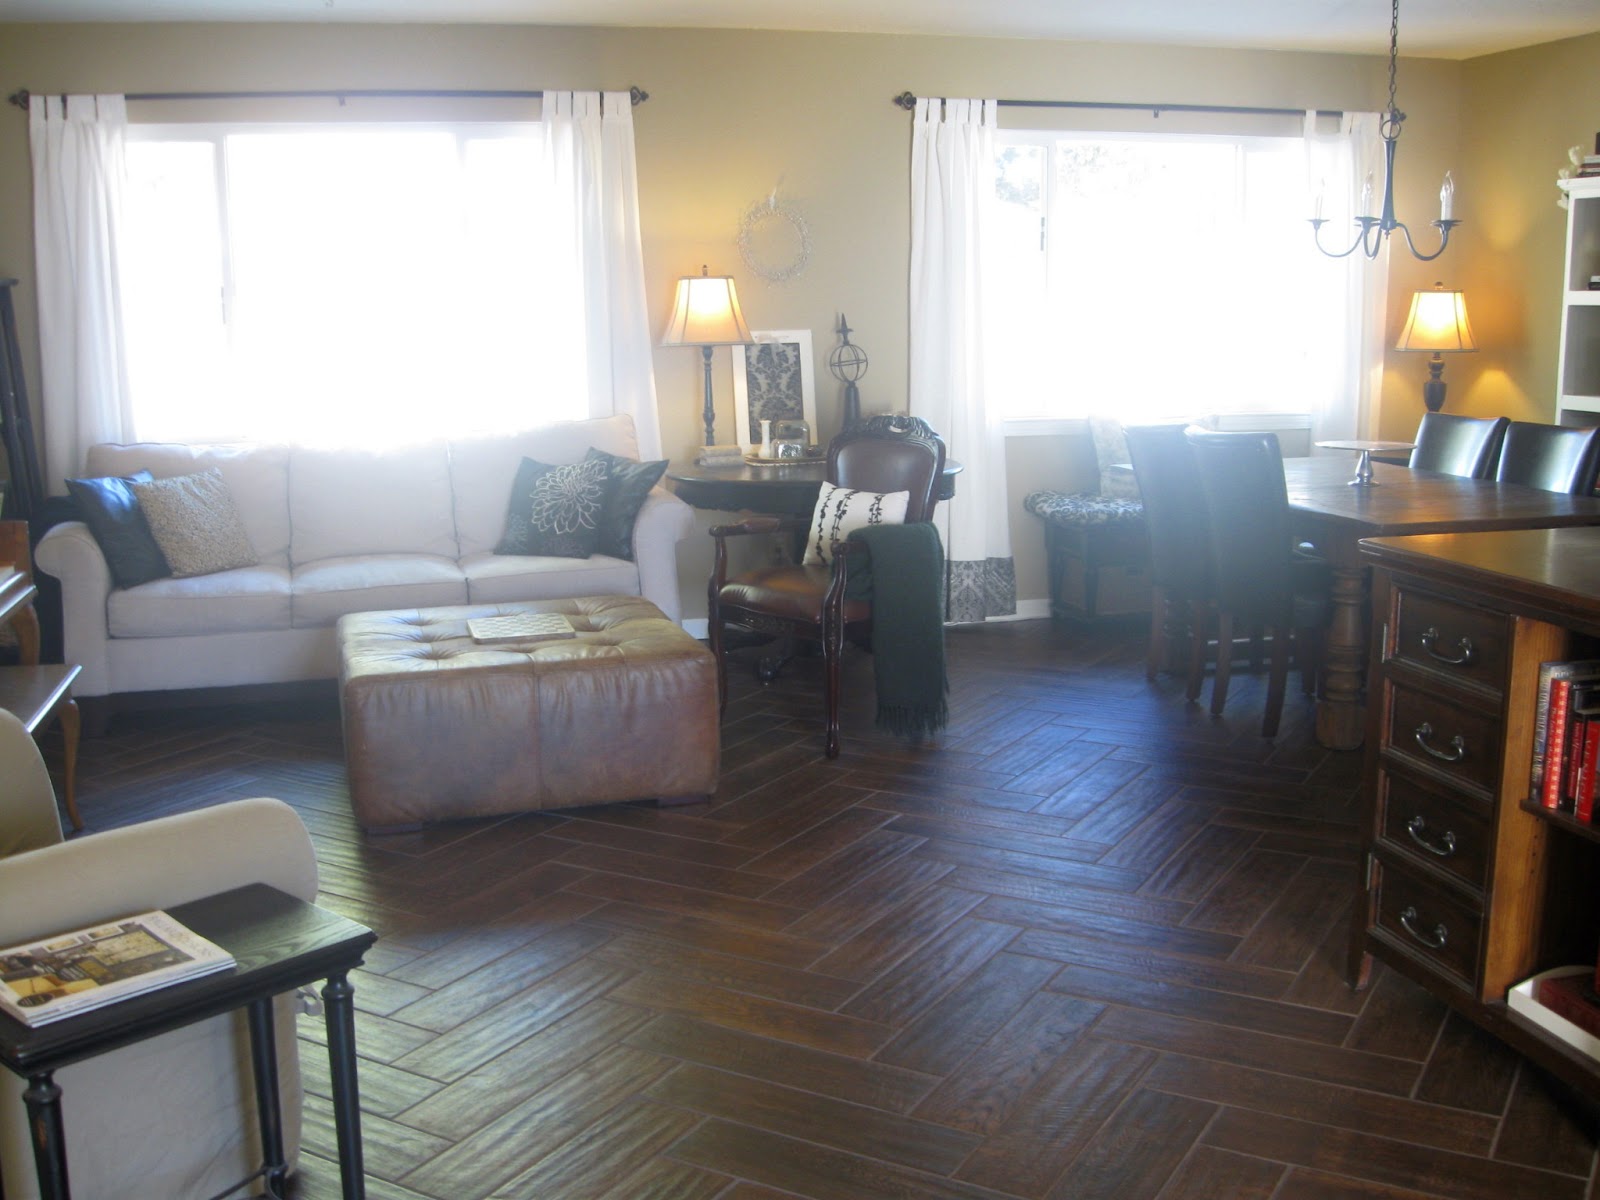
The thing I can say I learned from this process is to follow the manufacturer directions on the thinset and grout packages, and mark your lines carefully and often. Oh, and have a really wonderful husband on hand who is patient and believes in you. Happy Valentines Day Honey! (Oh, by the way, did I mention we need area rugs now? I need to go shopping...)


Johanna says
That looks incredible Mer! What a nice result from such a headache 🙂
Brittney Danas says
We love this! Great job! Did you use spacers? if so what size?
Meredith says
Thank you! Yes, at least at first, we used 1/4" spacers. Sometimes you can do without, but with a difficult pattern like this they can be a life-saver! I wanted the smallest possible grout lines, so it would look more like real wood planks.