The Palette Muse

menu icon
go to homepage
  • DIY
    • Home Improvement
    • Home Maintenance
    • DIY with Paint
    • DIY Decor
    • Cabinets
    • Furniture
    • Camper
    • Makeovers
    • Tips
    • Tools
    • $100 Room Challenge
  • Crafts
    • Painting Crafts
    • Paper Crafts
    • Fabric and Yarn
    • Wreaths and Banners
    • Handmade Gifts
    • Christmas
    • Art
  • Design
    • Color
    • House Flipping
    • Home Staging
    • Bathroom
    • Bedroom
    • Home Office
    • Kitchen Design
    • Home Decorating
    • Outdoor Decor
  • Organizing
    • Airbnb
    • Cleaning
    • Planners and Worksheets
    • Printables
    • Saving Money
  • Family
    • Recipes
    • Camping
    • Creativity
    • Faith
    • Holidays
    • Musings
  • Printables
    • Get the Newsletter and Free Printables
  • About Me
    • Work With Me
      • Affiliate Disclosure
      • Disclosures & Disclaimers
      • Privacy Policy

subscribe
search icon
Homepage link
  • DIY
    • Home Improvement
    • Home Maintenance
    • DIY with Paint
    • DIY Decor
    • Cabinets
    • Furniture
    • Camper
    • Makeovers
    • Tips
    • Tools
    • $100 Room Challenge
  • Crafts
    • Painting Crafts
    • Paper Crafts
    • Fabric and Yarn
    • Wreaths and Banners
    • Handmade Gifts
    • Christmas
    • Art
  • Design
    • Color
    • House Flipping
    • Home Staging
    • Bathroom
    • Bedroom
    • Home Office
    • Kitchen Design
    • Home Decorating
    • Outdoor Decor
  • Organizing
    • Airbnb
    • Cleaning
    • Planners and Worksheets
    • Printables
    • Saving Money
  • Family
    • Recipes
    • Camping
    • Creativity
    • Faith
    • Holidays
    • Musings
  • Printables
    • Get the Newsletter and Free Printables
  • About Me
    • Work With Me
      • Affiliate Disclosure
      • Disclosures & Disclaimers
      • Privacy Policy

×

When NOT to D.I.Y.

Modified: Mar 26, 2024 · This post may contain affiliate links · 4 Comments

  • Share
  • Email
  • Print

How we learned when not to DIY a big flooring project, and how it's coming along now...

In my last post, I alluded to my life being a bit messy right now, and I had hoped that by this time I'd be posting triumphantly about the project that has made it so. 

But no.  I'm still in the middle of said project, and instead I'm realizing the best thing I can post about today is how not to get into this kind of situation. 

What I have learned through this project is important-- when NOT to do it yourself.
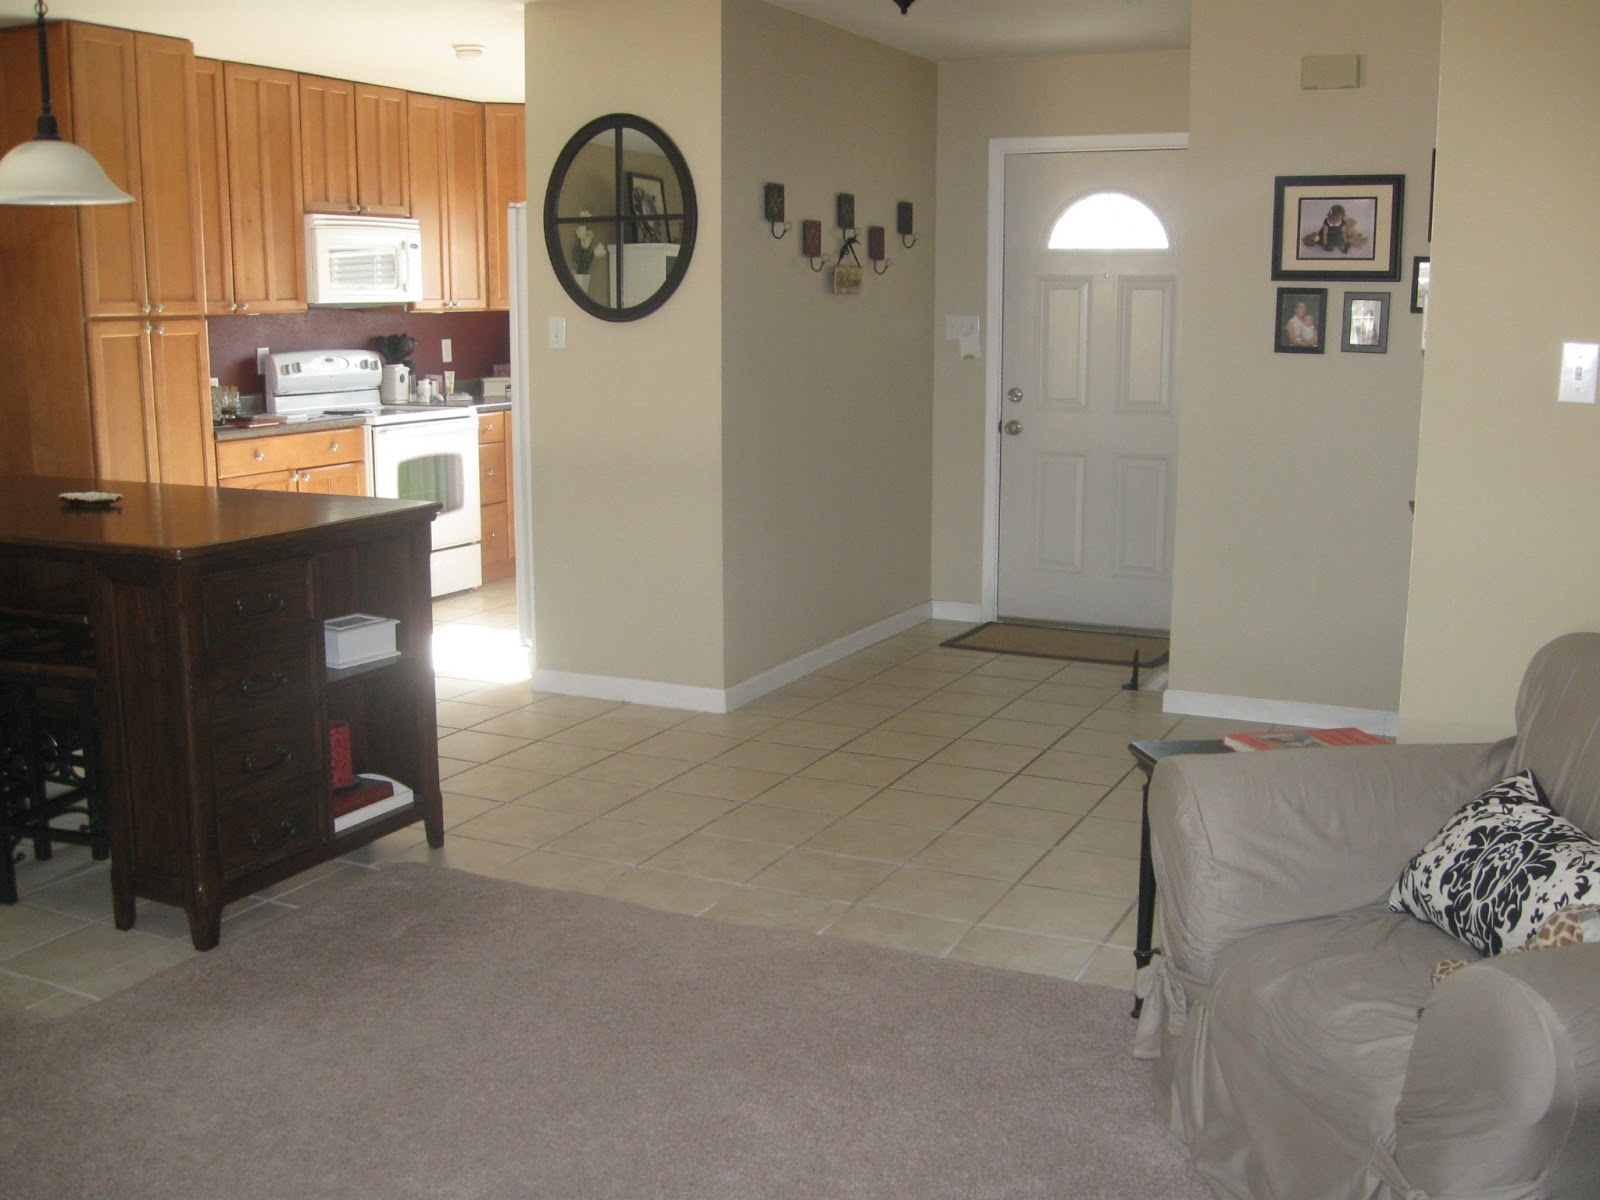
Before

Being a designer,  I sometimes have ideas that, while wonderful in theory, are quite difficult to achieve in real life.  Being a DIY-er, I feel like if I have an idea, I should be able to carry it out. 

This time, Designer and DIY-er met smack in the middle, with temporarily catastrophic results.

To DIY or Not to DIY

For years, I've been wanting to rip out my carpet and tile floors, and replace them with wood flooring, to pull everything together.  It took a while for Hubby and me to agree on a product, and when we did, that product turned out to be wood tile, laid in a herringbone pattern. 

My contractor buddy looked at me like I was crazy when I shared this idea with him, and now I know why.  It's hard!  
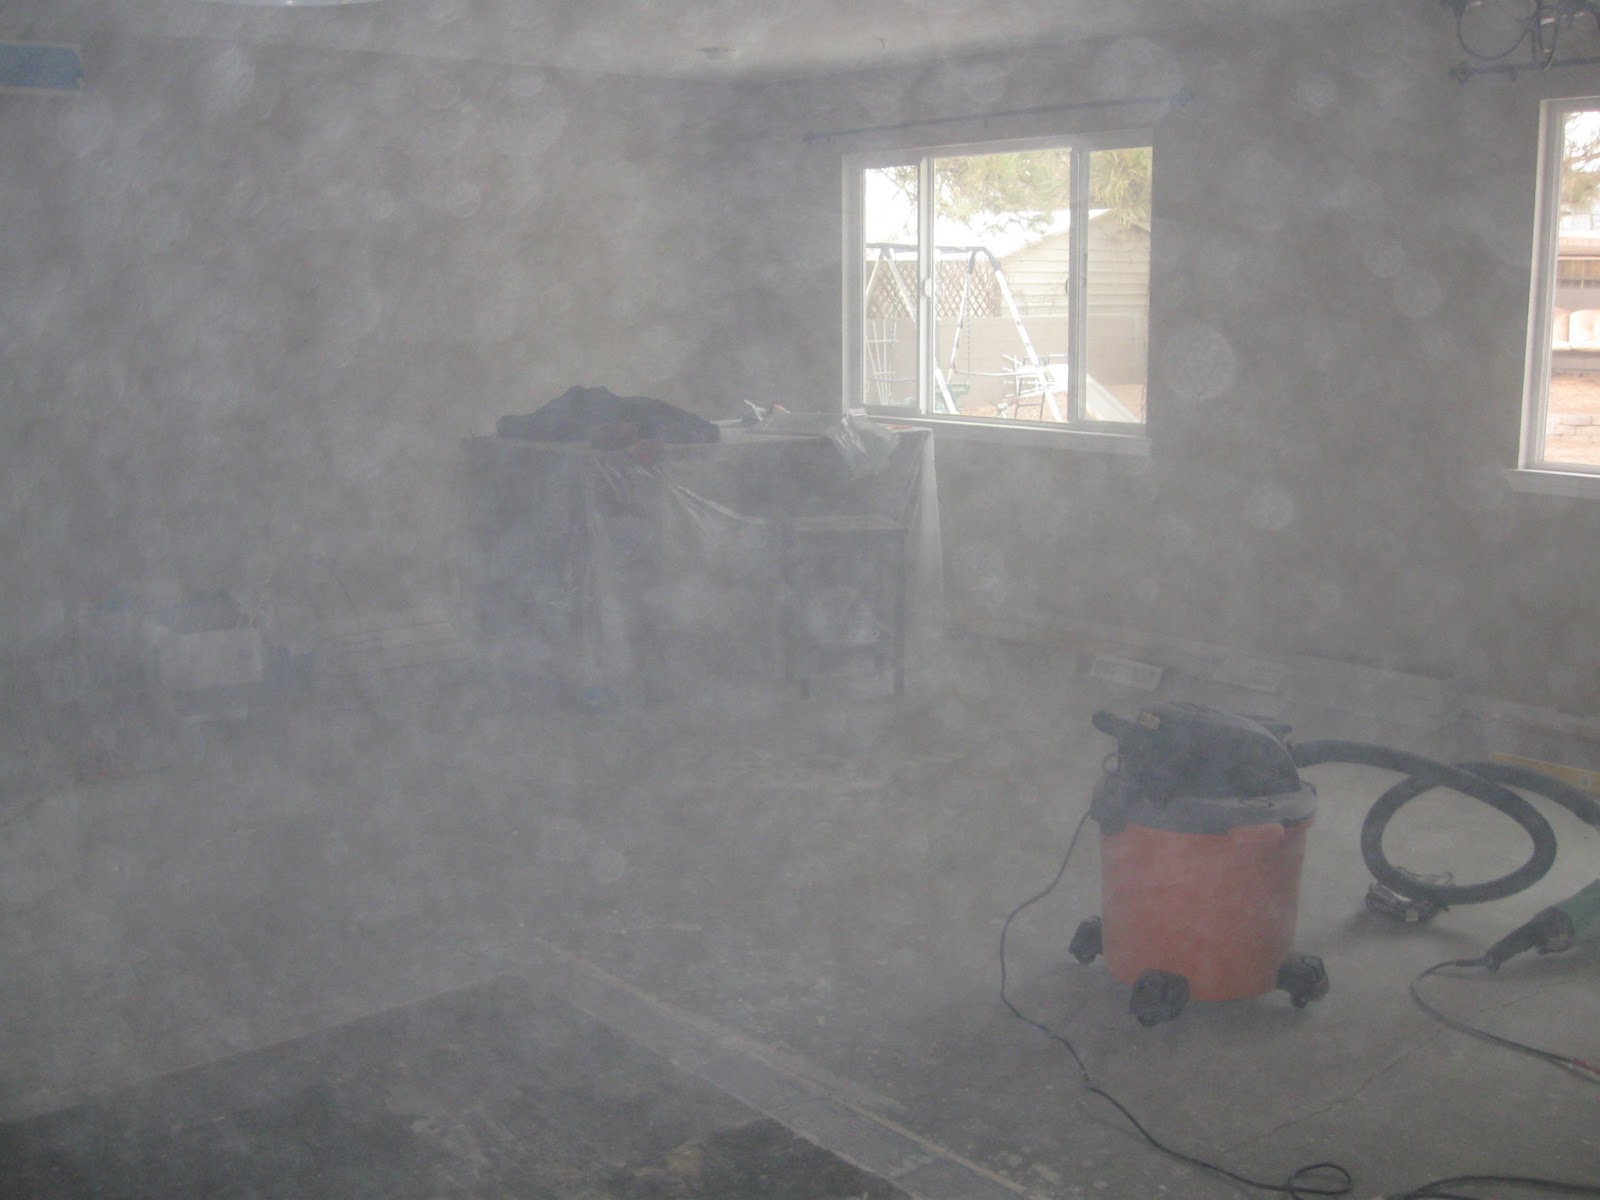
Dust.  So much dust.

But not to be deterred by such a pesky little thing as a professional's opinion, we waded in and started ripping out flooring.  In the middle of our house.  Where the whole family walks through multiple times a day.  Including the kitchen, laundry room, and front entryway. 

Oh, and did I mention the asbestos-ridden linoleum under the kitchen floor? 

Yes, there were many moments along the way when we should have looked at each other and simultaneously reached for the phone to call a professional. 

But, no, we did not do that.  Instead we are slowly piecing together the new floor, learning as we go.

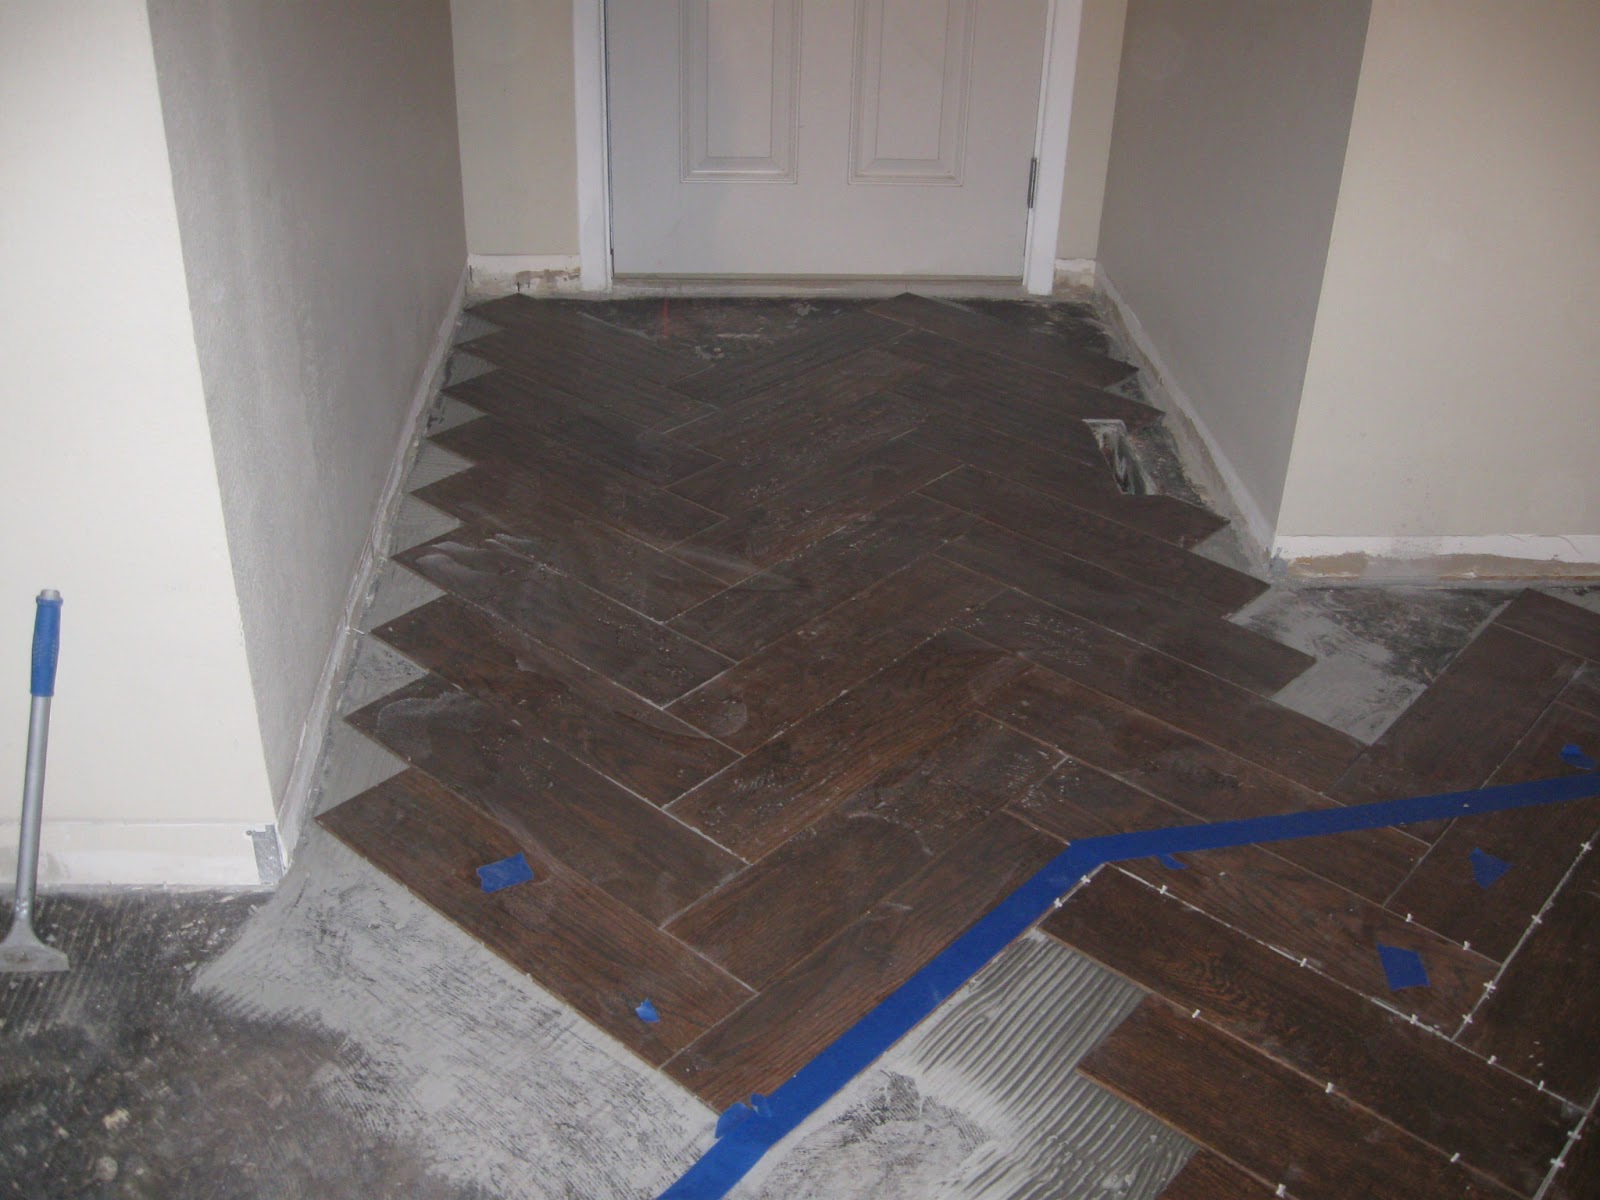
One whole day's work

Every day when our kids come home from school, there is a new chunk of floor that they can't walk on.  It's become a game of sorts. 

There is a reason why people move out of their homes for a week while contractors come in to demolish and install flooring.  Because if you don't move out for a week, you have to do it in very small pieces, which takes more like two months!
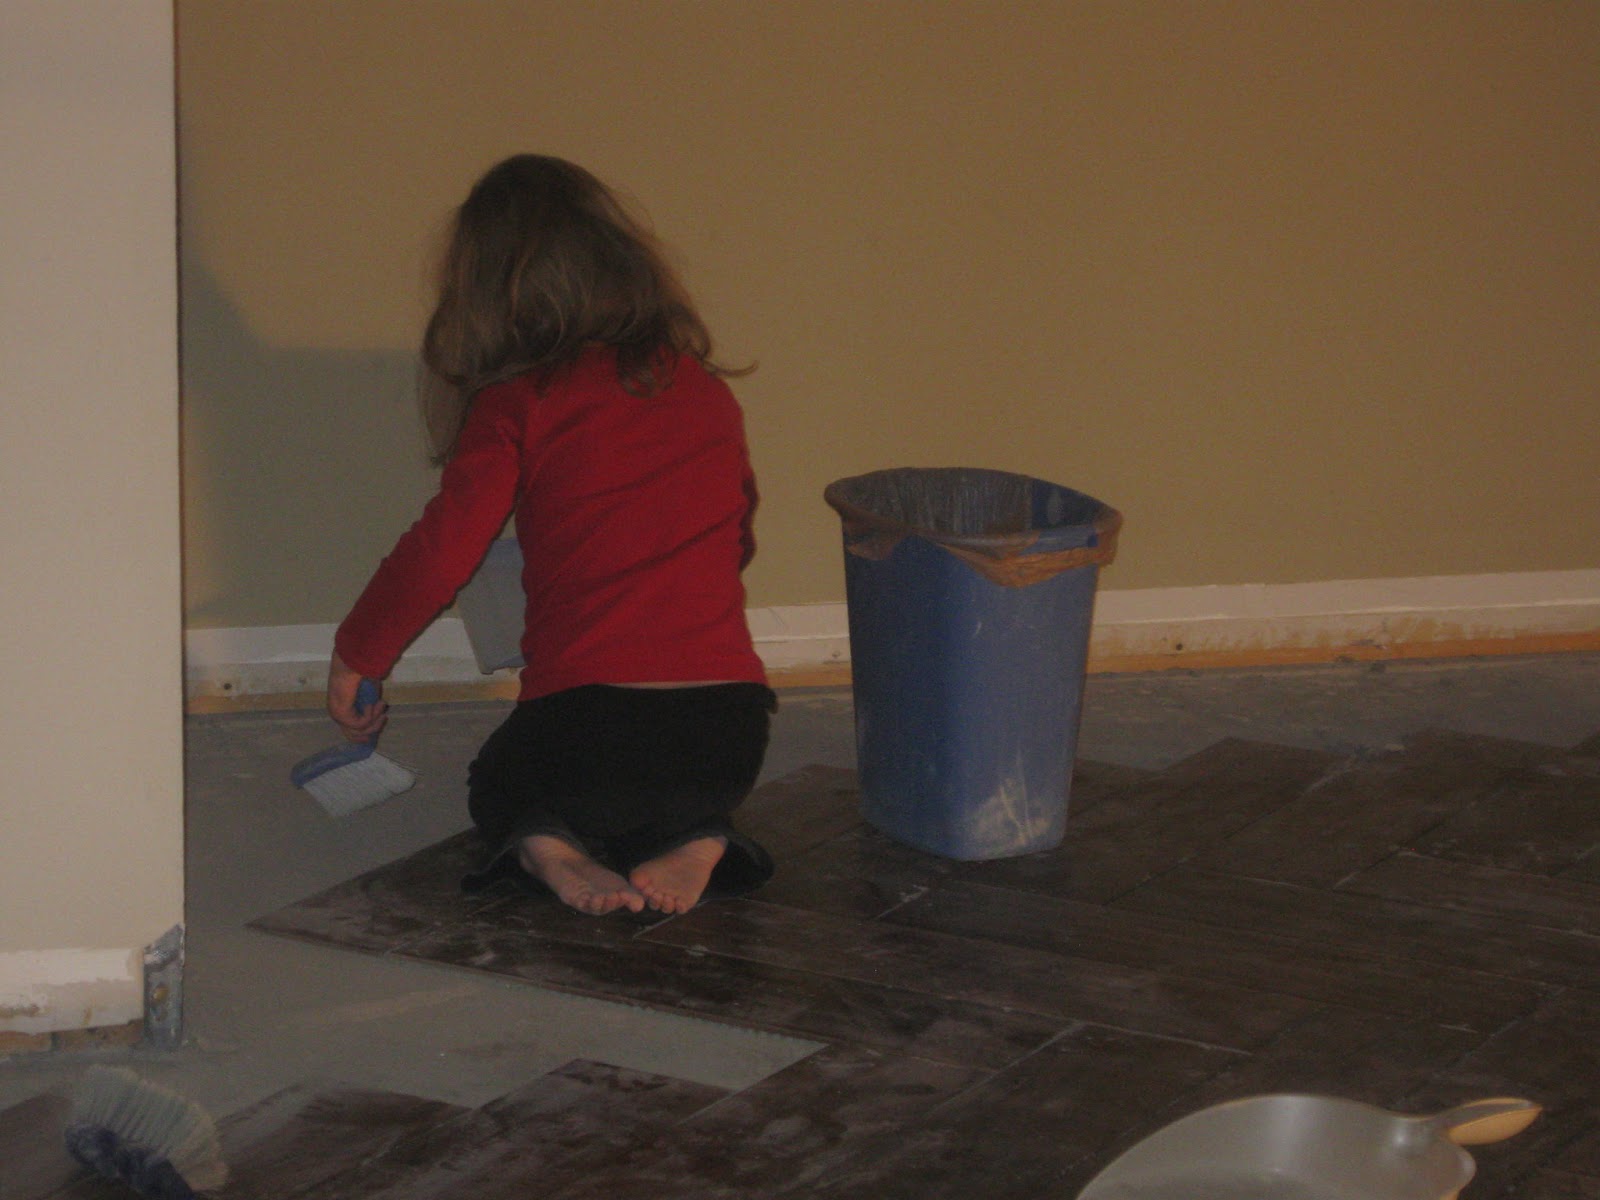
Little Helper

Anyway, the good news is that we are about halfway done (after 3 weekends and several half-days during the week) and by now, I think we sort of know what we're doing.  Hopefully soon, I'll be posting "after" pictures. 

All I can say for now is, "just because it can be done, doesn't mean you need to be the one doing it."  Sometimes the best thing a DIY-er can do is pick up the phone and call a professional.

More DIY

  • Kitchen under cabinet lighting
    How to Choose and Install the Best Under Cabinet Lighting for your Kitchen
  • Using liquid mask to save time painting window frames
    My Time Saving Trick for Painting Window Frames and Mirrors
  • Cabinets with long drawer pulls, all lined up vertically
    How to Install Long Drawer Pulls without a Template
  • Scraping the air bubbles out after applying Privacy Film to a window.
    How to Install Window Film to Upgrade Your View

Comments

  1. Anita C. Lee says

    January 18, 2013 at 5:05 pm

    Oh, but it will be soooo beautiful when it's finished!

    Reply
  2. Johannah Ruddy says

    January 24, 2013 at 9:44 pm

    This made me laugh, only because I have been in the same situation when we decided to install our own wood flooring in the dining room...after two days and numerous packages of wood ruined from our lack of know-how, we had to call someone to finish the job. Of course, it took him about 4 hours and it was done! We haven't tried any other DIY projects yet...Bryan is still worried about our skills in any other area of the house! 🙂
    Can't wait to see the "after" photos!

    Reply
    • Meredith Wouters says

      January 31, 2013 at 3:18 pm

      That's what haunts me - how long ago this project would have been finished if we'd called in the pros! We're closing in on it though, hopefully this weekend... 🙂

      Reply

Trackbacks

  1. The Trick to Baseboards - The Palette Muse says:
    February 11, 2016 at 4:40 pm

    […] have to go around the tops of them and caulk that little seam between the trim and the wall. After such a long project, we ran out of steam before that step, and said, “we’ll do it next weekend.” […]

    Reply

Leave a Reply Cancel reply

Your email address will not be published. Required fields are marked *

Welcome!

I'm Meredith, the designer, crafter, and DIY-er behind The Palette Muse. I love all things colorful and creative, and I love sharing them with you. Thanks for visiting today!

More about me

Popular

  • The best way to paint kitchen cabinets, with no sanding
    The Best Way to Paint Kitchen Cabinets (No Sanding!)
  • How to install double barn doors
    What I Wish I'd Known about Double Barn Doors
  • How to Paint Laminate Cabinets
    How to Paint Laminate Cabinets without Sanding
  • How to make your own simple chair covers
    How to Make Your Own Simple Chair Covers

Seasonal

  • Color palette based on Tourmaline crystals with aqua, green, amethyst, and mauve
    Tourmaline Color Palette
  • Thoughts on empty nesting, represented by a book, glasses, a candle, and a small white pumpkin.
    3 Things I've Learned in my First 3 Weeks Empty Nesting
  • Turquoise and terracotta complement each other in this Southwestern inspired turquoise color palette.
    Turquoise Color Palette
  • New Mexican Hot Chocolate Recipe
    New Mexican Hot Chocolate Recipe

Footer

↑ back to top

About

  • Privacy Policy

Newsletter

  • Sign Up! for emails and updates

Contact

  • Work With Me

As an Amazon Associate I earn from qualifying purchases.

Copyright © 2025 The Palette Muse

  • Pinterest
  • Facebook
  • Email