
Find out how to give your front door a full makeover on a budget, including new trim and sidelights!
When I decided my front door needed a makeover, I was hoping to save myself some trouble by having the job done professionally. So I called around to get some price quotes.
I wanted to replace the whole set, including side lights (the name for those skinny windows on each side of the door), but my door is 42 inches wide, which is not a standard size. So the estimate came back at $24,000.
Ouch! Time to go back to the DIY drawing board.
In my defense, I did give this door a makeover once before, which definitely helped with the color, but now I was ready for something a little deeper.
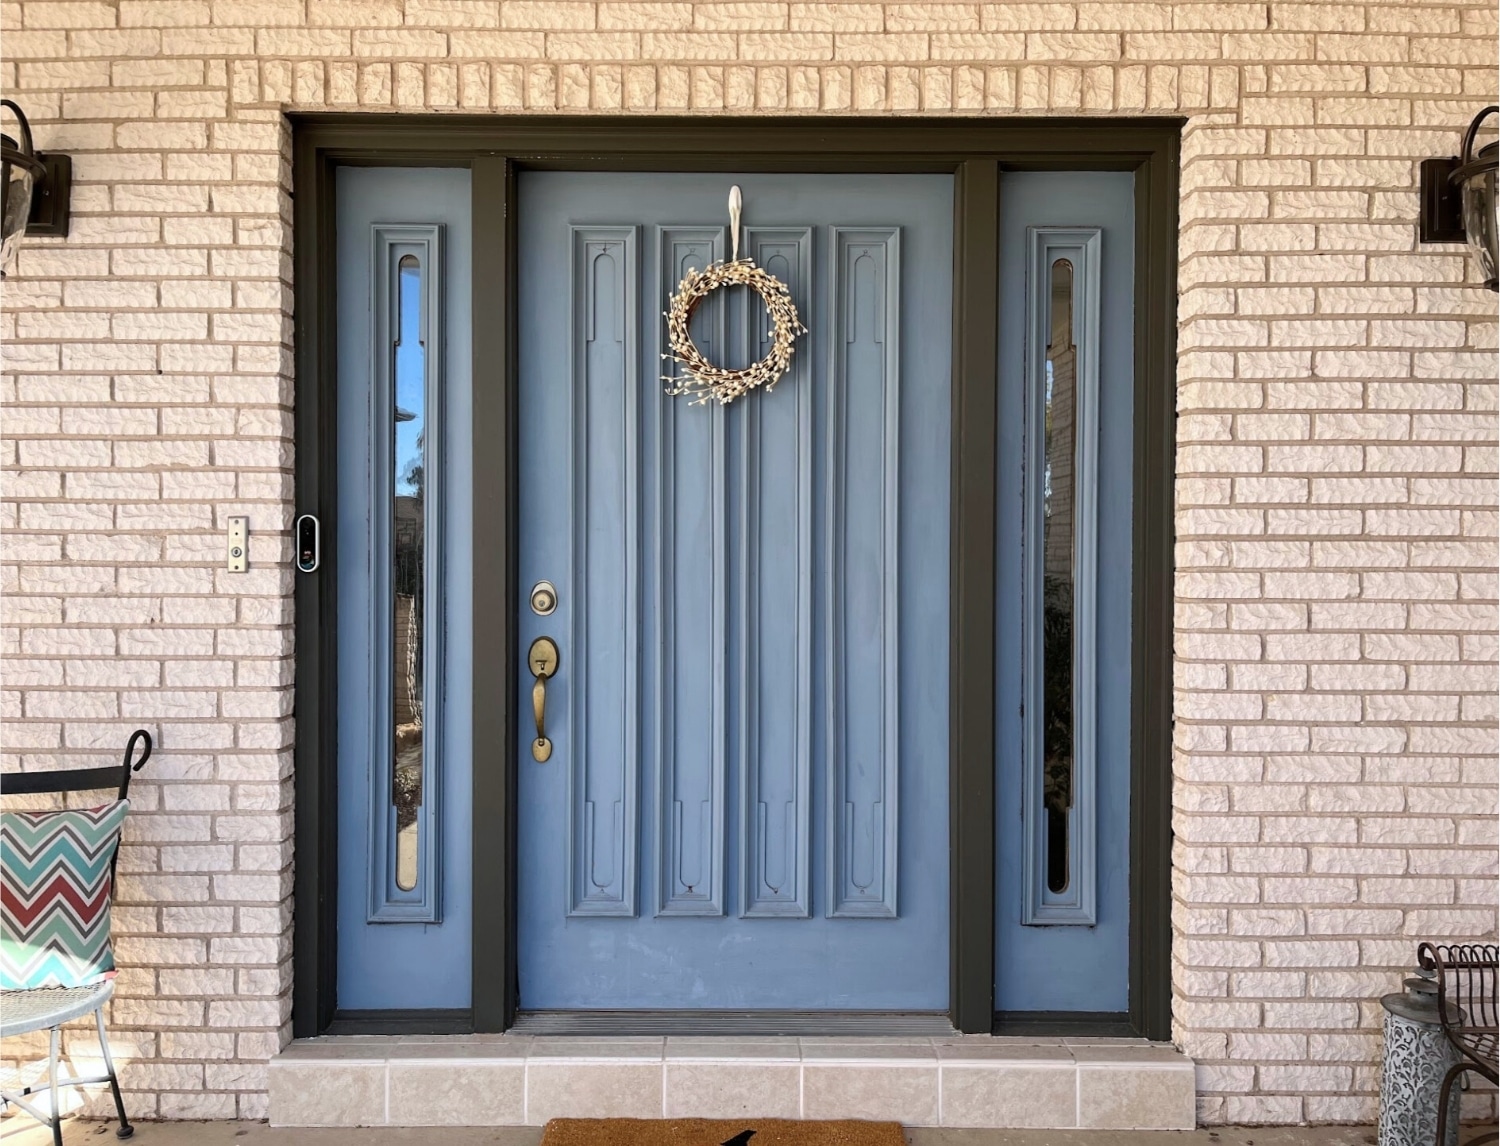
The basic structure of the door is sound, but I just didn't like the medeival look of the tiny side lights, with the chunky arched molding. They barely let in any light, and made the house look more like a fortress than a warm, welcoming home.
I found prefab side light kits that would fit the areas next to the door, with just a little modification. And with that, the journey began.
It was a long process, which included removing the molding and old windows, cutting holes for bigger windows, replacing the windows, adding more modern molding back on, and painting the door.
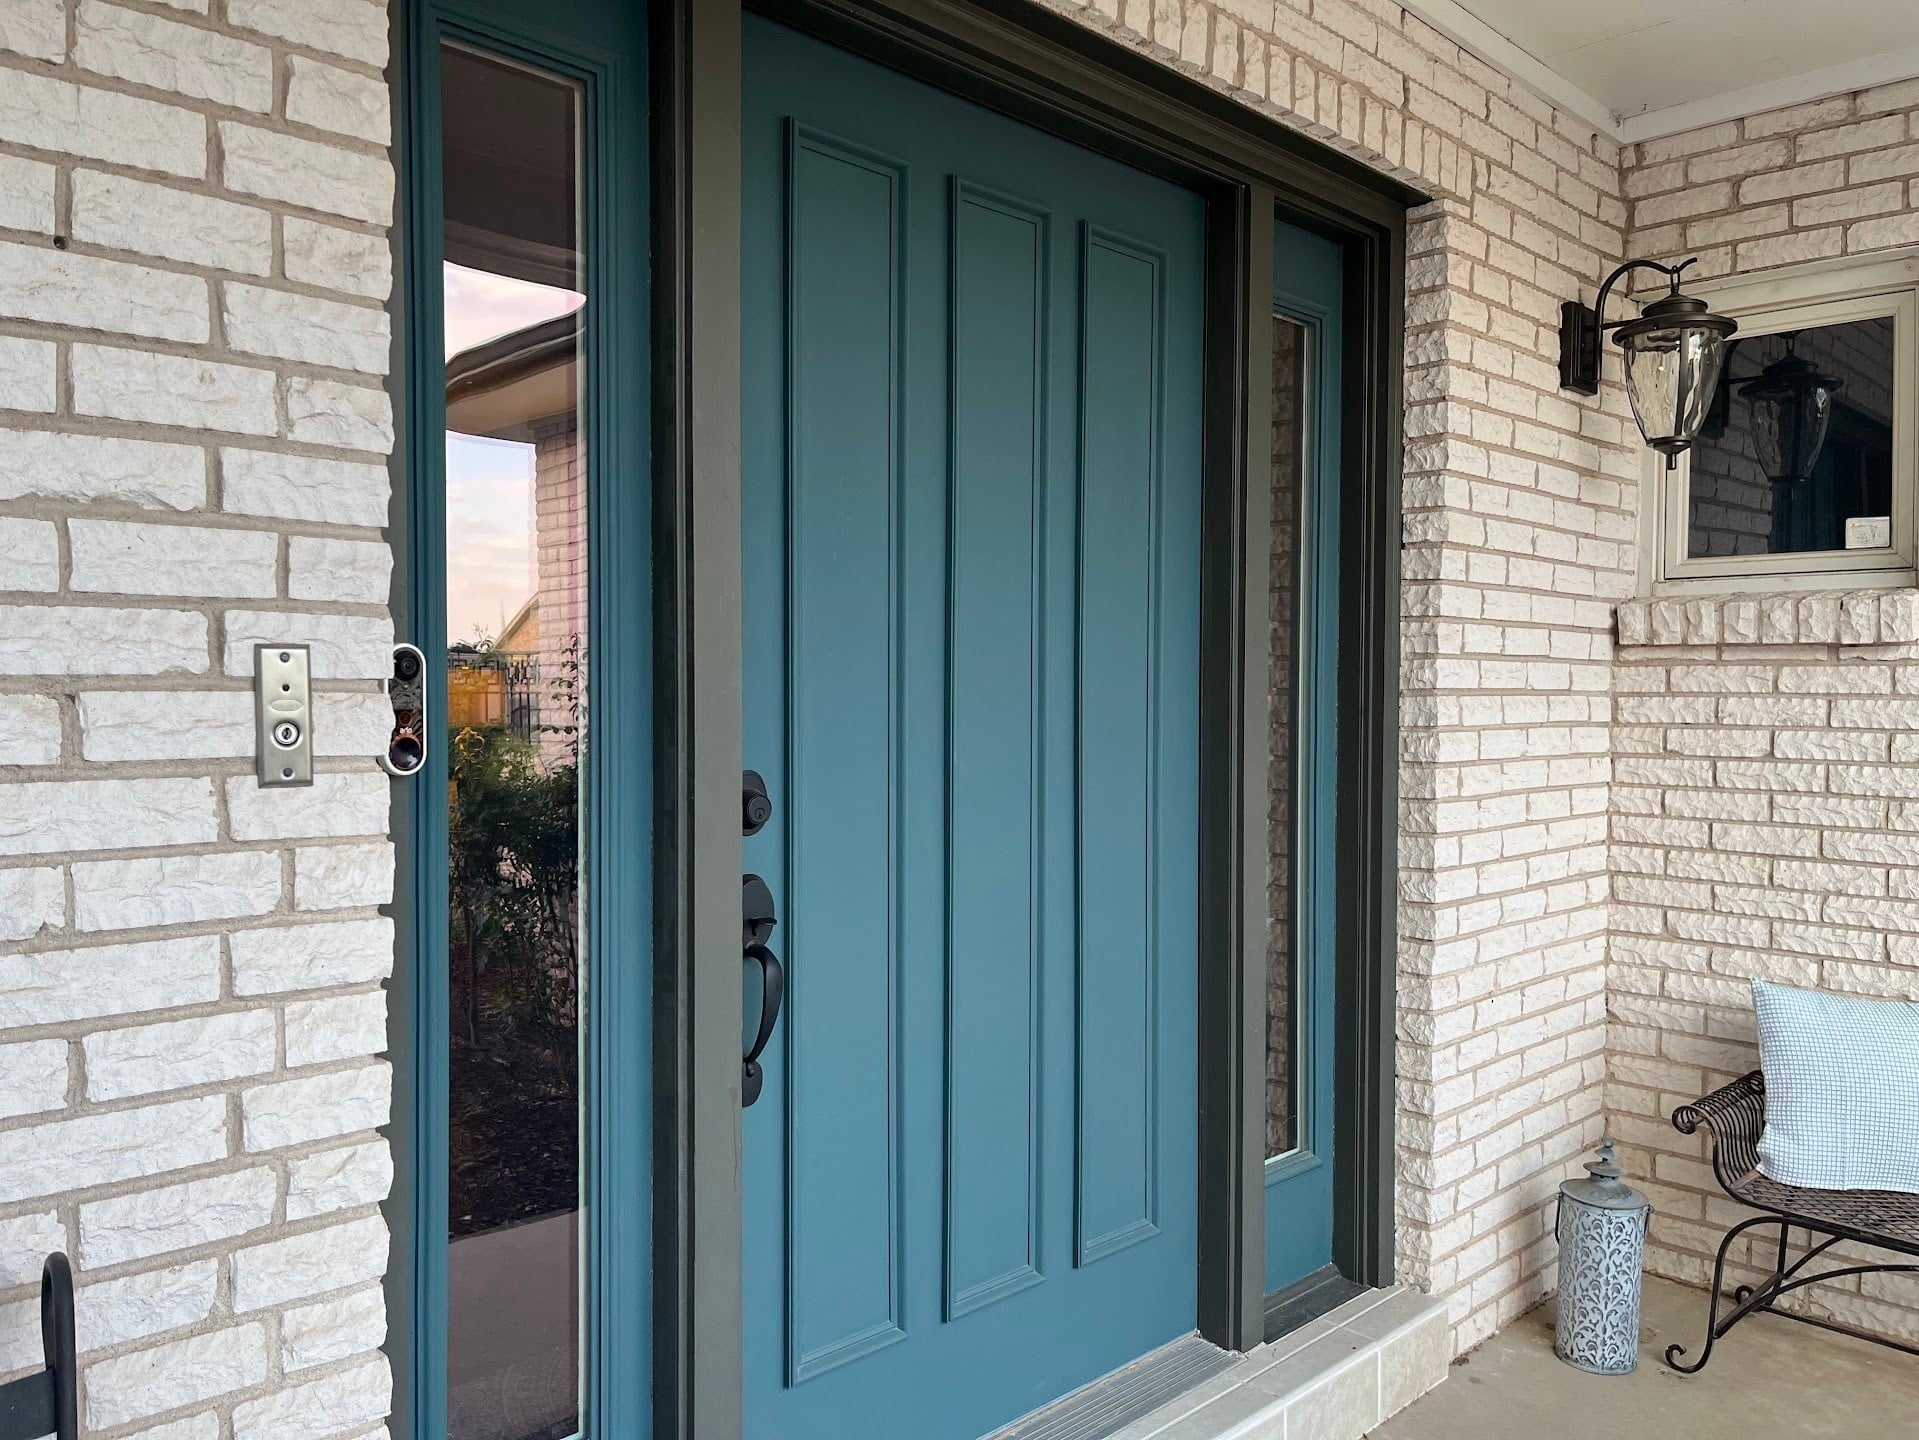
Also, because I really am that cheap, I painted the old hardware black, rather than buying a new set. The whole job came out to just under $600 and I couldn't be happier with the results!
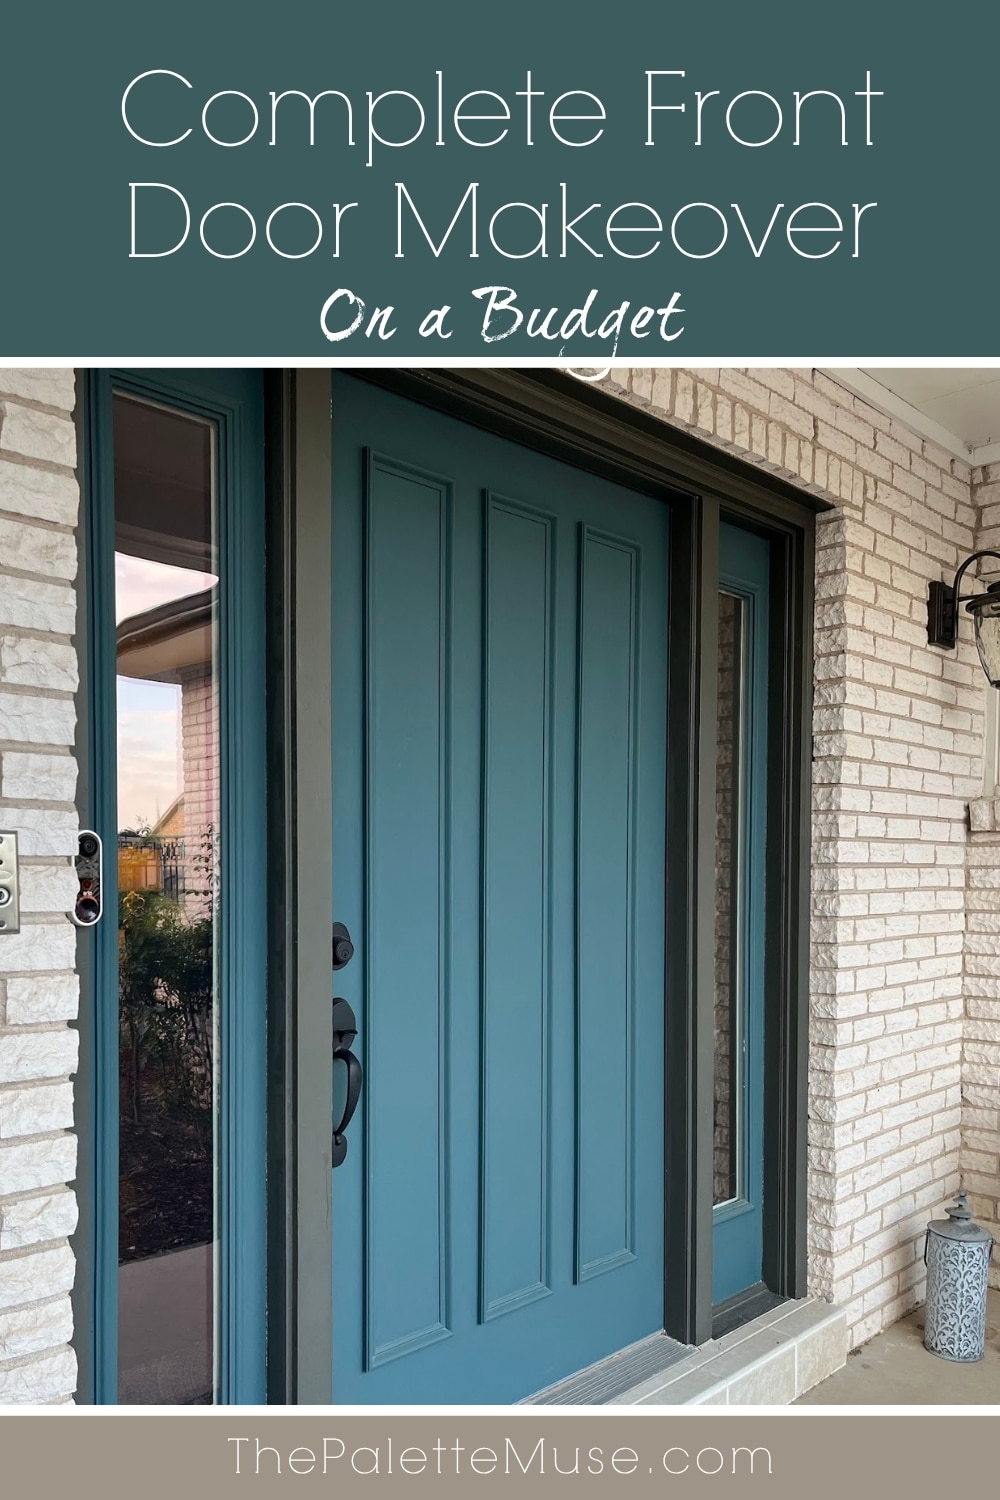
Complete Front Door Makeover
Here's the step by step process we used to give our front door and entryway a whole new look.
Measure like, 15 times
There was a lot of math to this project, which always makes me nervous. I needed to make sure to get the right size side lights, and then I needed to figure out how to replace the molding in a pattern that fit the molding of the side lights.
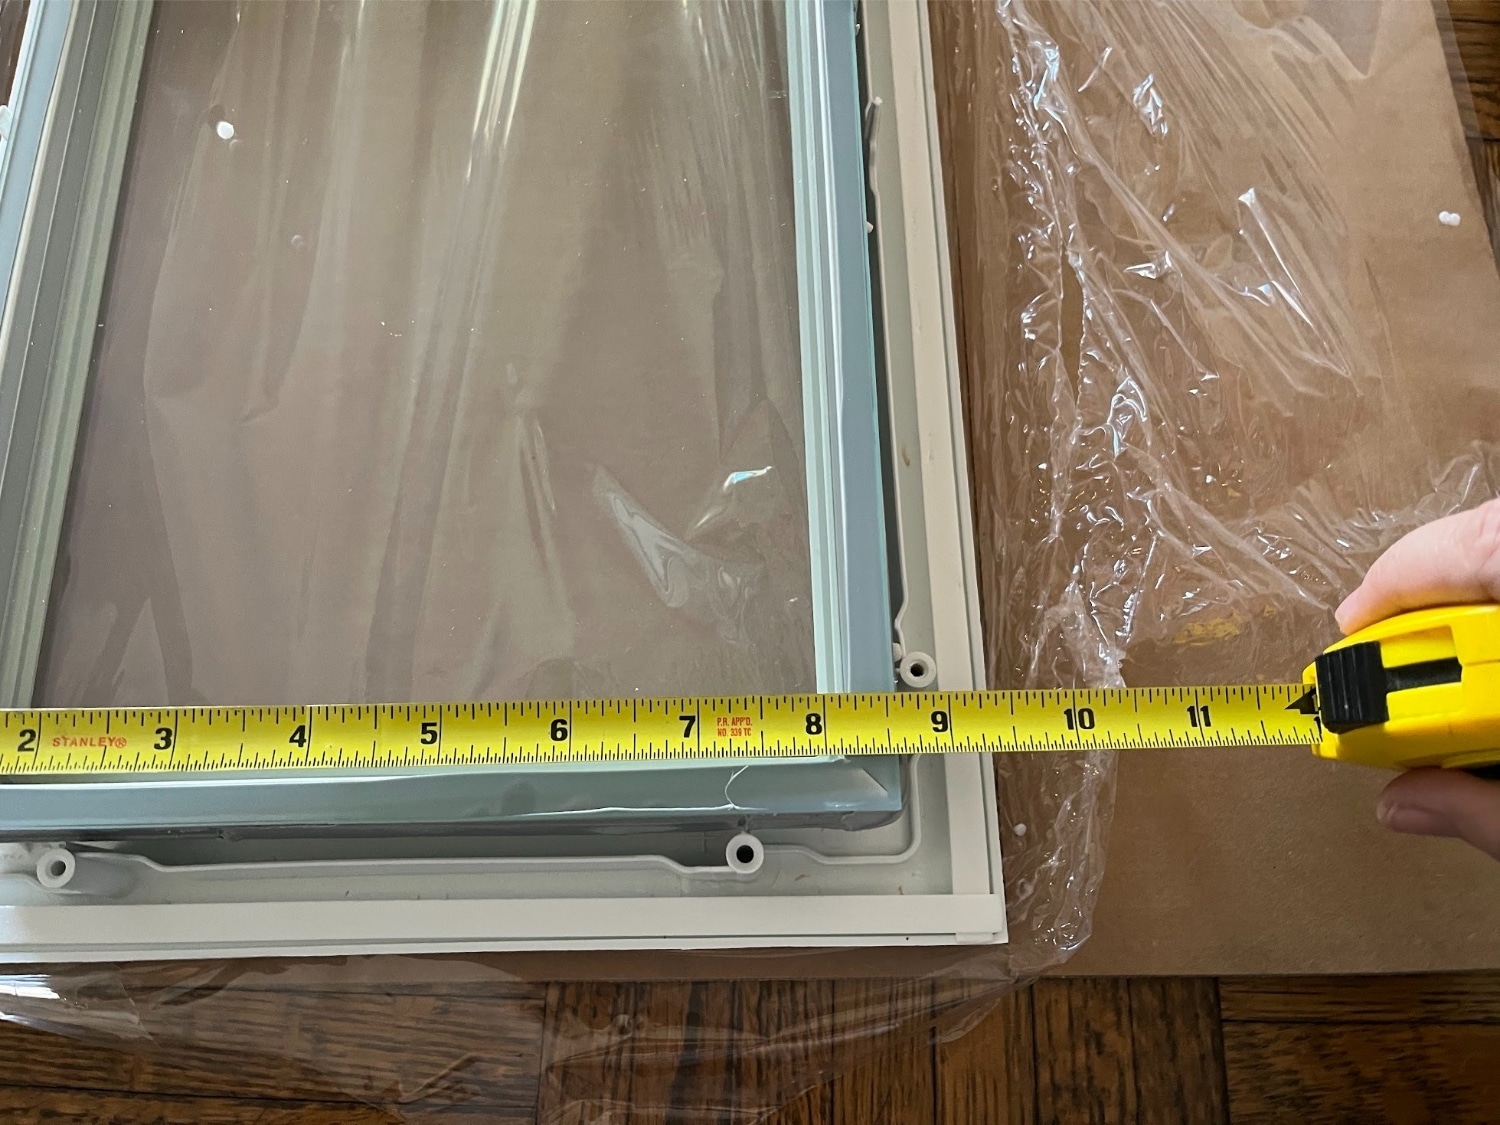
When measuring to cut the openings for the side lights, I bought the windows that fit the space the best, then I opened them up and actually measured the exact size of the frames. That's the best way to get an accurate size for the openings.
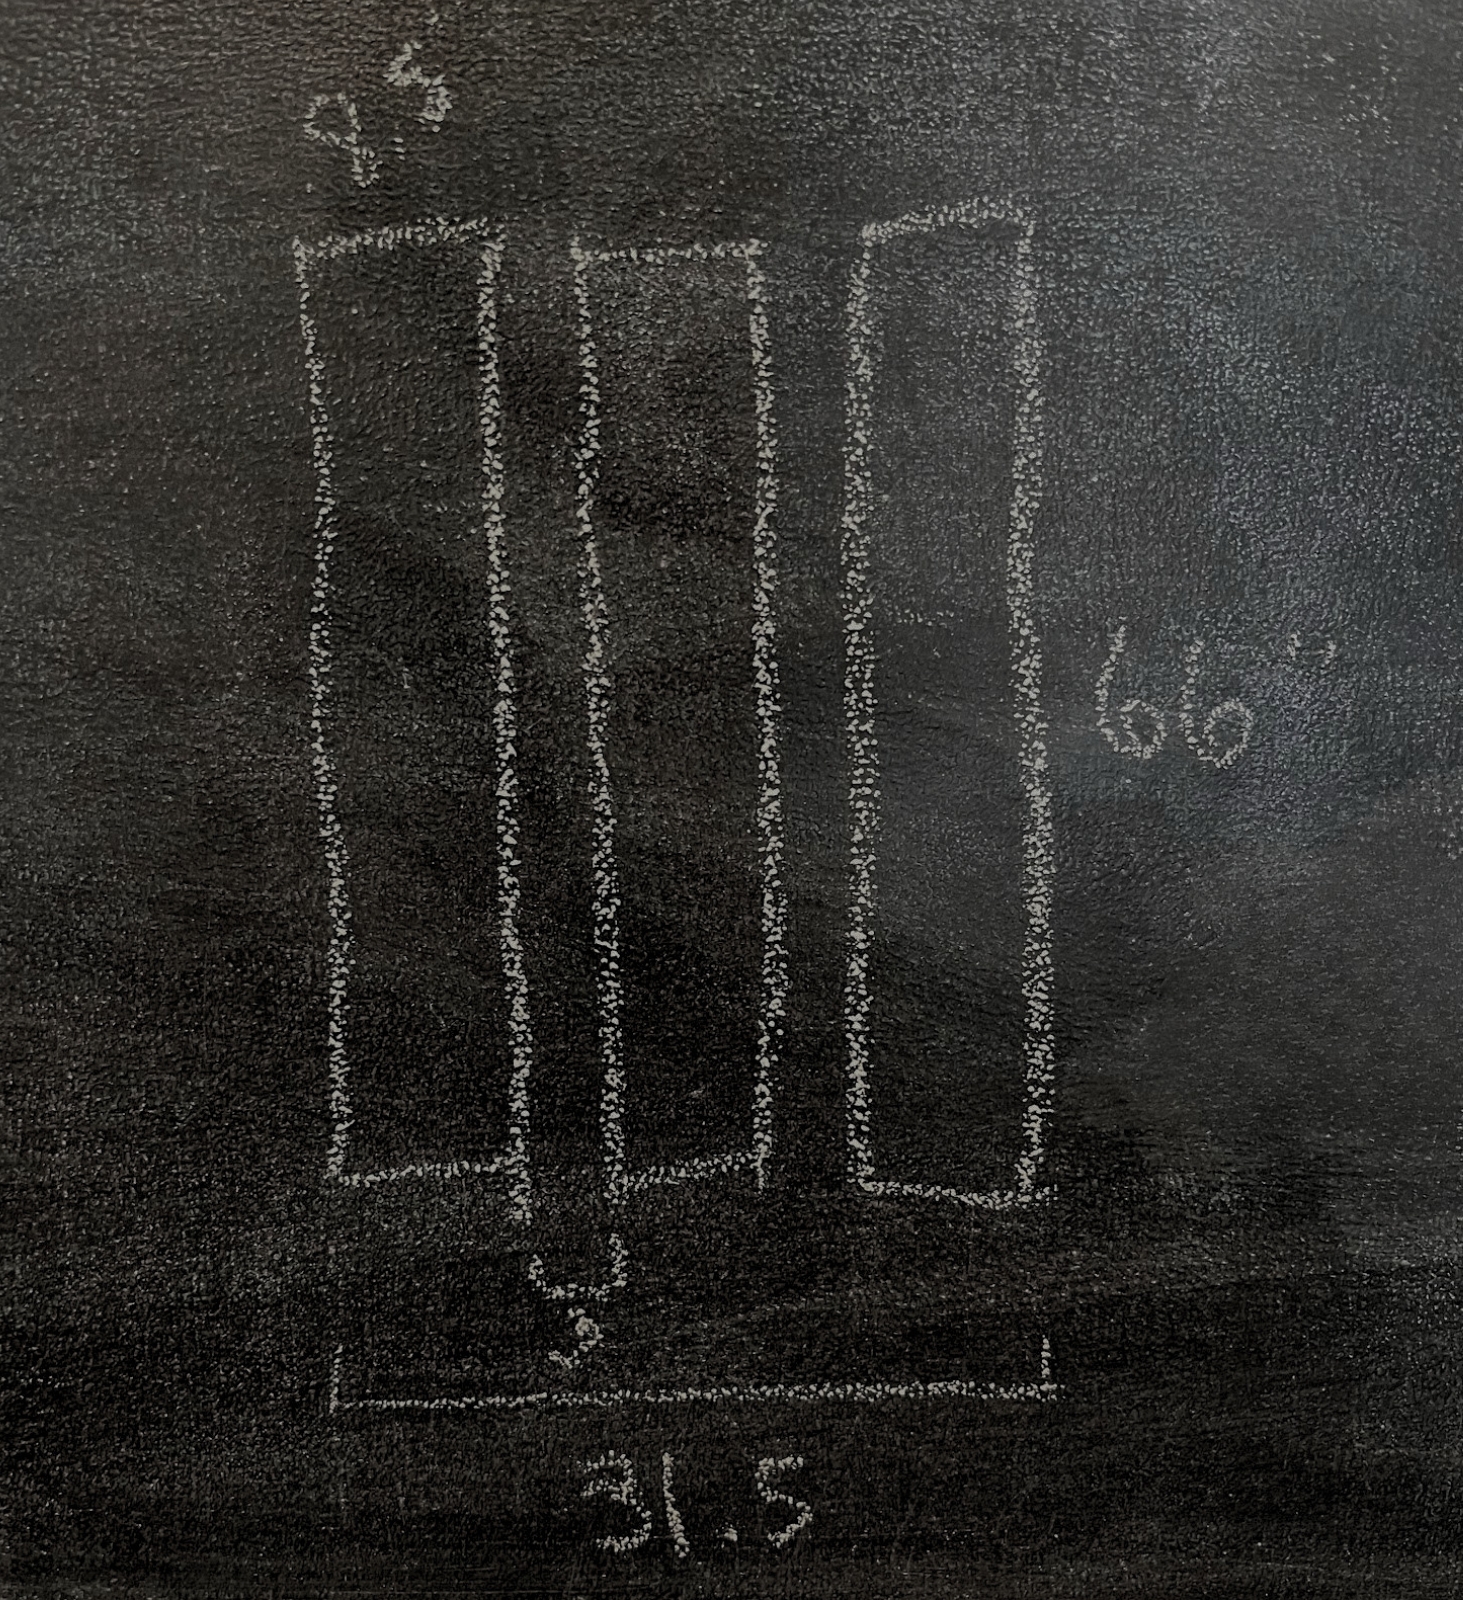
For the molding on the front of the door, I wanted to go with panels that were about the same width as the side light molding, so the whole effect would be cohesive. It took a little trial and error, but I was able to come up with a layout that I liked by drawing it on the chalkboard a few times.
Replace the Side Lights
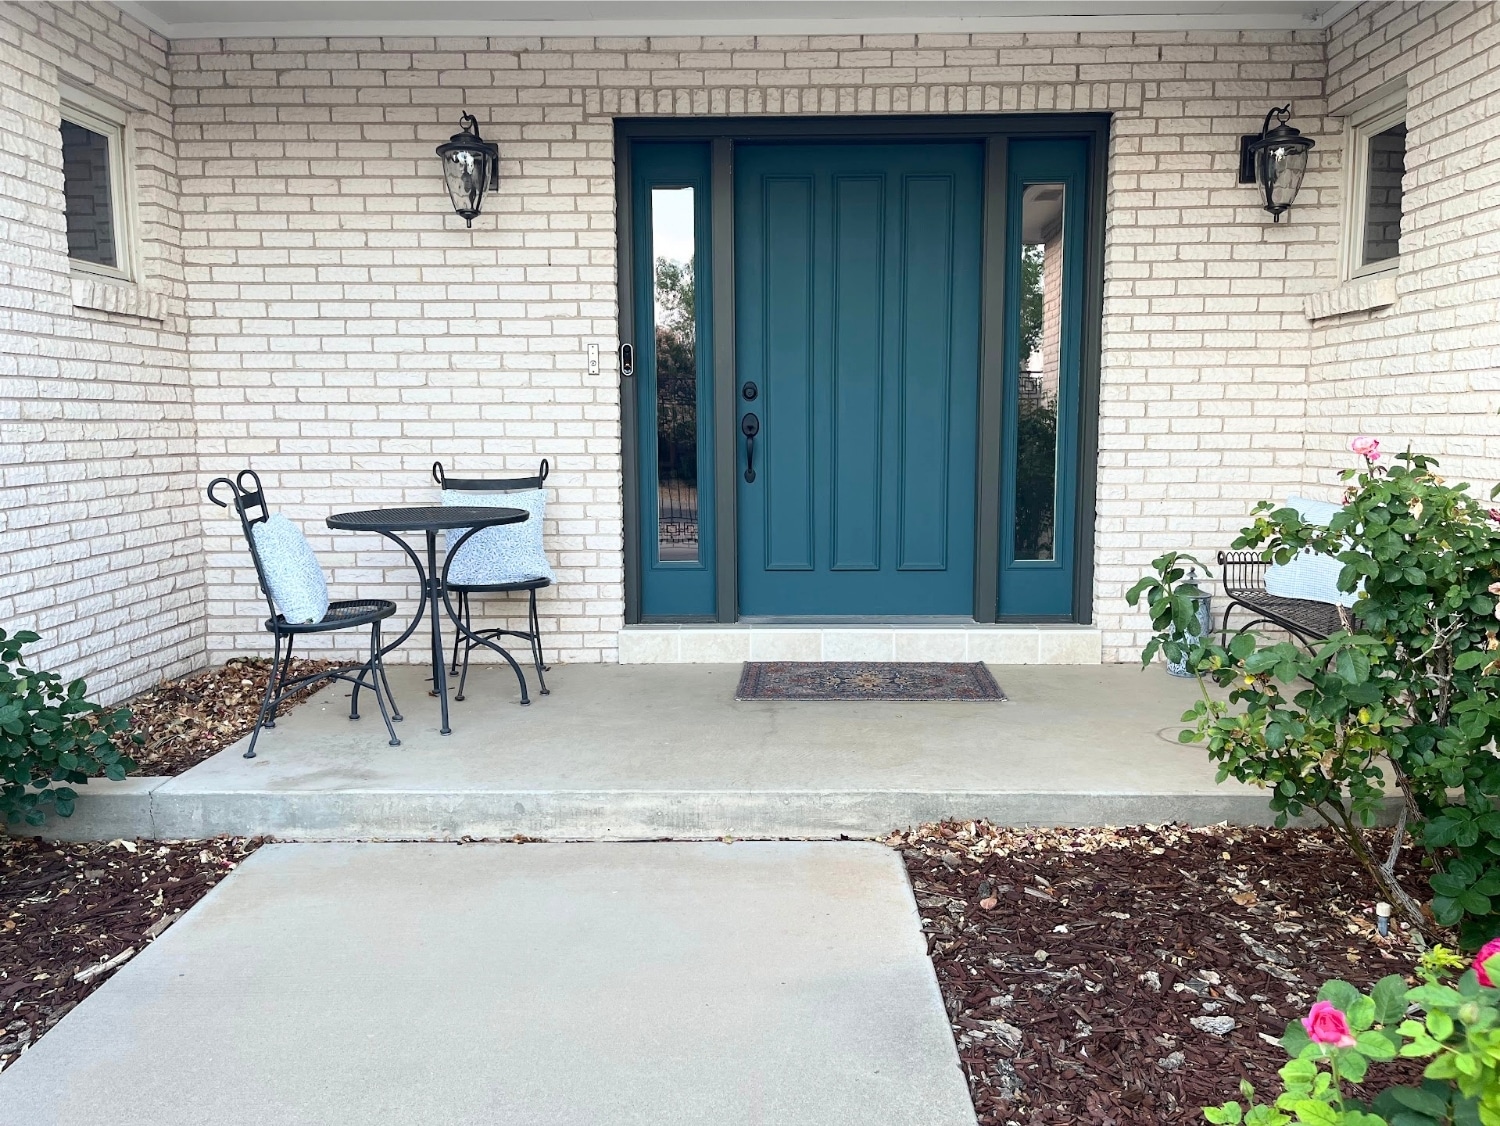
The biggest driver of this project was wanting more light coming into my front room. You wouldn't think adding a few inches to each side light would make enough difference, but it really did!
Plus, the old dated molding really needed an update.
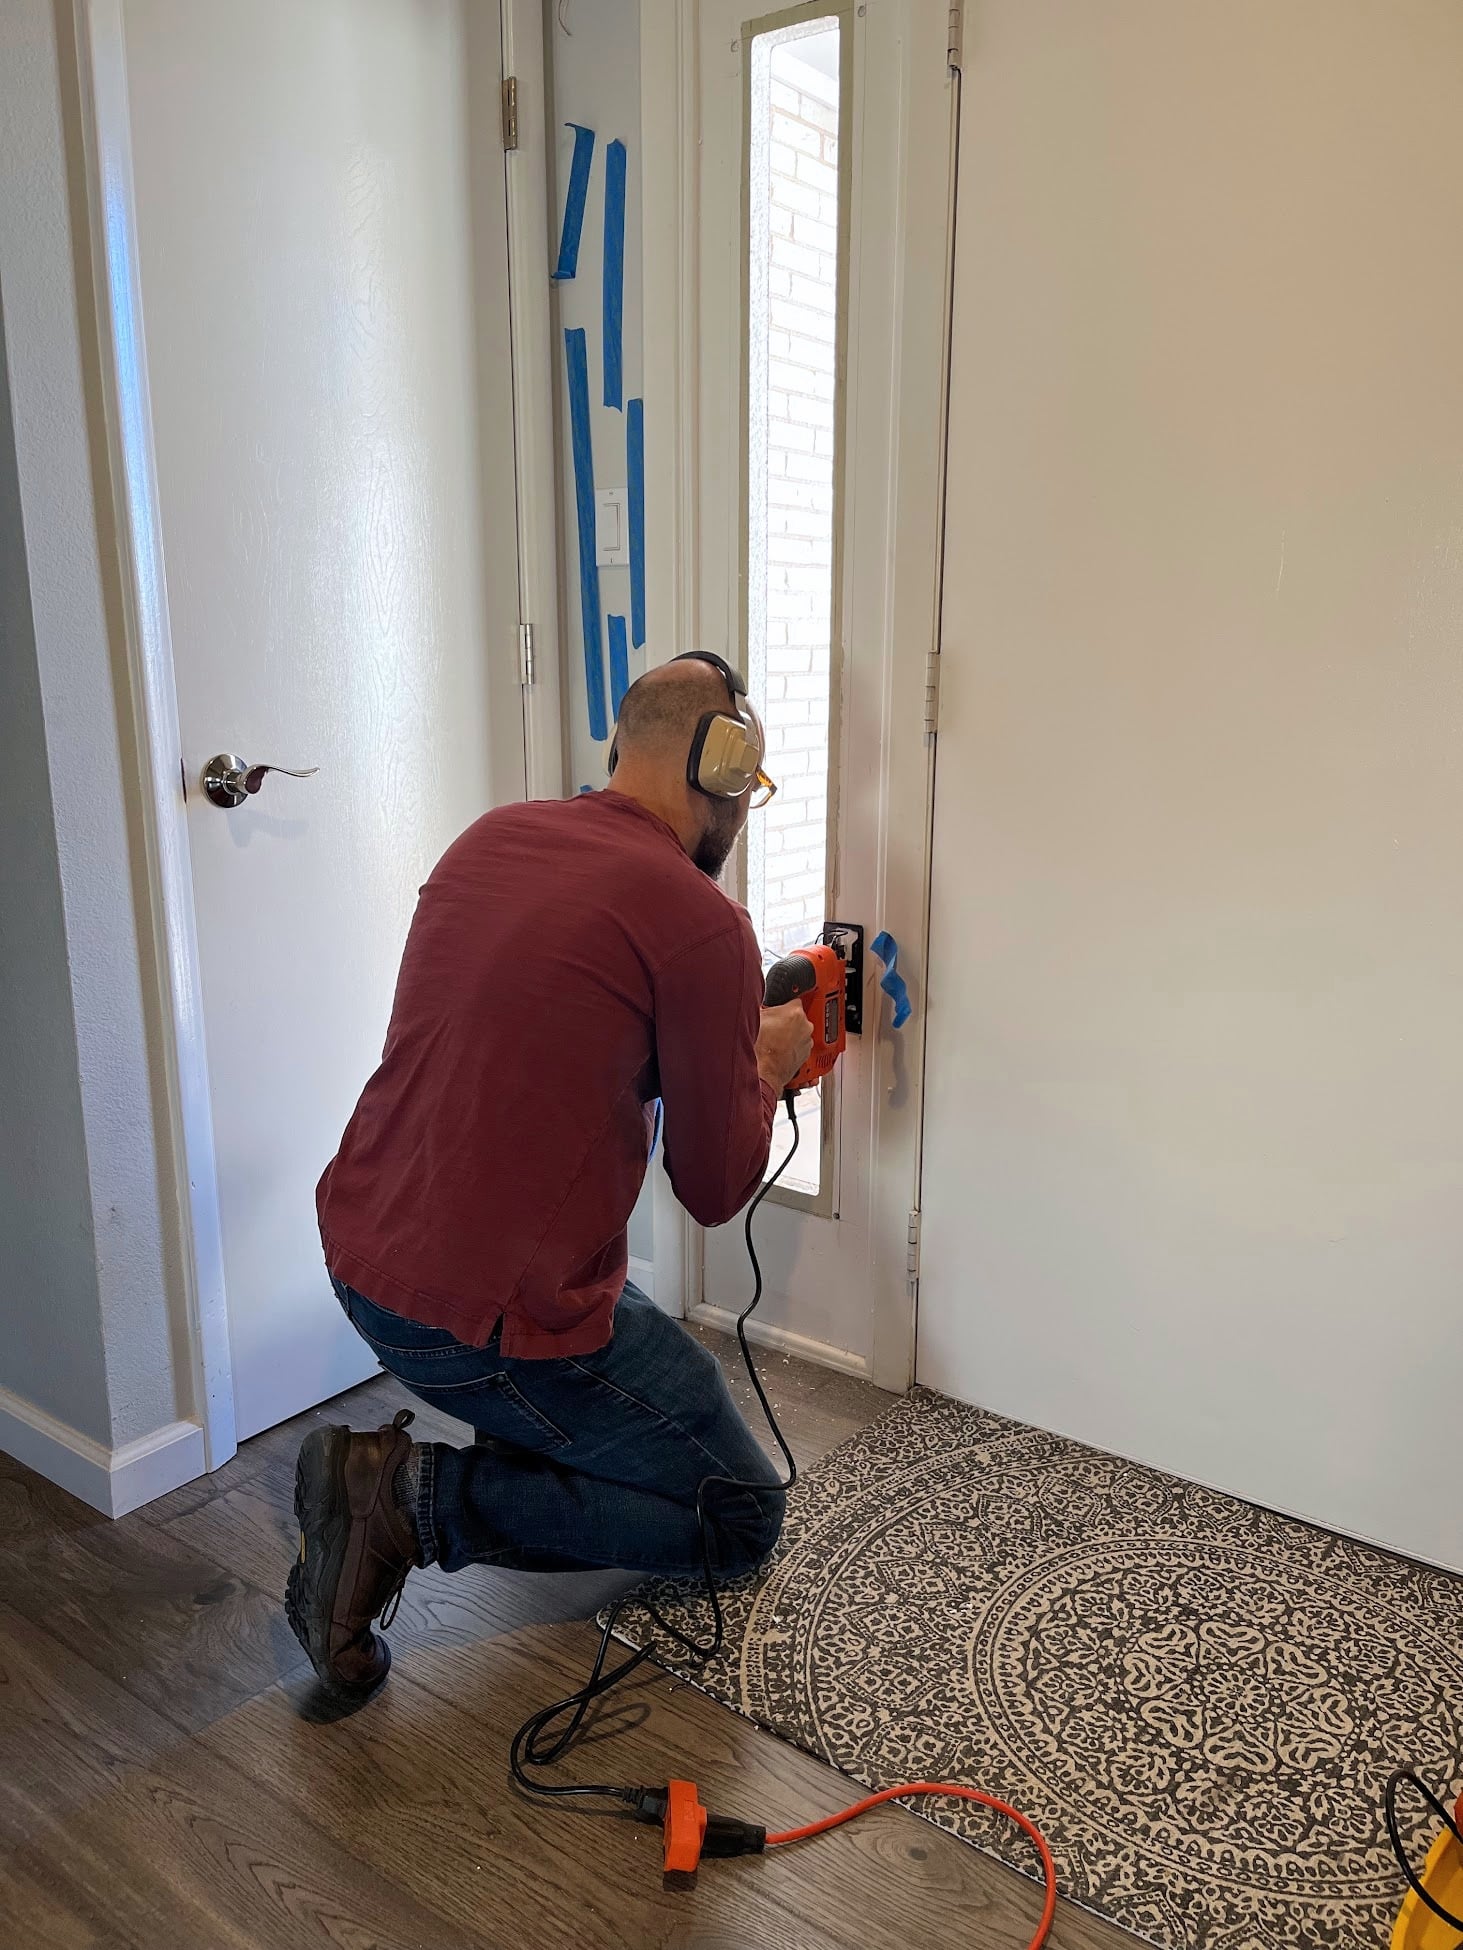
This was the scariest part of the whole process, cutting out the openings for the new side lights. I was so nervous about cutting the openings too big that we made them too small at first. But that's better than the opposite problem!
We used a large drill bit to drill a hole in each corner of the new rectangle that we wanted to cut. Then we used a jigsaw to cut each edge of the rectangle.
Then we simply installed the new replacement windows, following the instructions included in the packaging.
Putting in the windows was the easiest part!
(To see how easy it was to paint around these windows, check out my post on painting window frames.)
Replace the Molding on the Front Door
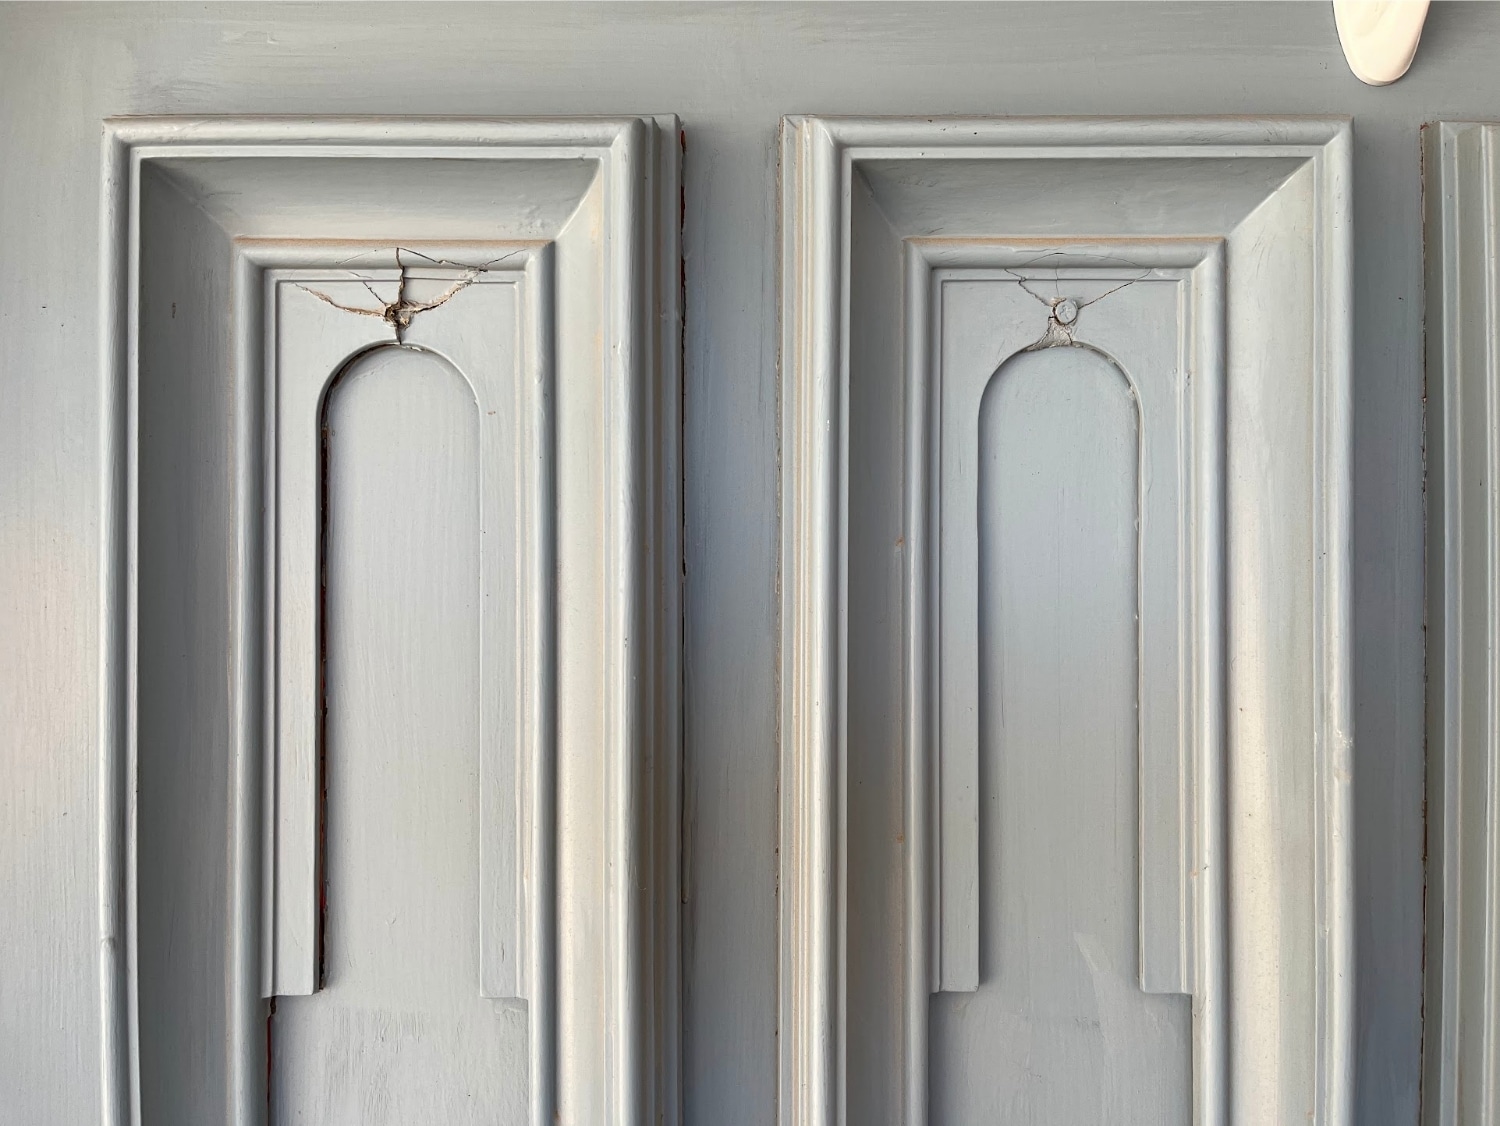
The molding on this door had been cracking and trying to jump off the door, after 40 years in one place. Plus it looked 40 years old. So it was time to go.
But without molding, this door would have looked like a huge slab of steel. Not wanting to reinforce the fortress motif, I decided to pick new trim in a simplified pattern to match the side light trim.
I picked PVC trim rather than wood, since this door gets full Southern sun and I was afraid wood would warp over time.
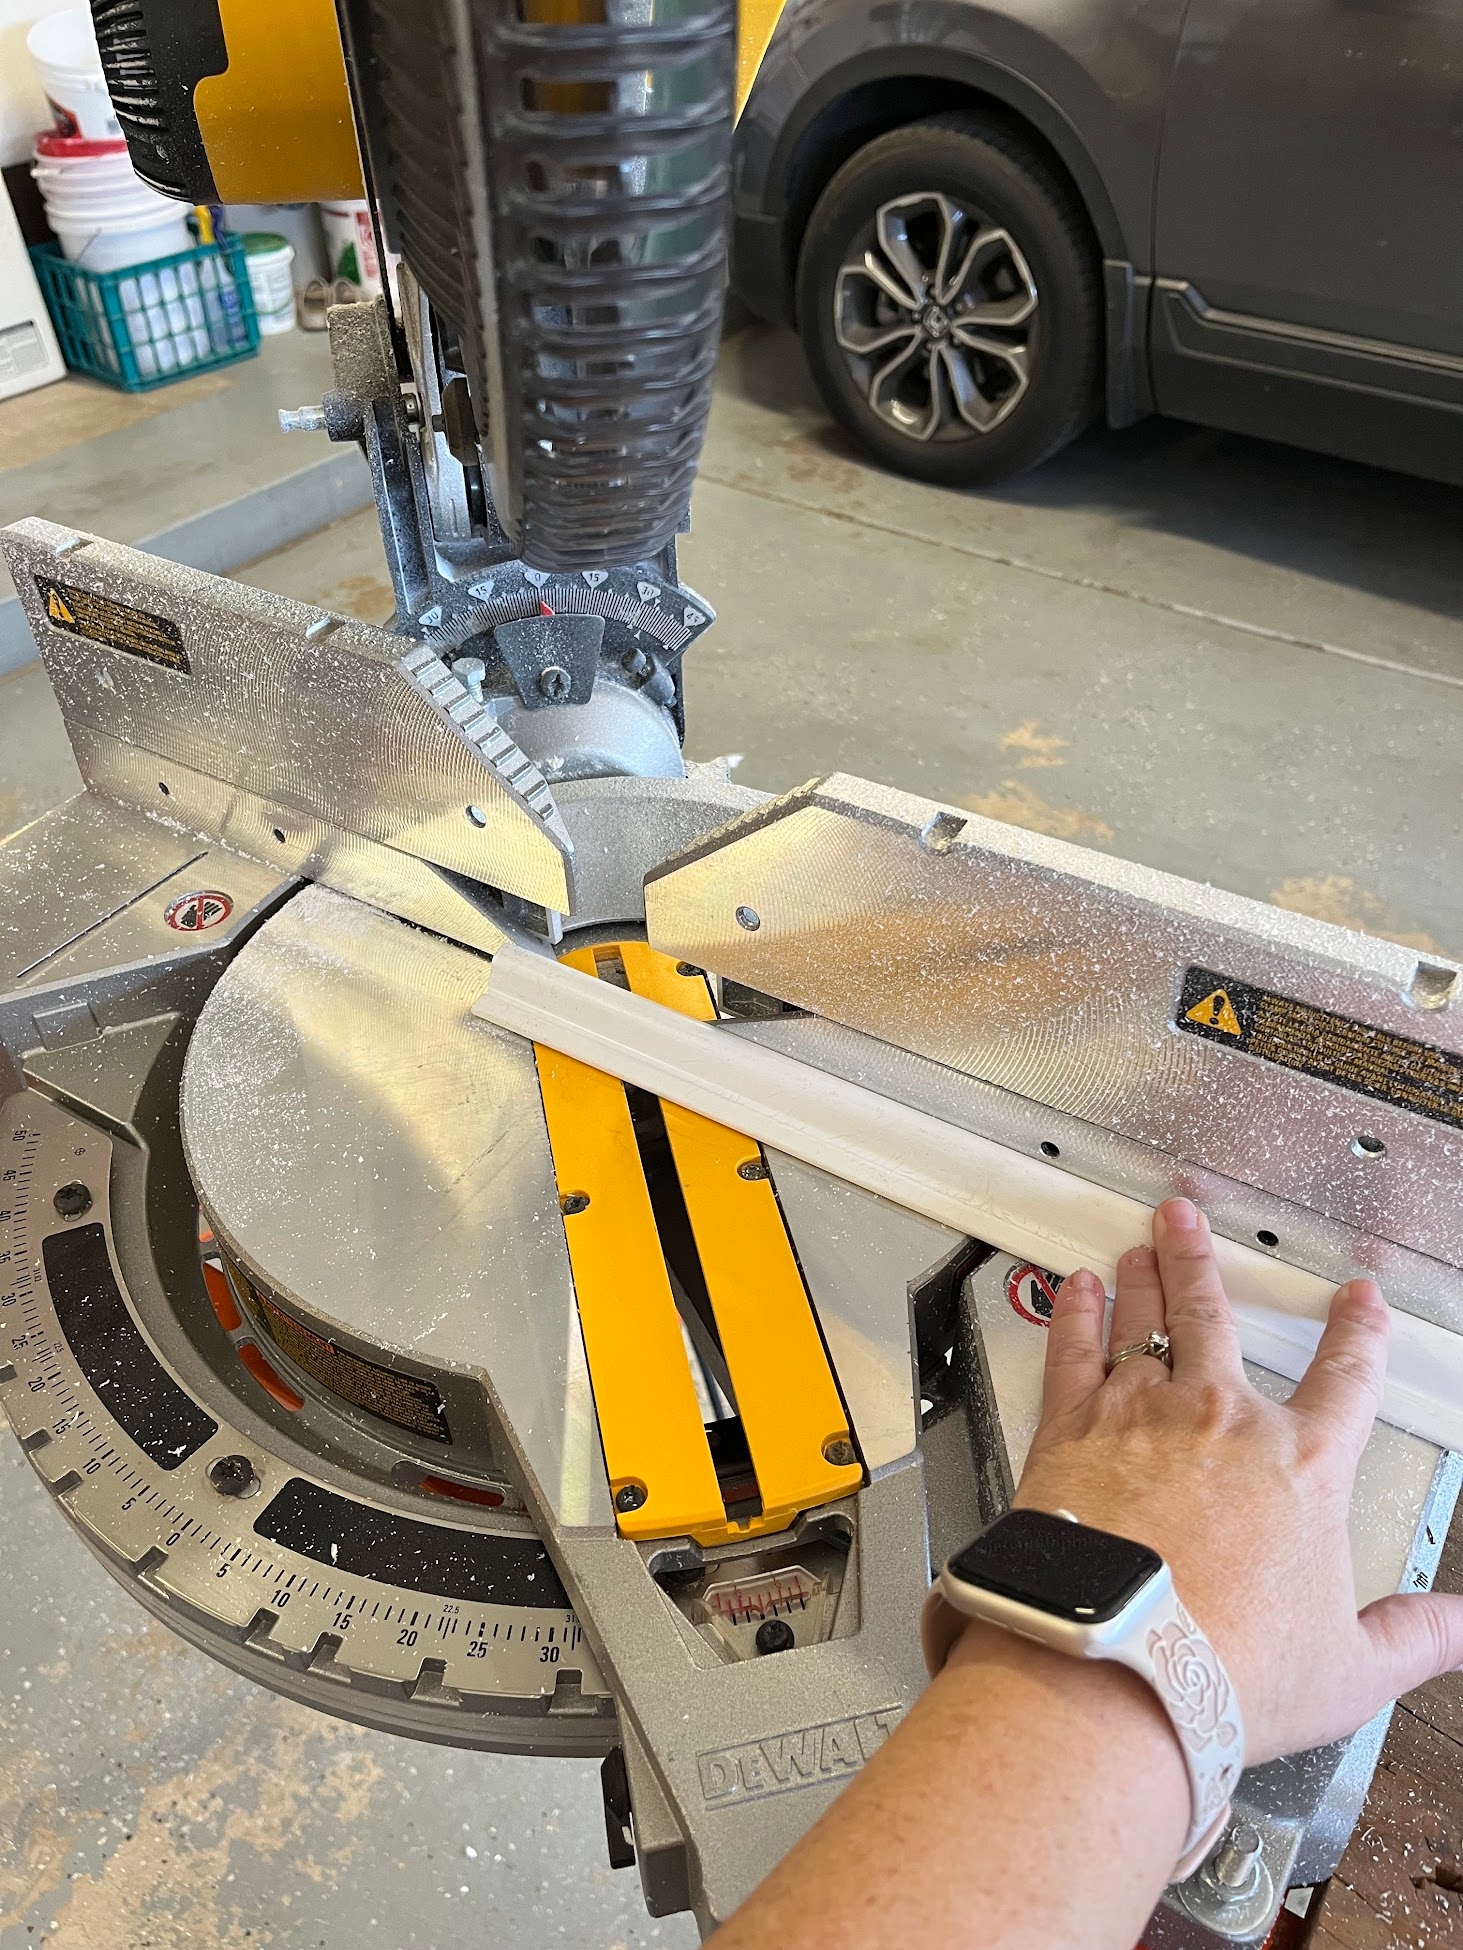
Once I had my dimensions ready, I simply cut each piece of trim to size on my miter saw. (For such small trim pieces, you could probably get away with a box miter.)
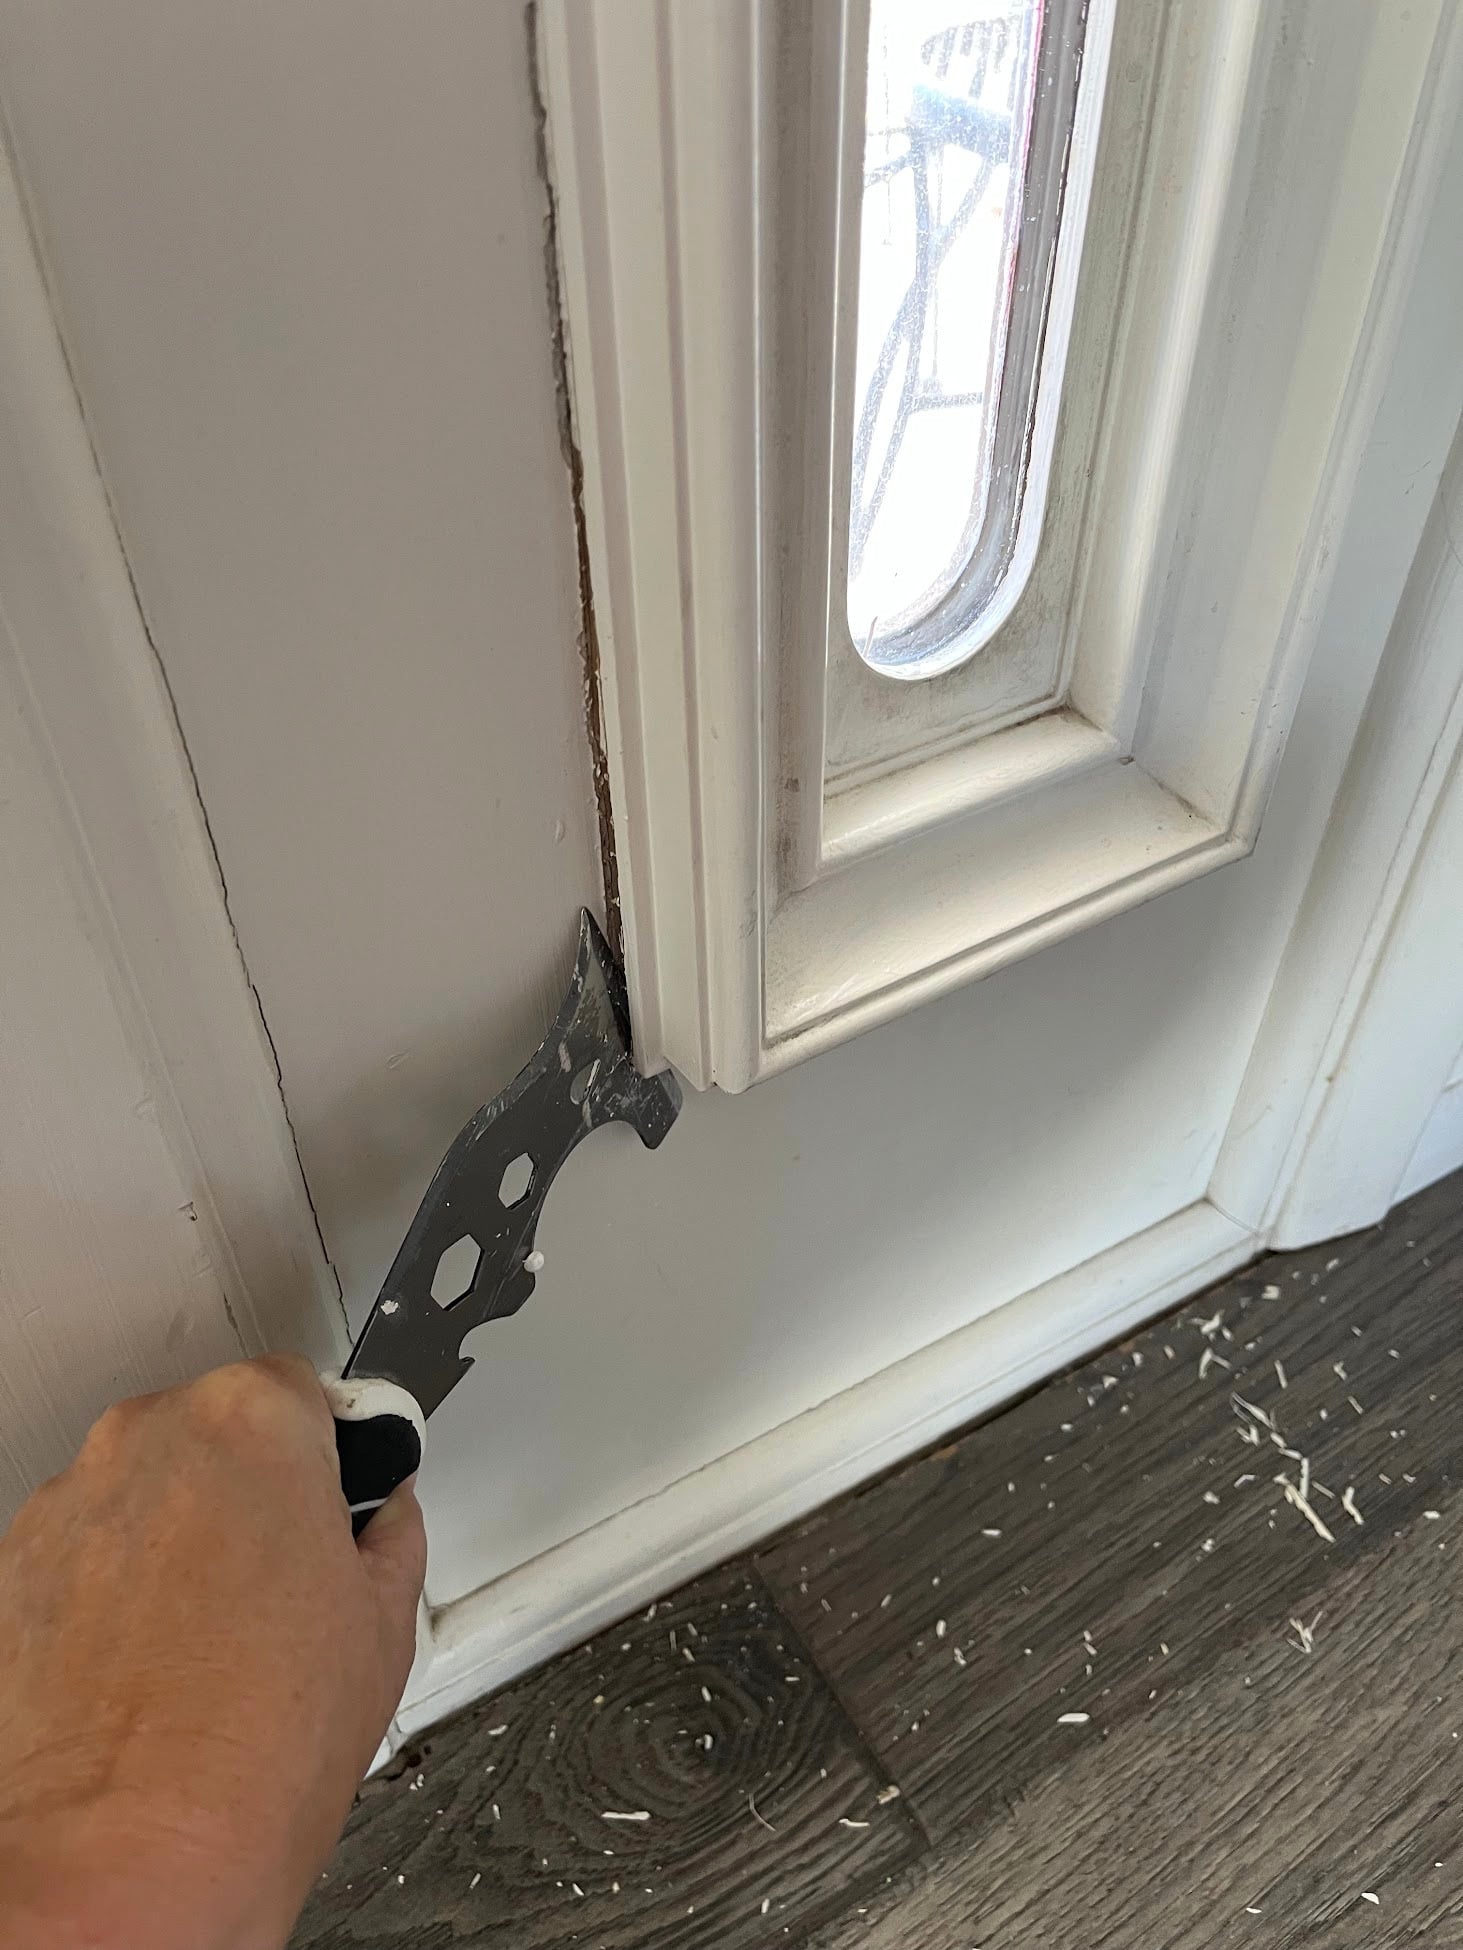
Before attaching the trim, I needed to remove the old trim and patch the holes. I love removing trim because you can see all the layers of history!
Once the trim was removed, I used a putty knife to fill the nail holes with Bondo.
(My door is a steel door, so Bondo was the way to go. If you have a wood door, you could use wood filler in the same way.)
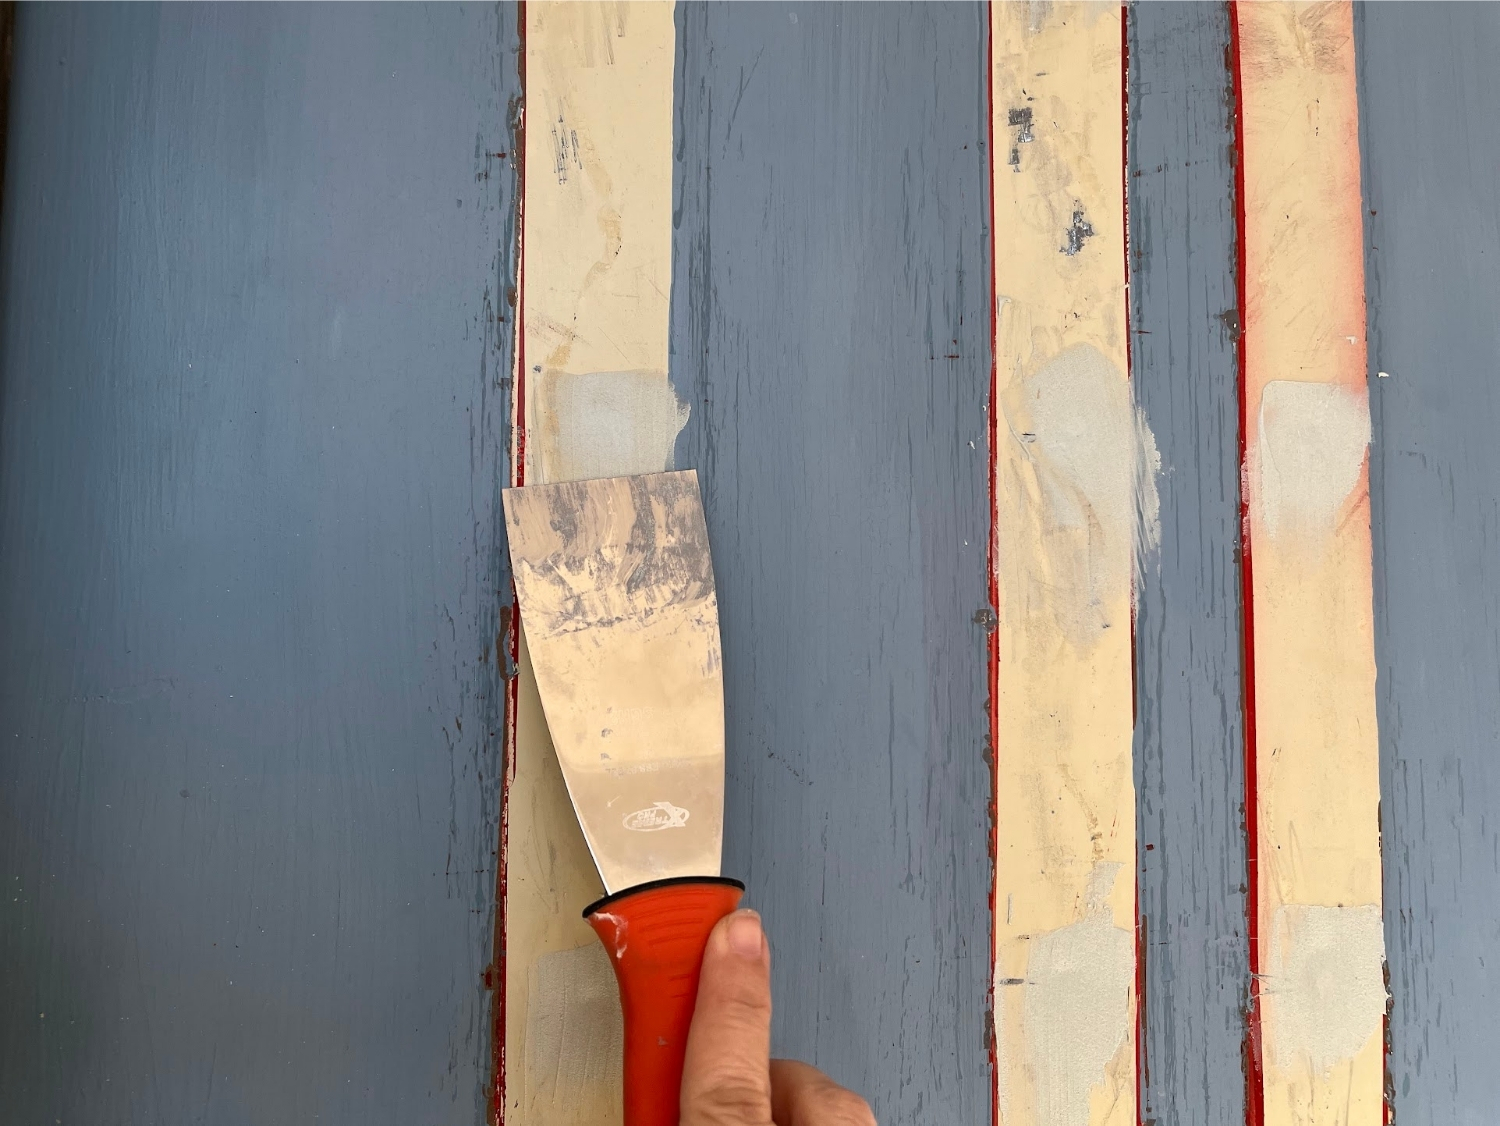
After filling the holes, I gave everything a good sanding to get it as even as possible. The Bondo is pretty thick, so it took a few rounds of sanding to even everything out. Finally, I primed the whole door using the original paint to give it a cohesive base.
I decided to attach the new molding with Gorilla Glue construction adhesive, rather than putting more holes in the door. The trick to this is getting the bottom pieces of the frames good and level, then letting them dry completely before attaching the rest of the trim.
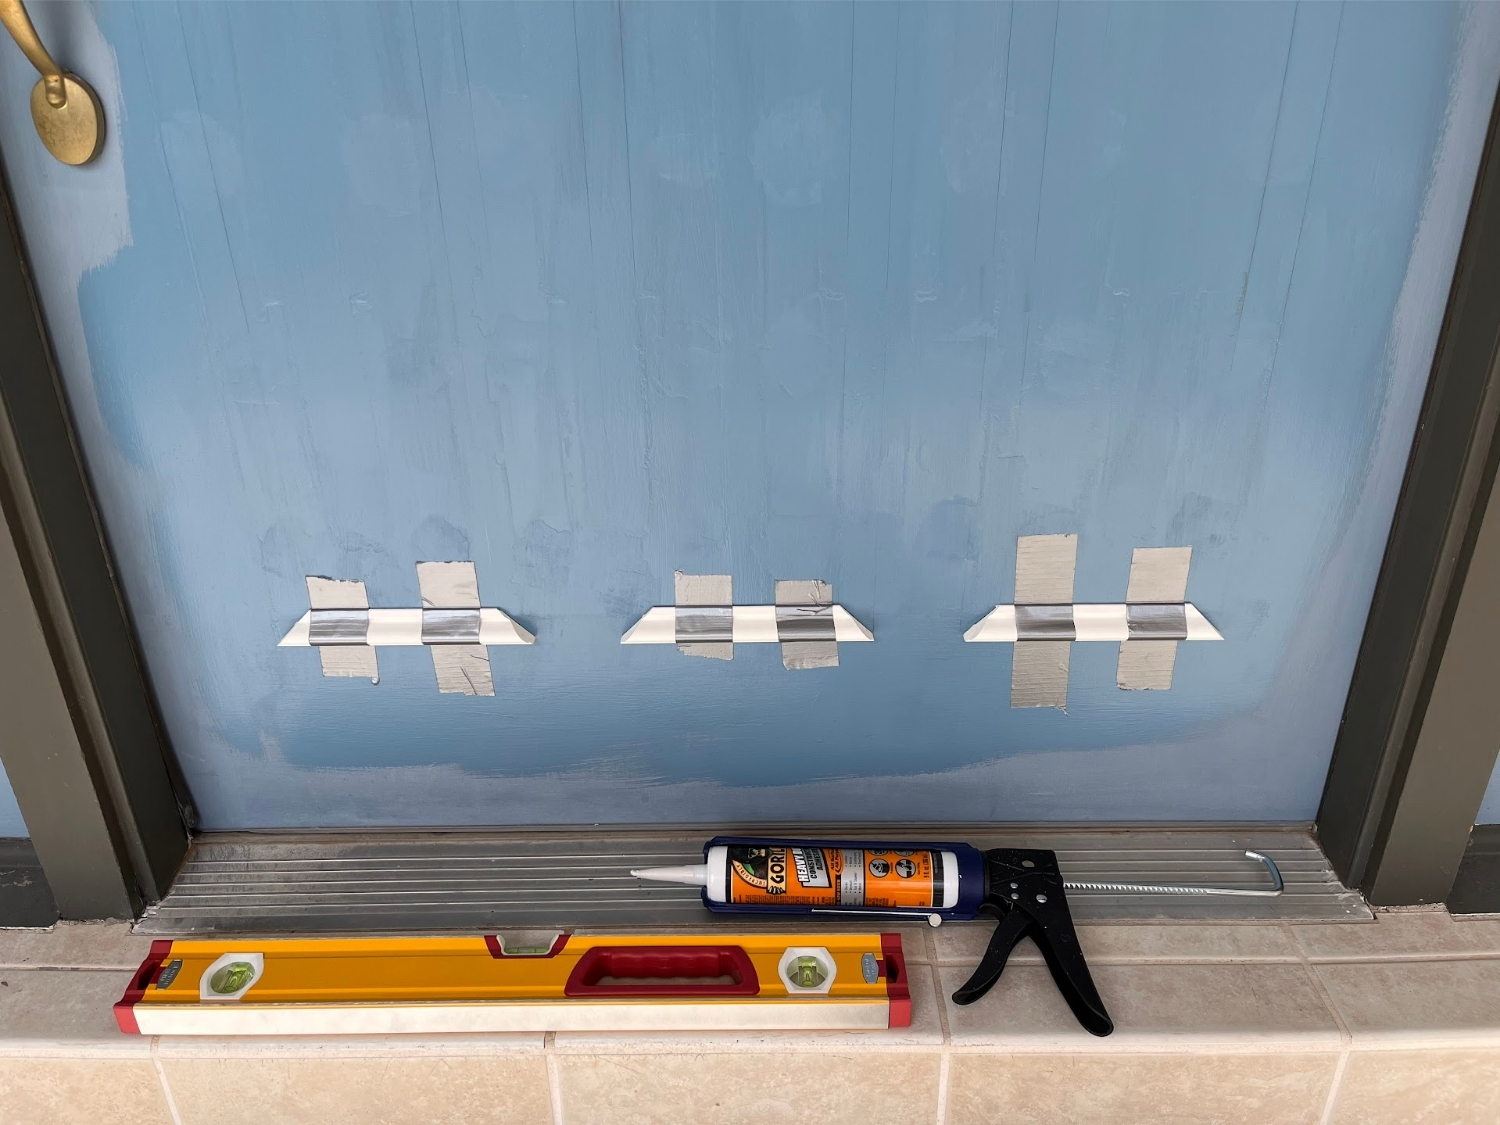
This process took a little patience, but I didn't want our molding to start leaning to one side or the other!
Once the bottom pieces dried, I attached all the rest of the pieces, and secured them generously with duct tape to hold them in place while the glue dried.
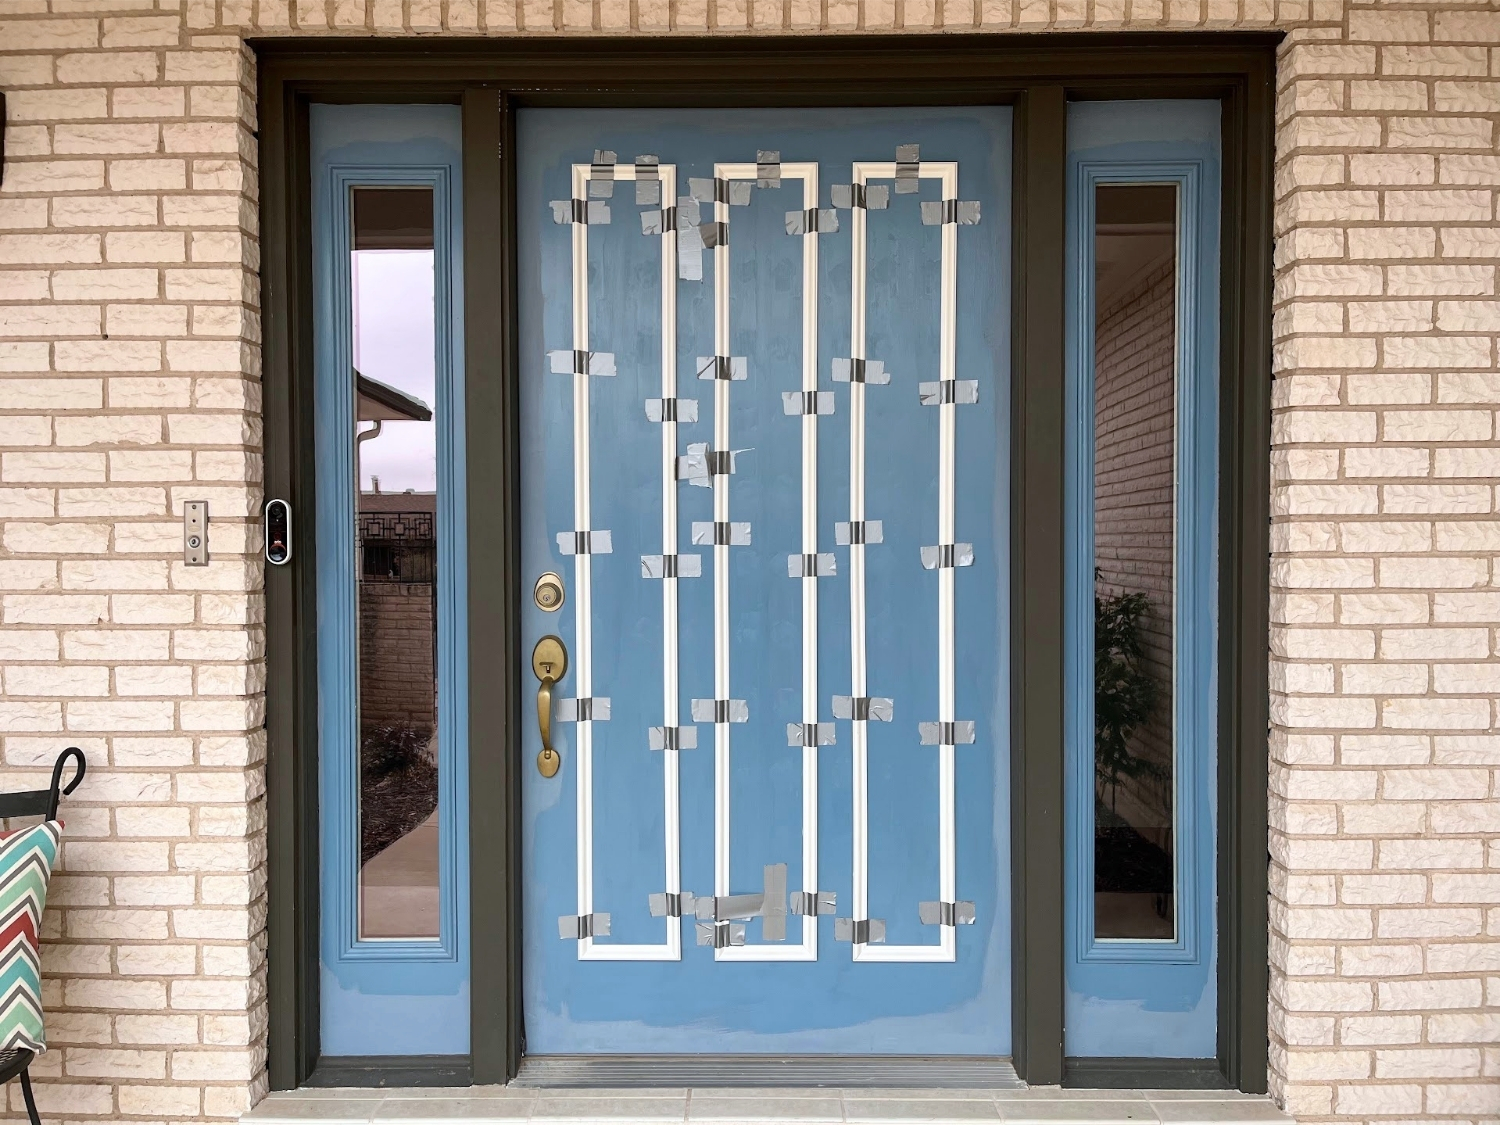
It looked a little funny, but got the job done!
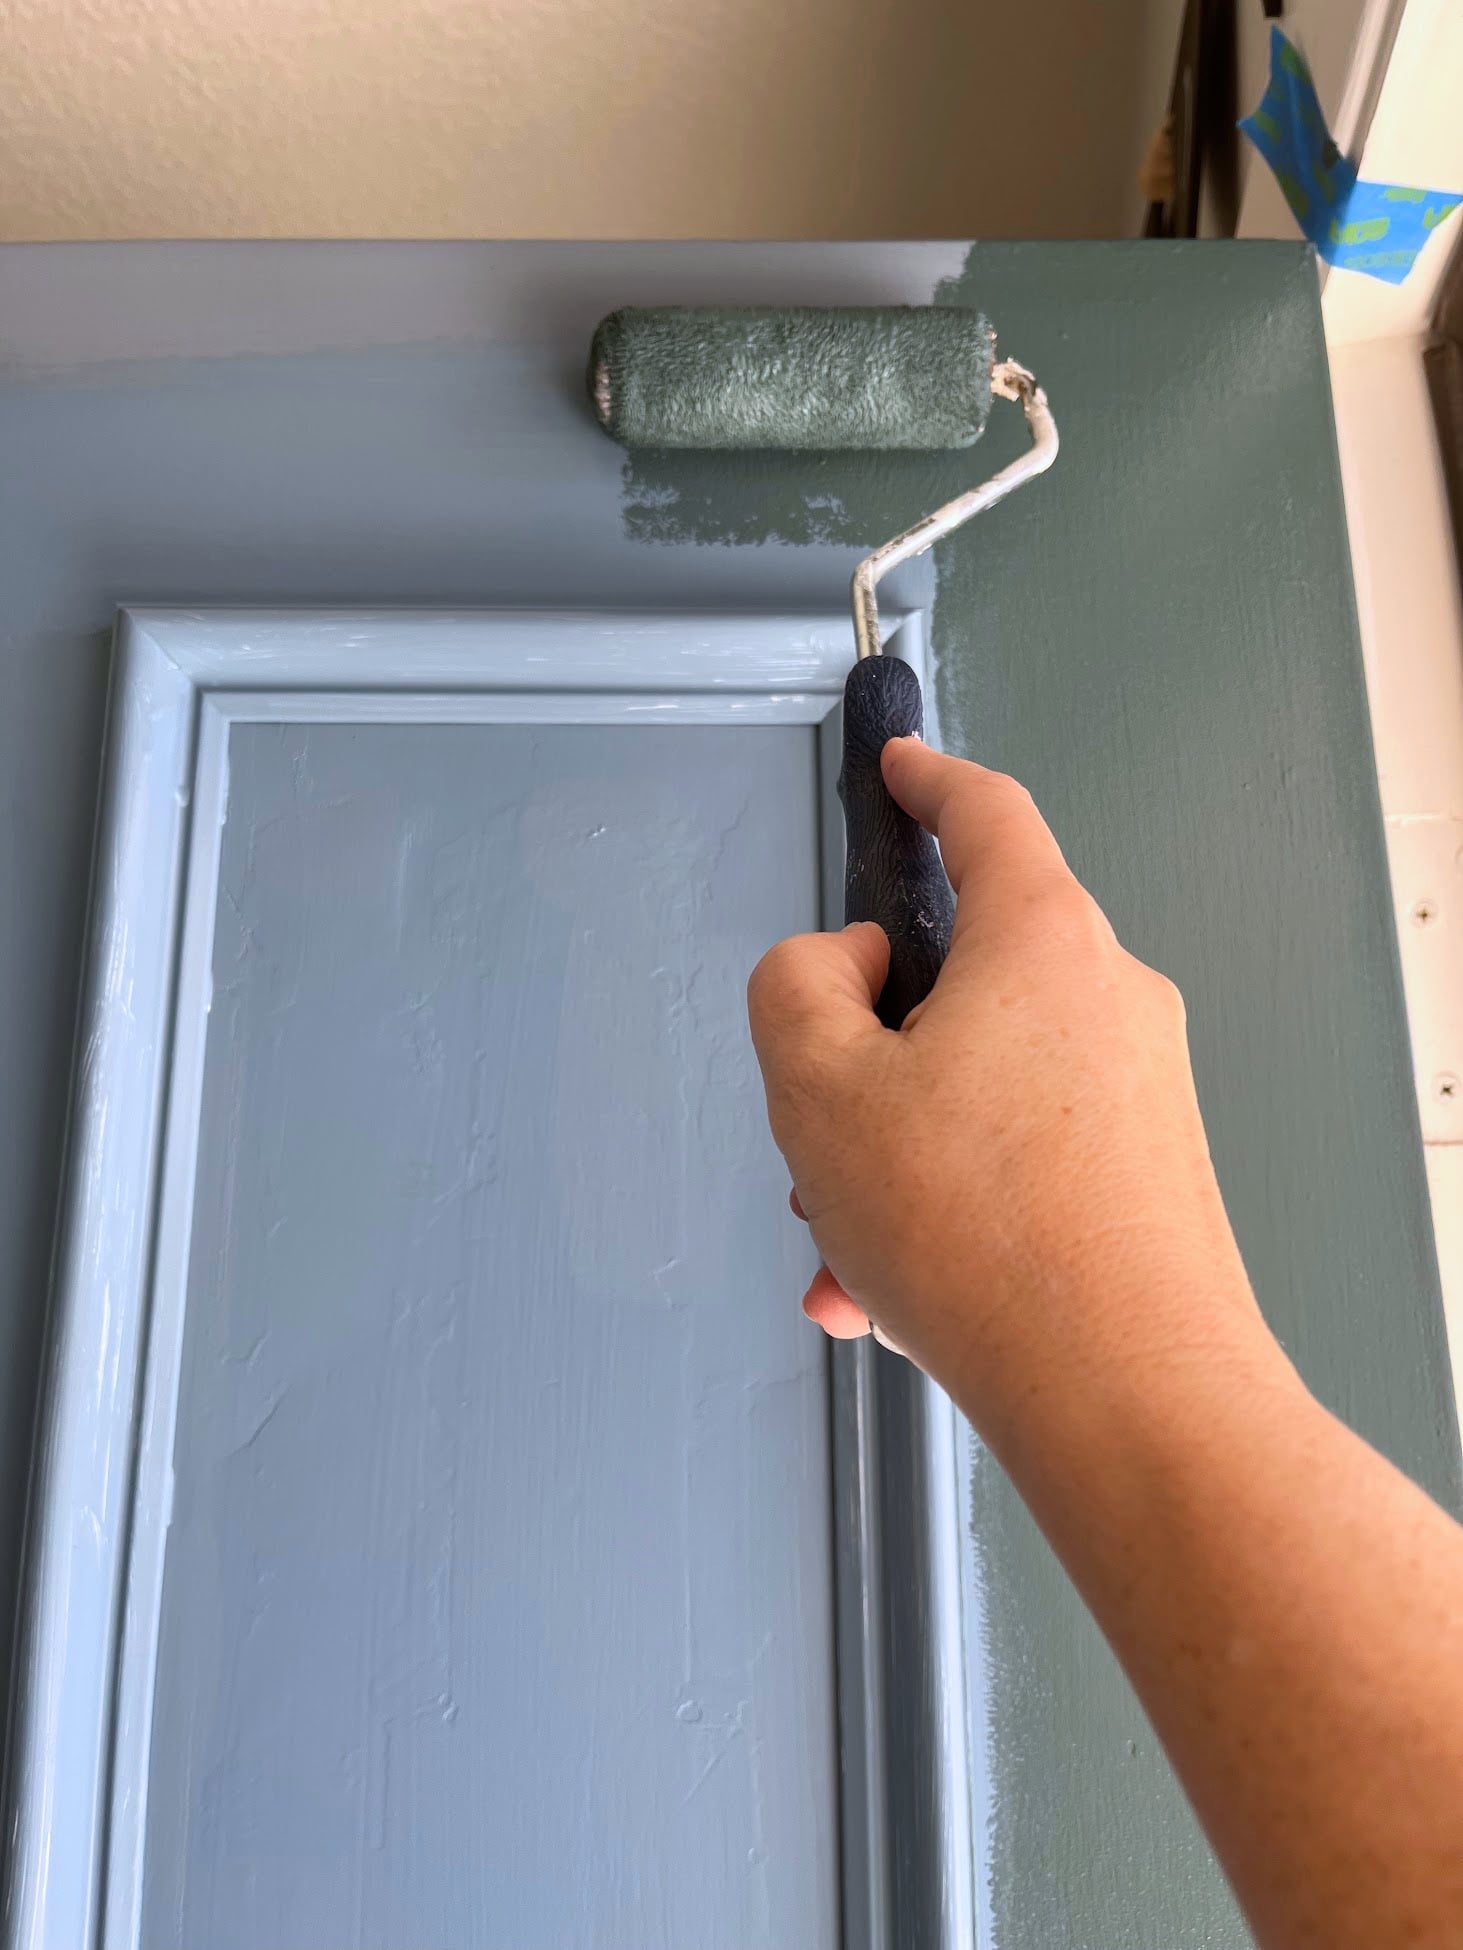
Fresh Paint
I wanted the front door to be an extension of my interior color palette, so I picked Still Water by Valspar to coordinate with my living room accent wall. It's one of my all-time favorite colors so it keeps popping up in my home.
Here's a trick to painting molding. When you install new molding on anything, there will be small gaps that you may not be able to see. It will be easier to identify where you need to caulk the lines once you apply the first coat of paint.
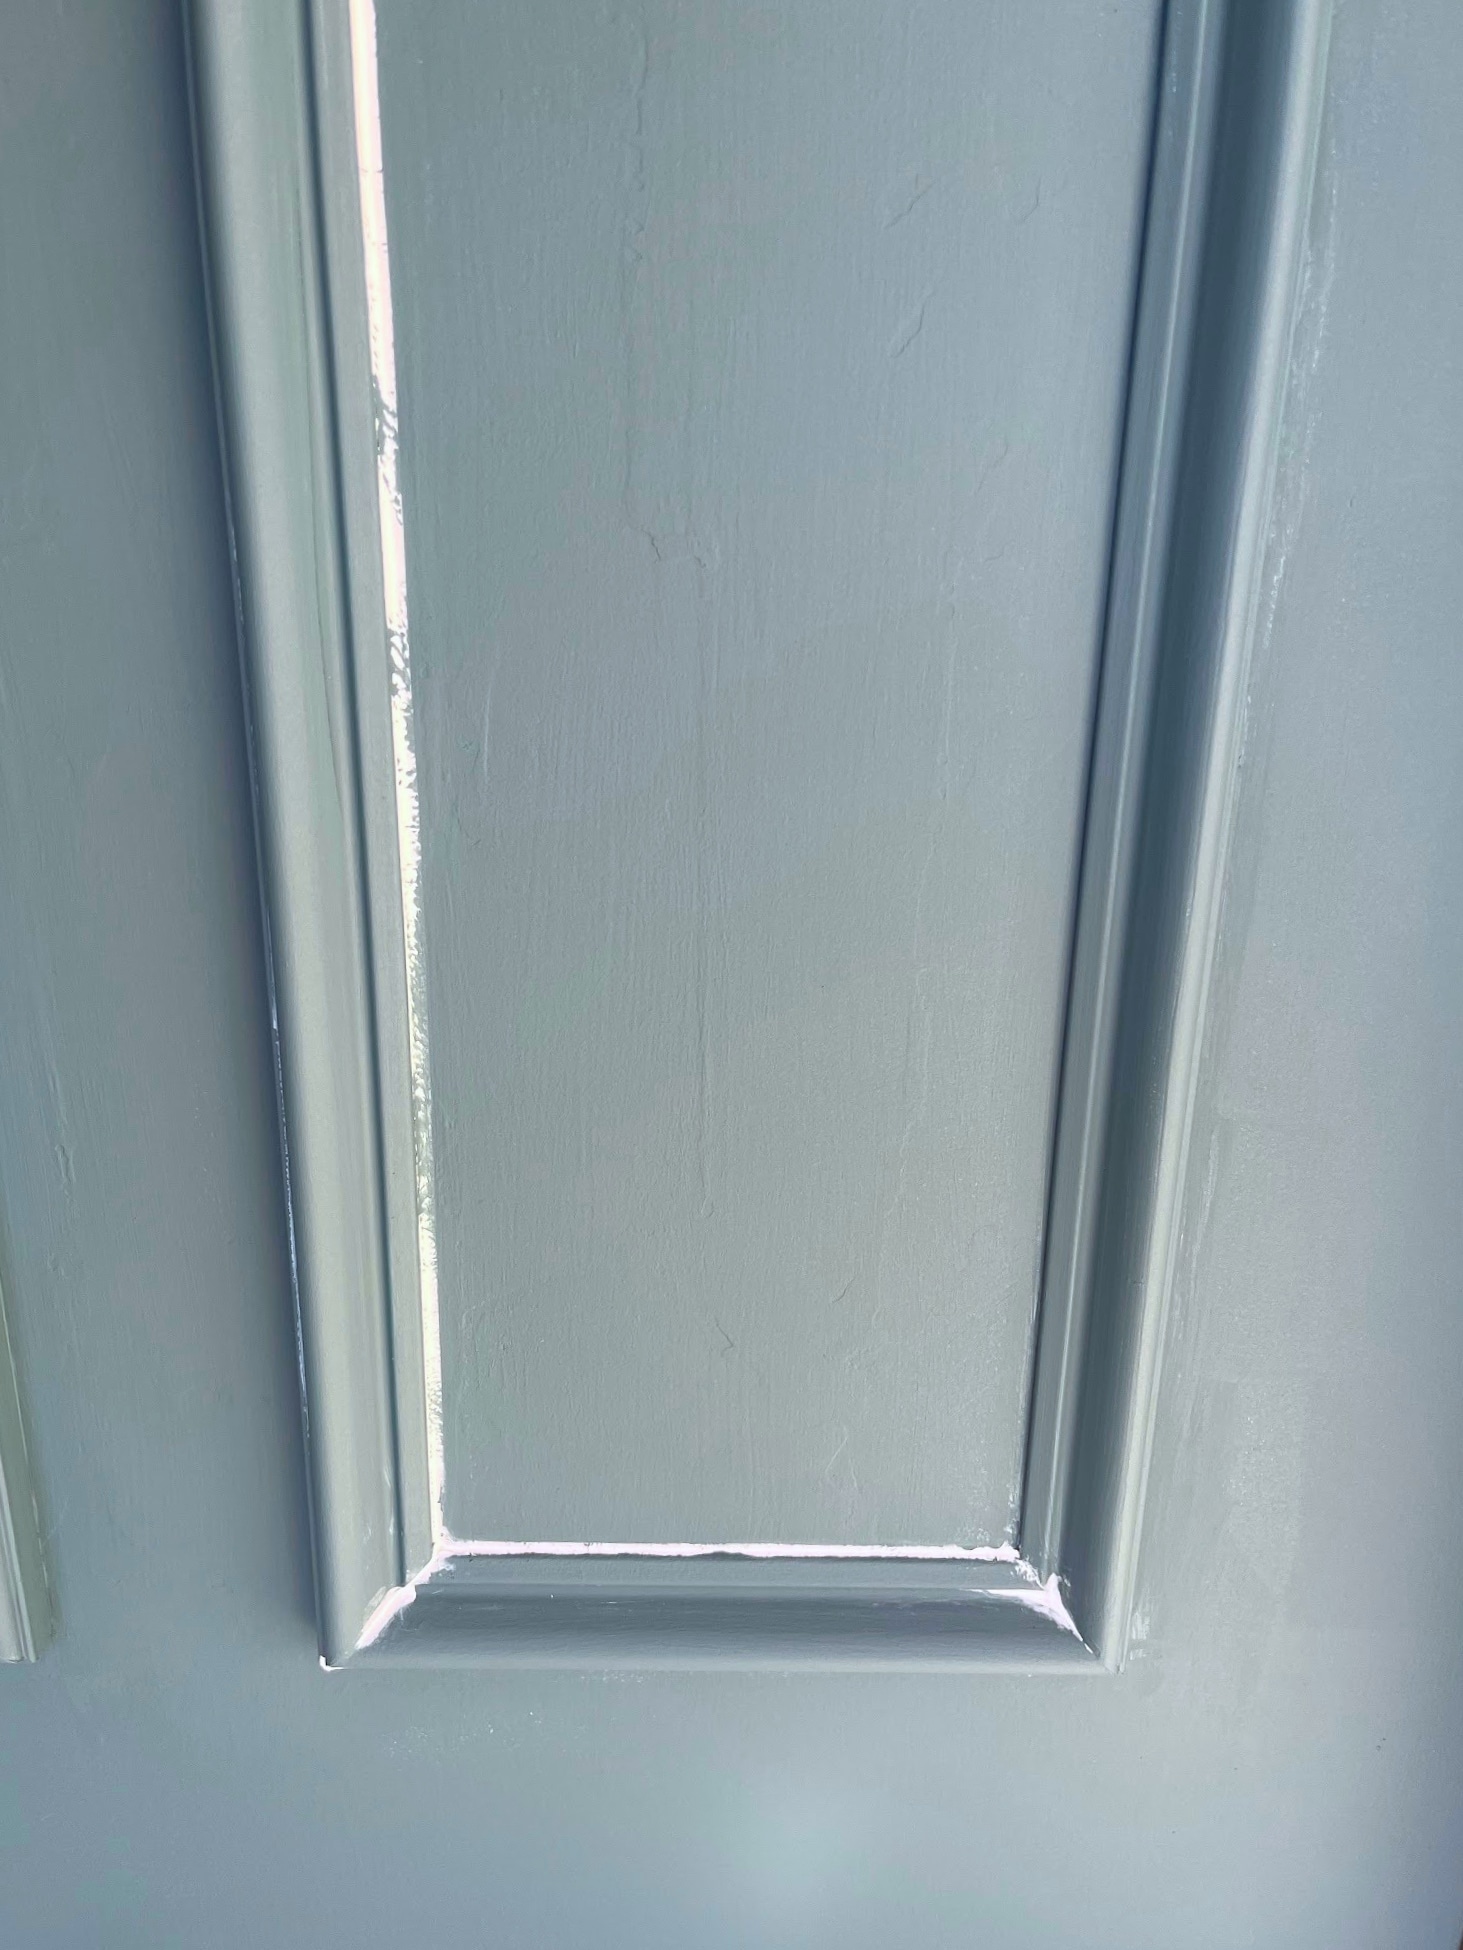
And remember, when painting a door, start by outlining the area that will be touching the frame once it closes. That will give the paint longer to dry before closing the door.
Final Details - Hardware and Soft Things
The mismatched lockset on the front door had been bugging me for a while, but when I priced a new set, I decided to love the one I've got. With a couple coats of black spray paint, it looks brand new, and matches my lights and wrought iron furniture.
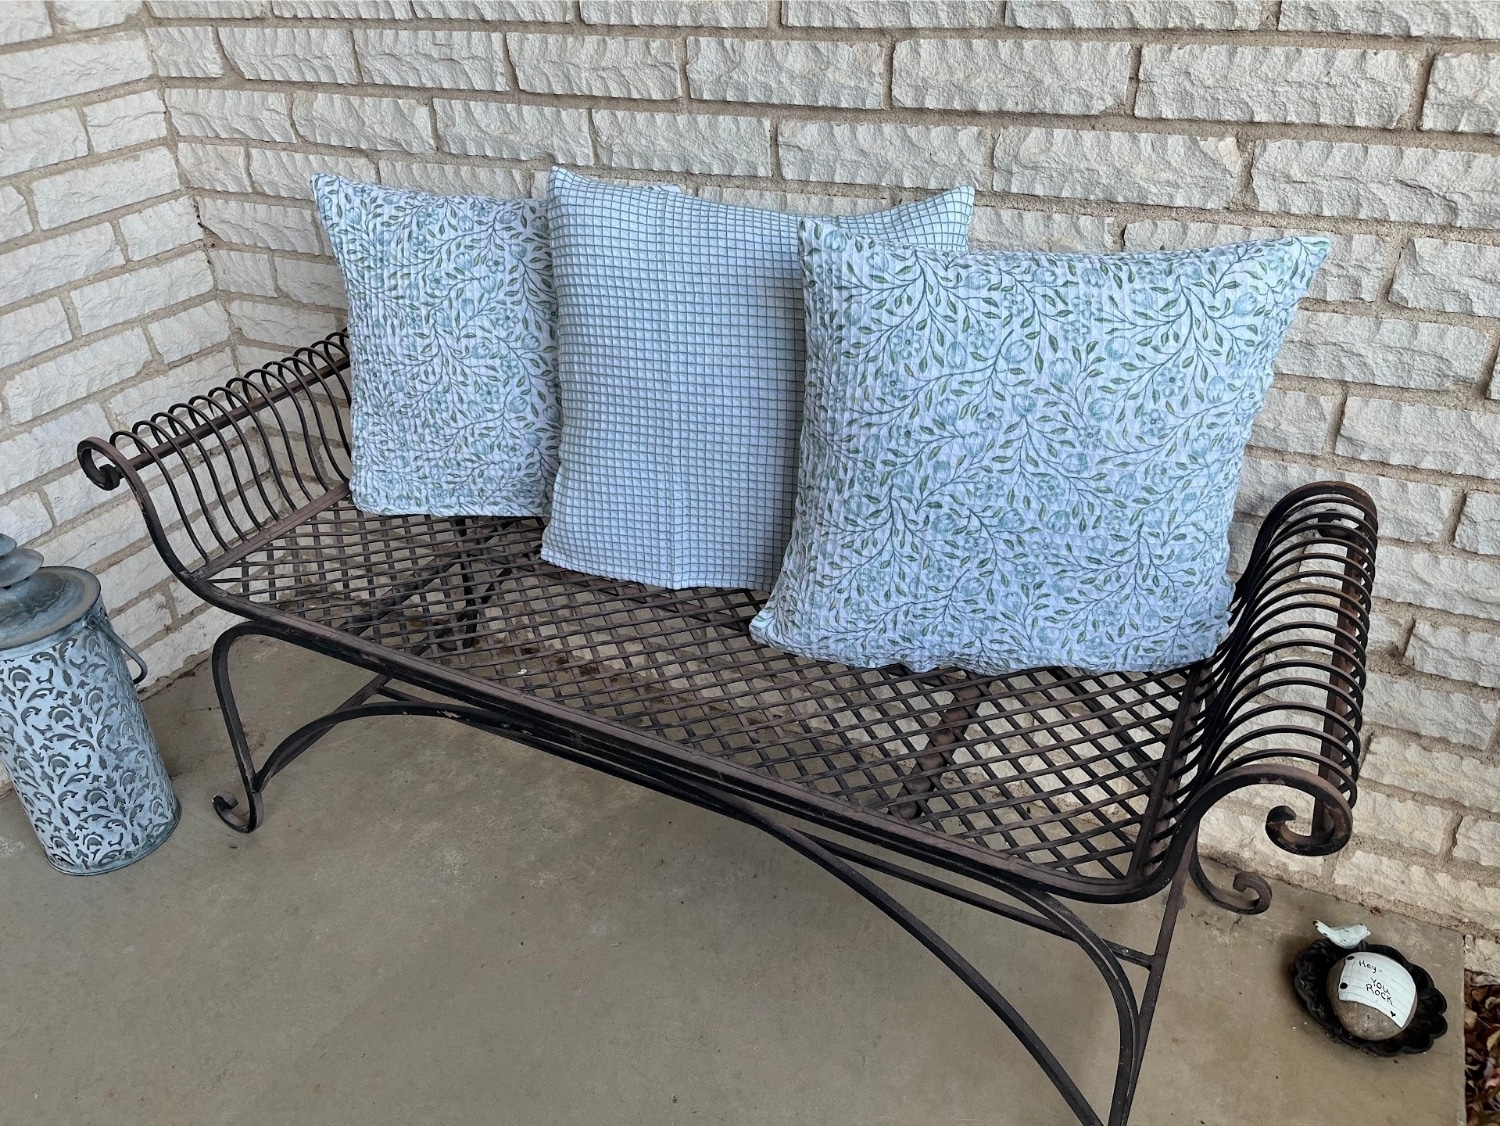
I threw some new pillow covers (made from tea towels) on my pillows, cleaned up the space, and voila! Everything looks (almost) brand new.
So much cleaner, more modern, and back to feeling welcoming again!
Front Door Makeover Resouces
Here are the products and tools I used to finish this makeover, along with a few tips for your own project.
Side Lights These were the closest standard size to my existing windows, and I had some extra room in the structure to make a hole for this size window. Be sure to check interior and exterior measurements if you are changing the size of your opening.
Painter's Tool I use this thing for everything!
Bondo Filler (They also make wood filler if your door is wood, not steel like mine.)
Sandpaper Pack I like sponges because they're easier to hold, and they last a long time.
Jig Saw This one is nice and small, and packs a punch!
Gorilla Glue Construction Adhesive
Valspar Duramax Flat Paint in Still Water. I like the look of flat paint, but in hindsight I probably should have done semi-gloss so it doesn't collect as much dust.
Paint Roller For paneled doors, or doors with trim, I like a 4" roller to make it easier to get into the smaller flat spaces.
Paint Brush If you've read any of my other painting posts, you already know this is my all time favorite paintbrush for home projects.
Caulk Be sure you get outdoor-rated caulk so it stands up to the elements.
I'm wishing you all the best if you're thinking of redoing your front door and entryway! Let me know if you have any questions along the way.

Tom Clark says
What a transformation — the dusty blue against the white brick looks absolutely brilliant. We gave our own front door a refresh last year and I can confirm painting around the existing hardware is far less daunting than it looks. One tip we learned: while everything was taped up for paint, we took the opportunity to service the deadbolt and replace the tired screws in the strike plate, which made the door feel noticeably more secure. It is amazing what a difference fresh paint and well-kept hardware make to the whole entrance.
Meredith says
That's a great point about replacing the screws in the strike plate!