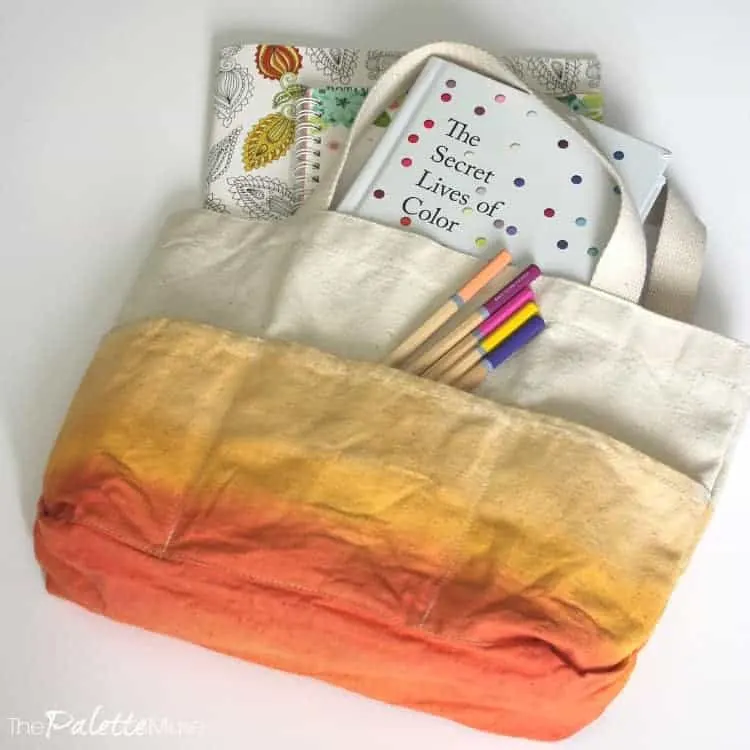
When my kids were toddlers I made them “busy bags” to keep in the car in case we ended up in waiting rooms or places where I needed to keep them quietly occupied. Now that the kids are older, I find it’s usually me who needs to be kept occupied during their activities so I made myself a Mom’s Busy Bag, full of all the things I like to spend time on while waiting. And waiting. And waiting.
Now that it’s back to school time, we’re back on our usual schedule which means lots of sitting at piano lessons, watching gymnastics class, or waiting in the Dr’s office.
I don’t mind, really I don’t. I have nothing better to do than sit in a stuffy room full of other high-achiever parents, listening to what college their 5 year old will attend. Said no mom ever.
I could scroll my phone for an hour. (Pinterest never disappoints.) But I get tired of being on my phone all the time, and I don’t want my kids to think all I ever do is look at my phone while missing the one time they successfully complete that cartwheel.
Plus, waiting time is the perfect opportunity for me-time. I mean, when else in our day do we get a whole hour to ourselves? If I plan correctly, I can have my own little retreat, right there in the middle of the waiting room!
~ This post contains affiliate links. If you click and make a purchase, I may receive a small commission at no additional charge to you. ~
Make your Own Mom’s Busy Bag
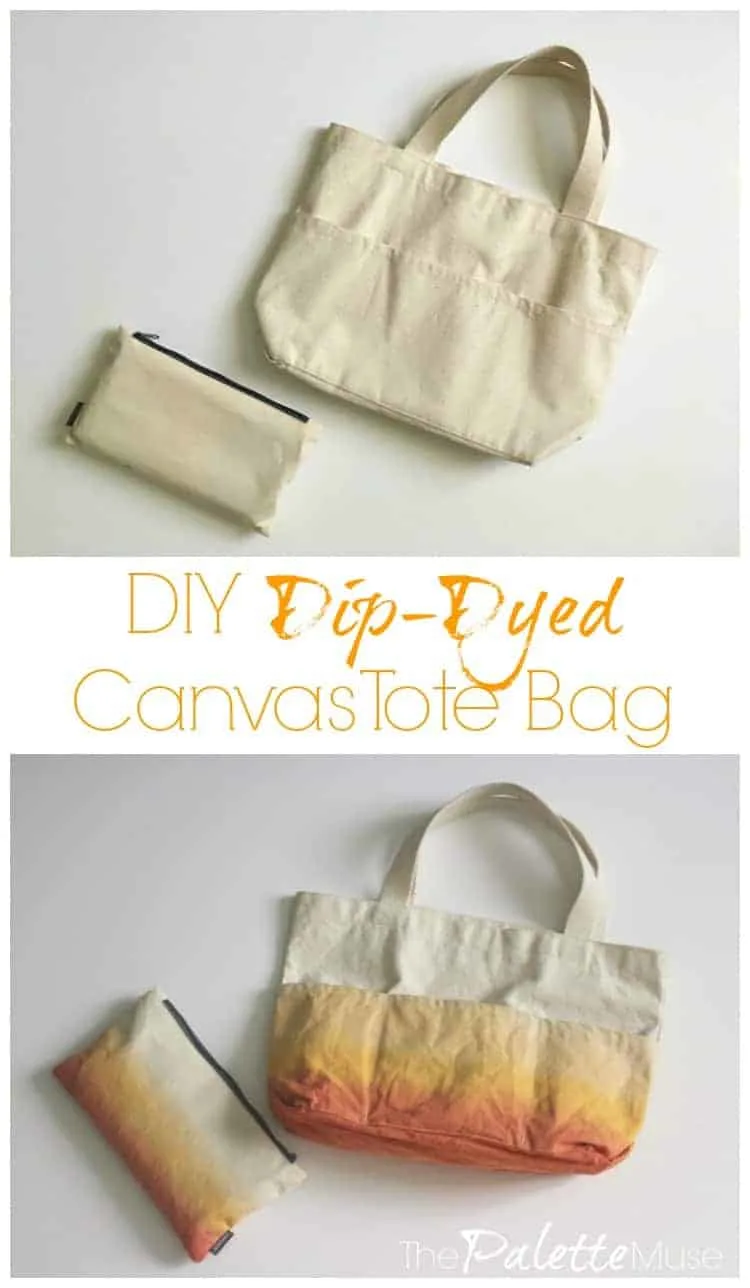
Of course any tote bag will work, but why not decorate your own bag? I’m obsessed with dip-dying, as evidenced by my daughter’s dip-dyed curtains. Here’s how to make a fun and easy dip-dyed tote bag. You’ll need:
- A small canvas tote bag. Mine has pockets which I love.
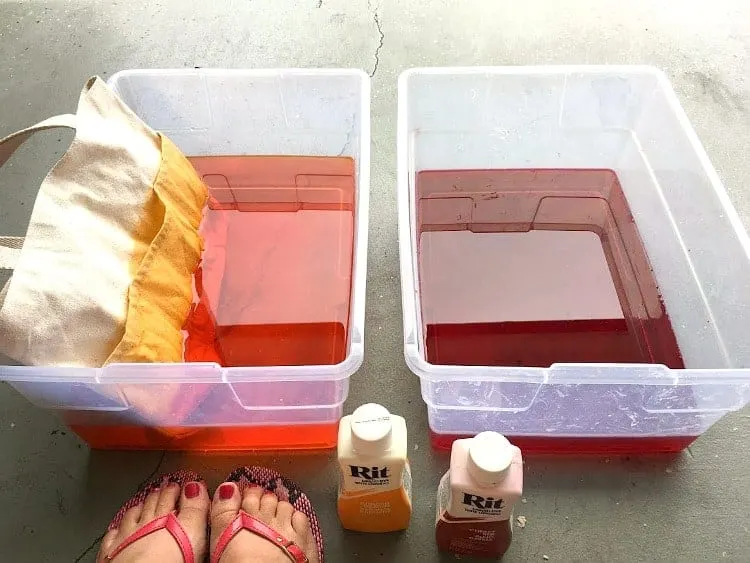
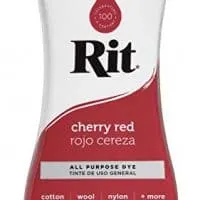
- One or Two colors of Rit Fabric Dye. If you use more than one color, keep in mind that they may run together so pick colors that mix well. I used Sunshine Orange and Cherry Red.
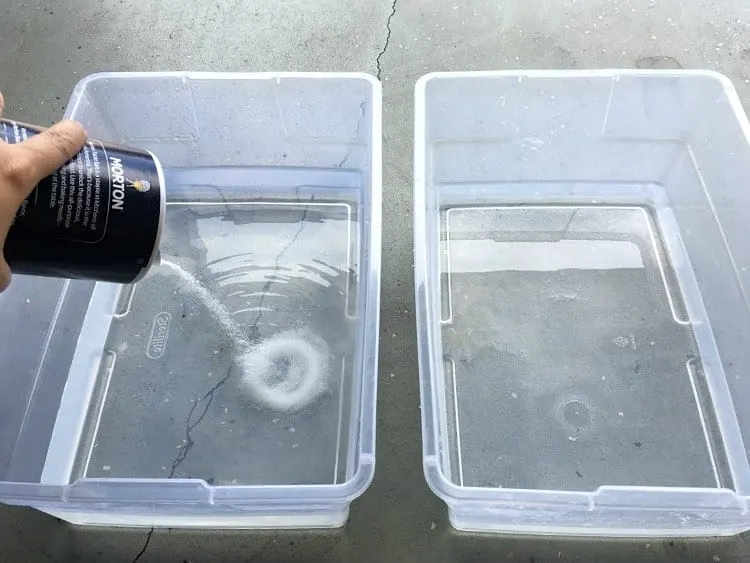
- Salt. This just helps set the dye in the fabric.
- Bucket or large plastic container. If you’re using two colors, you can make two dye baths simultaneously, or just use one bucket and make one color and then the other.
First prepare your dye baths, following the instructions on the dye bottle or box. Basically, fill your bucket with a gallon or so of the hottest water your faucet will produce. Then add 1/2 cup salt and dissolve.
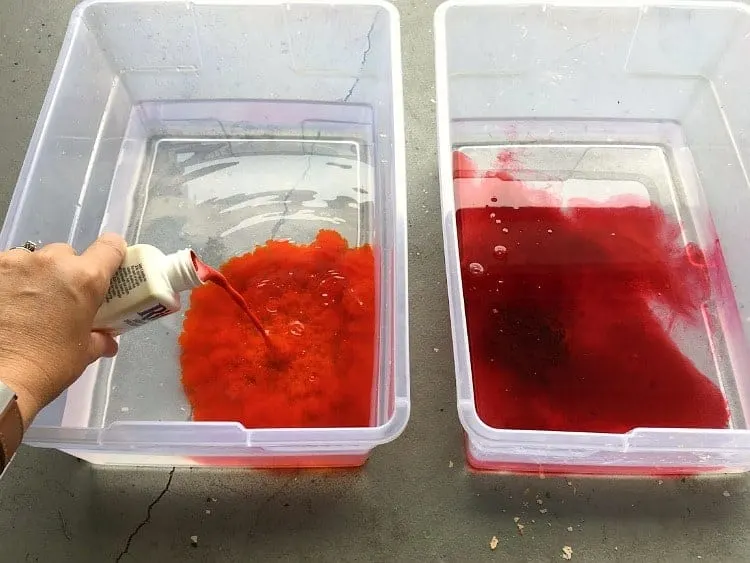
Then add about half a bottle of dye. Mix well with a metal spoon or paint stir stick. (You will dye anything wooden, which could be a fun project in itself!)
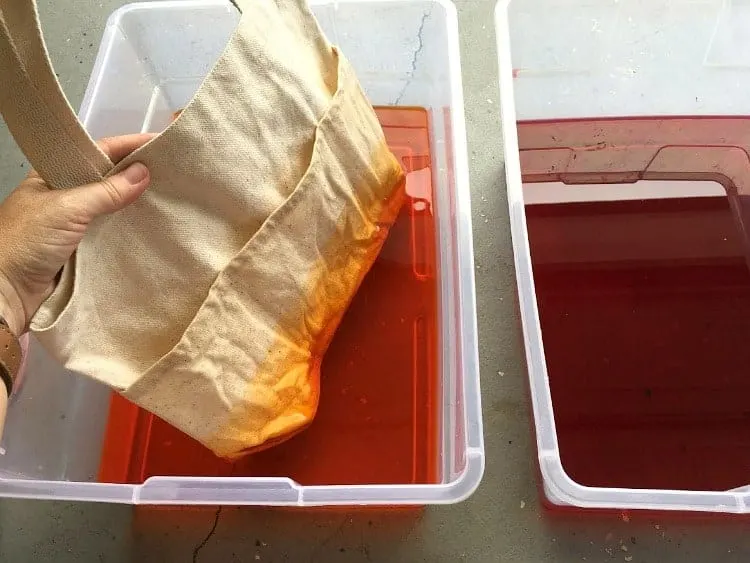
My dye baths came out looking a little like giant vats of jello waiting to set up.
Then soak your tote bag in hot water and squeeze out the excess water. (This helps the dye soak in evenly.)
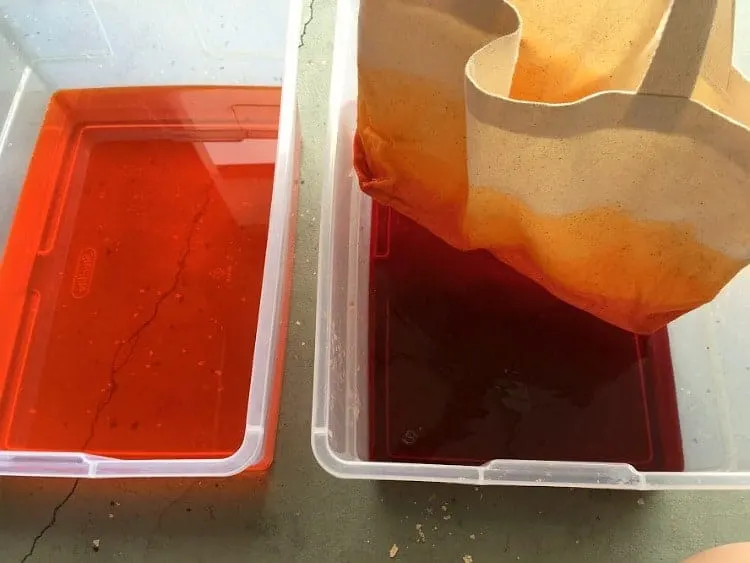
Next, dip your bag about an inch into the dye for a moment or so. Then dip it in another inch further and hold it in place. Continue dipping it in further and further until you reach the level you want the dye to stop.
Continue dipping and holding the bag until the color reaches the intensity you like. This could take a while.
Dip-Dying Tip: The first time you dip an object into the dye will be the darkest. So only dip the fabric in as far as you want the darkest level of color to go. As you continue dipping further, the dye bath will lighten more and more, giving you an ombre look.
Once the first color is the way you want it you can drip off any excess dye water and repeat the same process with the second color.
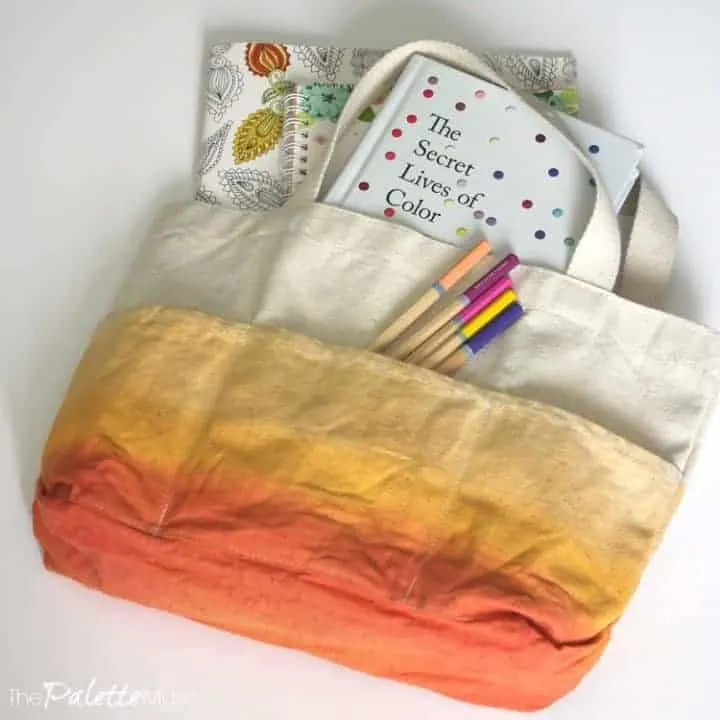
I used orange for my first color and covered most of the bag with it. Then I used red only for the bottom (darkest) part of the ombre pattern.
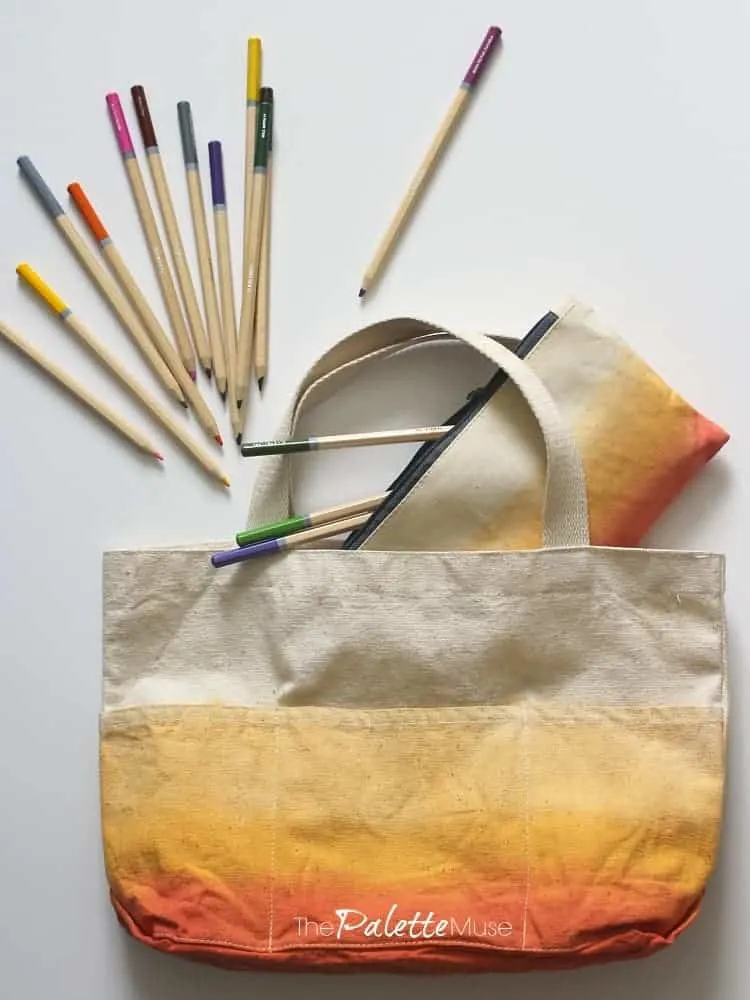
The result on my canvas pencil bag was exactly what I was going for. But the colors on my tote bag came out looking a little like a candy corn. Oh well, maybe I’ll use it for trick-or-treating too!
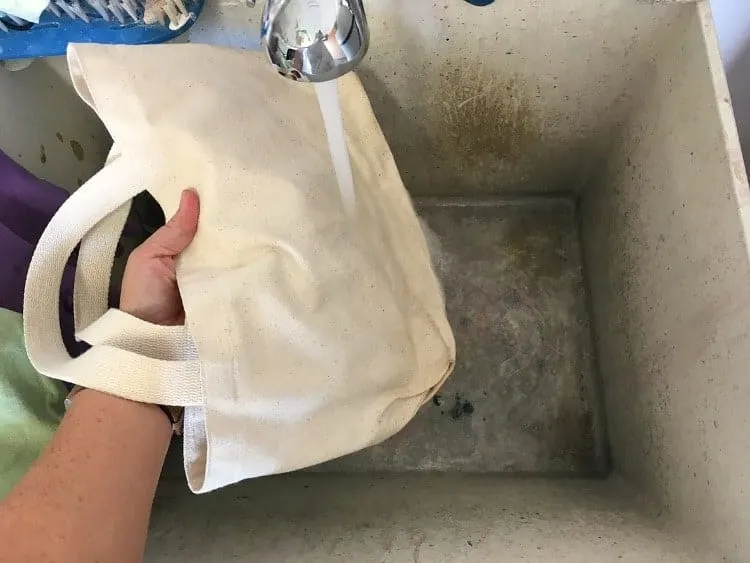
Finally, give your bag a good rinse with cold water until the water comes out clear. Then throw your bag in the dryer for a few minutes to help set the color. Now you’re ready to fill it with fun stuff!
What’s in my Busy Bag
I actually don’t love the term “busy bag.” I mean, it made sense for my toddlers because they were always so… busy. The point was to keep their little hands and minds busy so they wouldn’t make trouble.
For moms, the point is really to keep us from being too busy. Slow down a bit. Take a minute for yourself. So I think I’d rather call this a “Me-Time Tote.” Here’s what I keep on hand in my tote.
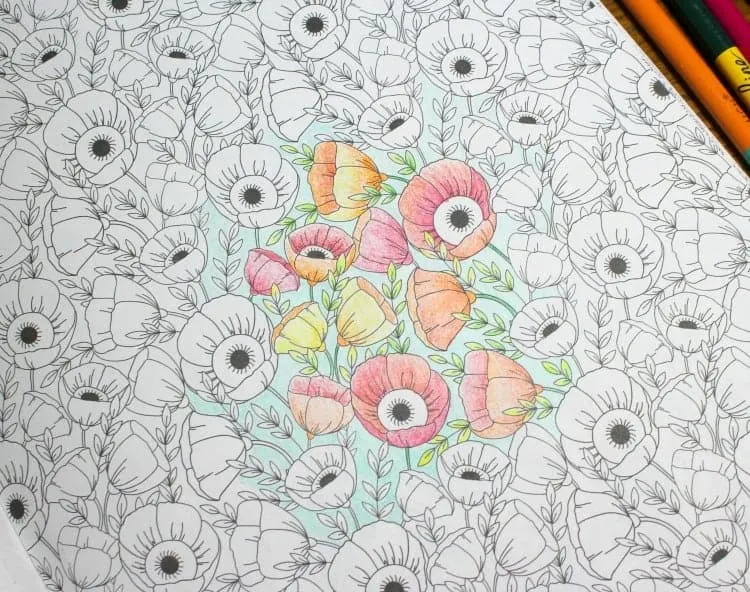
- Coloring Books. I like this Mandala coloring book and this whimsical Nature Drawing one.
- Colored Pencils. I made a cute matching pencil bag for mine. But this colored pencil set comes with its own super chic carrying case.
- A Book or two. Currently I’m reading All the Light we Cannot See for fun, The Secret Lives of Color for fun and education, and Profit First for business education.
- My Planner. (I’m terrible at planning, so I find that if I have my planner with me I’m more likely to use it for a few minutes before turning to my book or coloring.)
- A coffee cup for a little treat for me. (What fun is me-time without a little refreshment?)
A Few Thoughts on Busyness
I get a funny looks sometimes when I pull out my coloring books and pencil bag. I assume it’s just jealousy that I have all this free time on my hands and can afford to fritter it away on such mindless pursuits as coloring.
I used to feel like I needed to live up to our American standard of busyness. That if I wasn’t working on my planner, emailing someone important, or pulling out my laptop to work on that next blog post, then I was just wasting precious time while everyone else was getting ahead.
And don’t even get me started on the mom mantra of “how busy I am.” I mean, I’m not judging. I’ve totally been there too, where my standard answer to “How are you?” was always “Good, just so busy.” It was true. And still is. We’re really busy all the time, and especially during the school year.
But I got tired of being defined by my level of busyness. Let’s just get real here. Busy does not equal successful. Just ask your kids. Mine will tell you how much they value my busyness and productivity.
Not one little bit.
Their definition of productive is producing chocolate chip pancakes in my jammies on a Saturday morning. Or actually watching while they nail that trick they’ve been working on in gymnastics. Or staying up past bedtime to talk and not dozing off while “listening.”
Obviously we can’t run our lives based on what our kids want, but I think the toddler busy bag is an excellent reminder of priorities. When you’re sitting and waiting somewhere you don’t want to be, it feels like a colossal waste of time.
But if you find something fun to do, throw in a yummy snack, and make the most of the moment while refueling your creative energy, then you’re busy about the right things. And that is not a waste.
Dip Dyed Canvas Tote Bag
It's so easy and fun to make this colorful tote bag. All you need is a canvas tote and two colors of dye!
Instructions
- Make two dye baths, following the instructions on the dye bottle for cotton fabric.
- Rinse your tote bag in hot water and and wring out.
- Dip your bag into the lighter color of dye, a little at a time. Start with the bottom inch, then dip it in a little farther, and so on until you've dipped it in about 2/3 of the way up the bag.
- Hold the bottom part of the bag in the first dye bath for several minutes, until the color reaches the intensity you like.
- Now dip the bag little by little in the second color, following the same method, but only going about 1/3 of the way up the bag.
- Hold in the dye bath for a few minutes.
- Rinse your bag well under running cold water until the water runs clear.
- Drip dry or tumble your bag in the dryer for a few minutes.
Notes
You can use large plastic tubs or a stainless sink to make your dye baths.
If you only have one tub or sink, simply create the lighter color dye bath first, and follow steps 2-4. Then dump the first dye bath and make the second one for steps 5-6.
Recommended Products
As an Amazon Associate and member of other affiliate programs, I earn from qualifying purchases.

