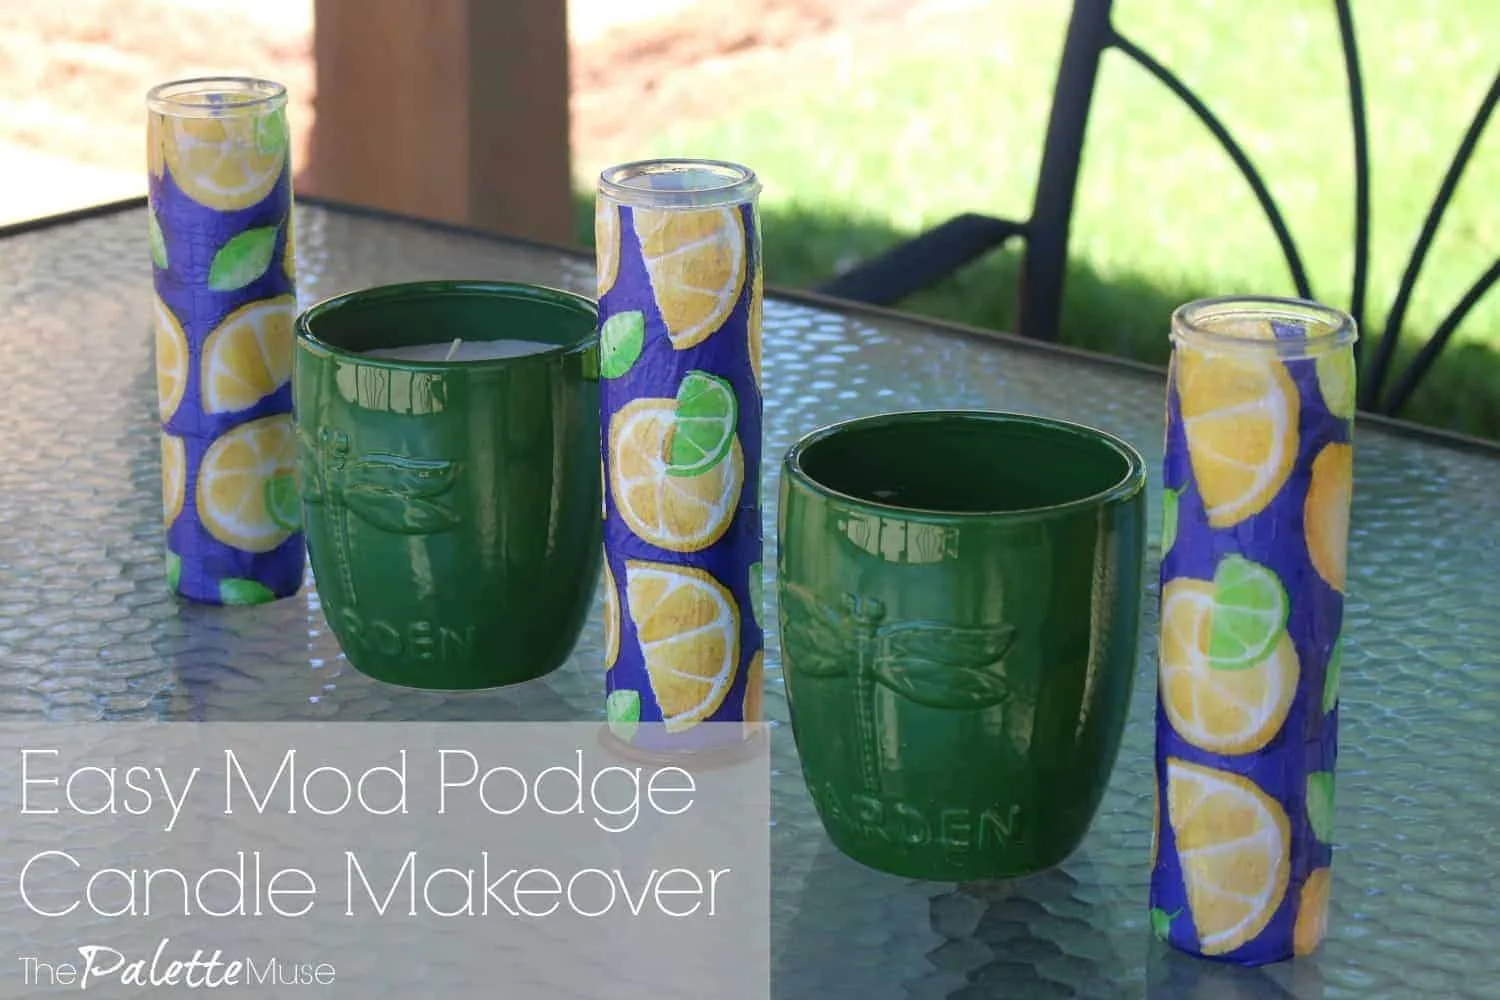
I love this easy and fun candle makeover that takes cheap glass candles, and turns them into colorful centerpieces, for about $1 a piece!
OK, show of hands, who else is obsessed with Dollar Store crafts? Whenever my daughters ask to go to the Dollar Store, I secretly jump for joy with anticipation of slowly walking the aisles, looking for crafty inspiration one dollar at a time.
Also, on a related note, why is it that I can never seem to spend less than $25 at the Dollar Store?
This project first debuted as part of my Patio Makeover series, where I updated our backyard for summer. I whipped these candles up in just a few minutes to dress up our outdoor dining table, and then realized I should probably share how I made them. So today I’m breaking down the process, step by step.
~ This post contains affiliate links. If you click and make a purchase, I may receive a small commission at no additional cost to you. ~
Easy Candle Makeover
This candle makeover requires few supplies, no crafting experience, and very little coordination. Anyone can do it!
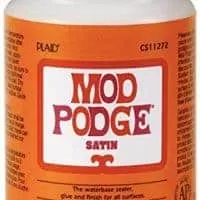
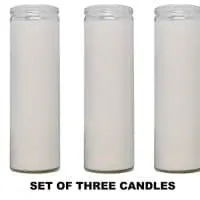
All you need are glass-enclosed candles, cocktail napkins, scissors, Mod Podge, and a brush. I got my candles at the Dollar Store, my napkins at HomeGoods, and everything else came from Hobby Lobby. (Incidentally, that’s pretty much the trifecta of my favorite stores.)
Anyway… Here’s how to make your own decorated candles.
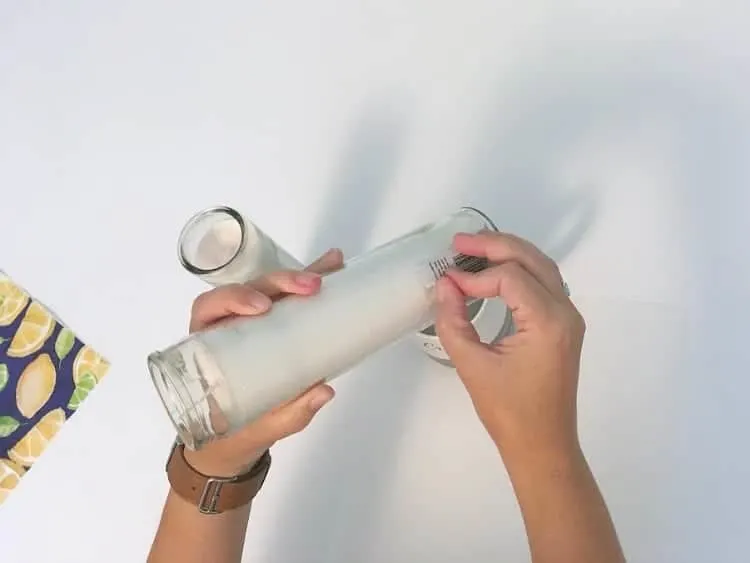
First, remove the labels from the candles. I did this by soaking each candle in a mug of water for a few minutes. Then the label peeled right off.
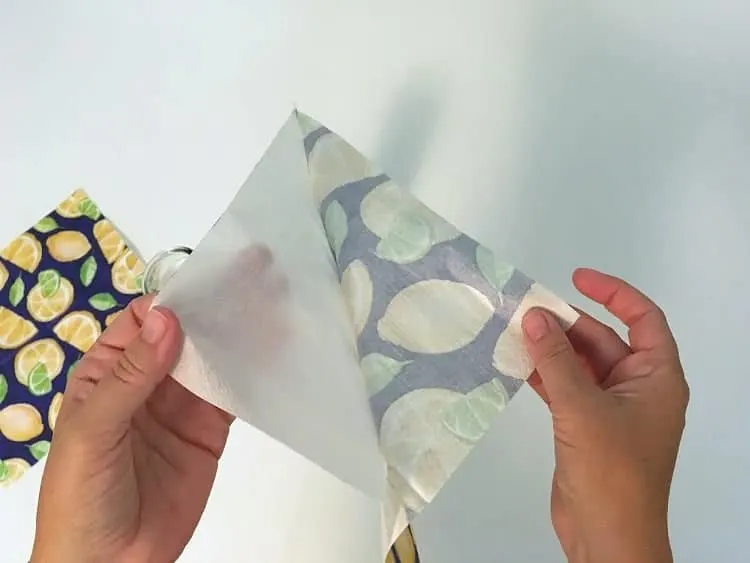
Next, carefully separate the printed ply of the napkin from the blank ply. (That’s assuming you have 2-ply napkins. Some may have only one sheet, so there will be nothing to separate.)
You can discard the blank ply or use it for something else later.
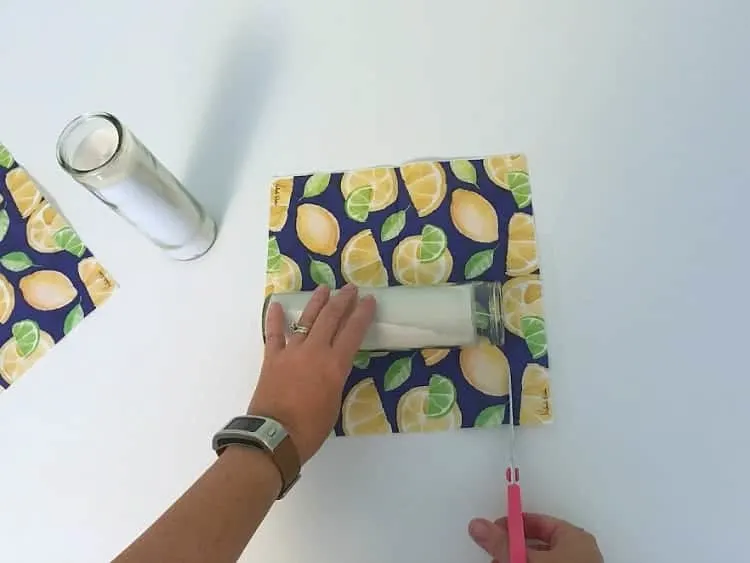
Then lay your candle on your unfolded napkin. Center it so there is a little bit of extra napkin on the top and bottom. Use your scissors to cut off the edge at the top.
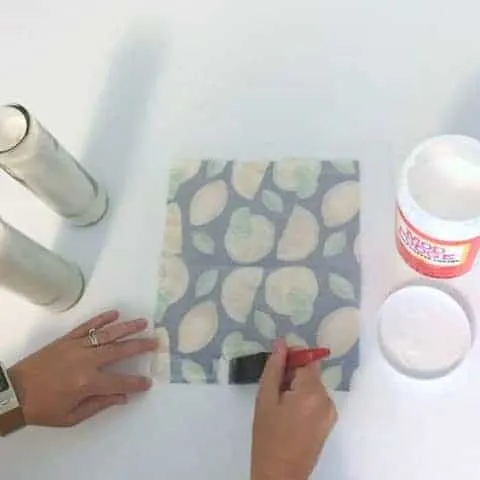
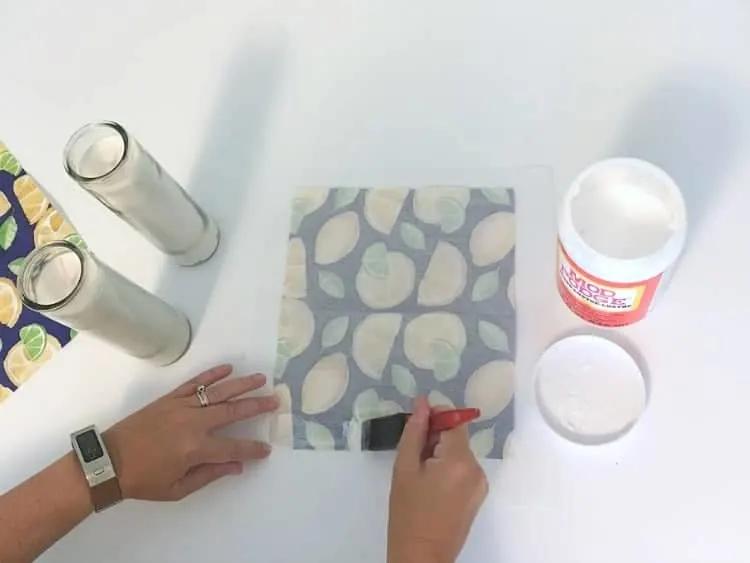
Now the fun part – Mod Podge! Lay your napkin face-side-down on the table. Use your paintbrush to gently brush a layer of Mod Podge along the first inch or so of your napkin.
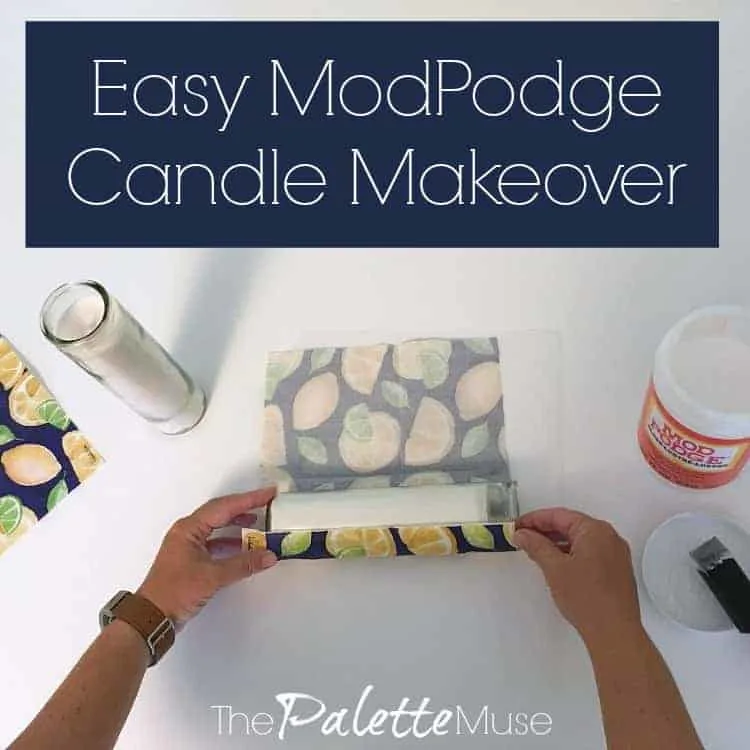
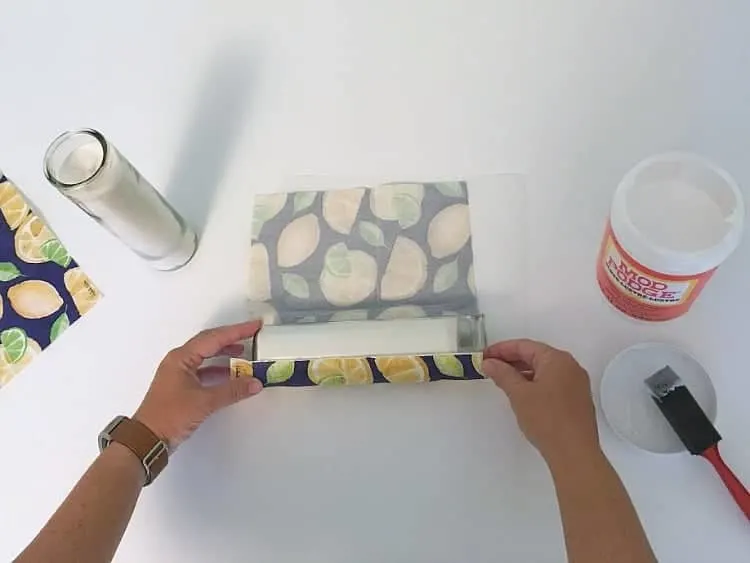
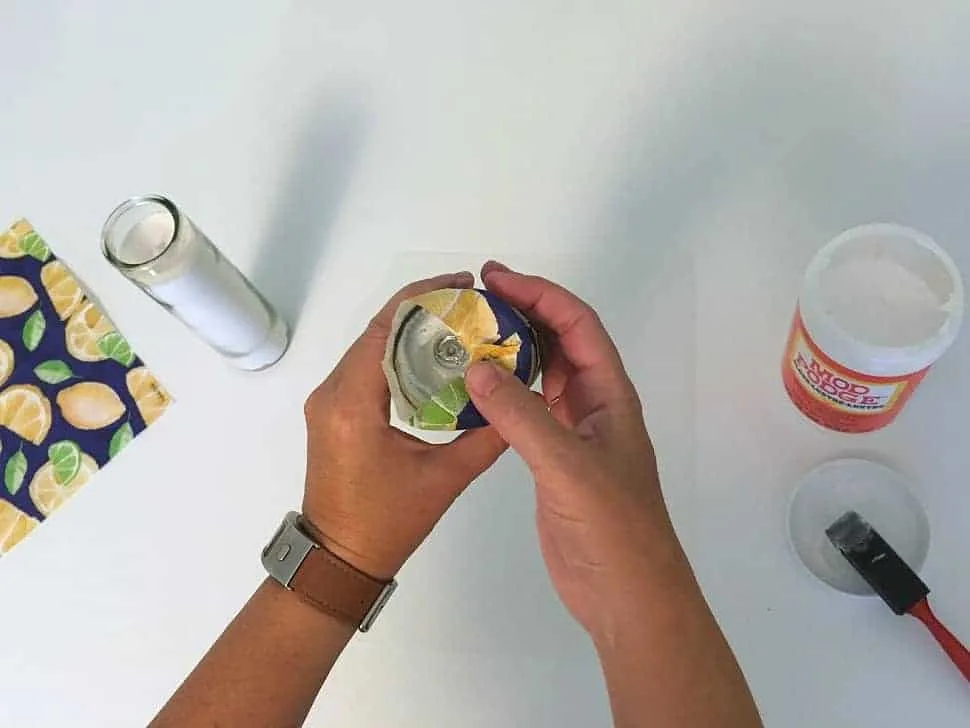
Gently lay the candle onto the gluey edge of the napkin, making sure the right side of the napkin lines up with the edge of the top lip of the glass. The hardest part is getting started the right way!
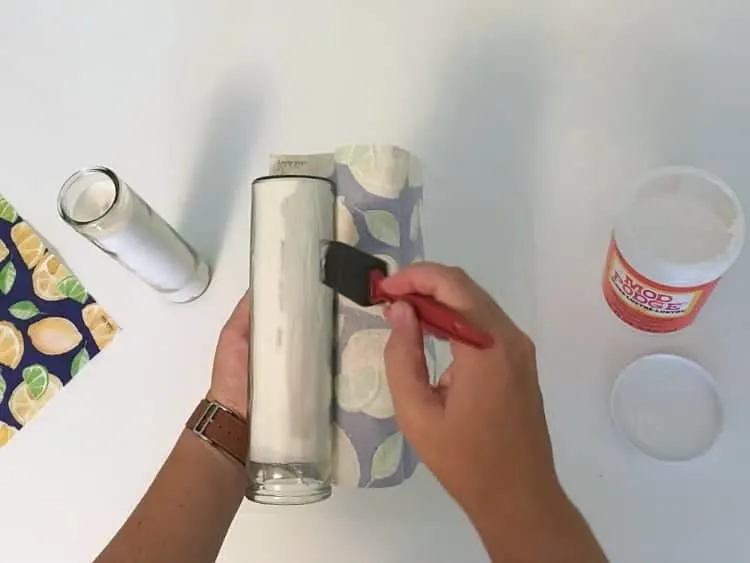
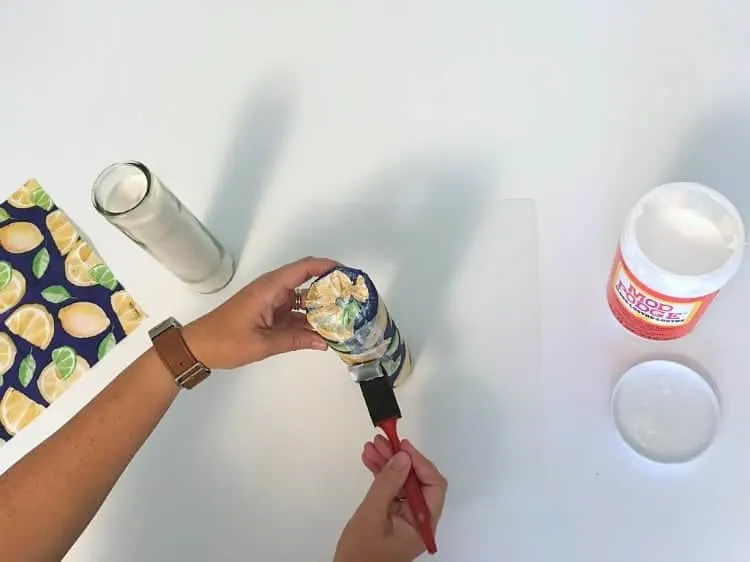
Smooth the gluey napkin onto the glass. Then turn the glass over and brush glue along the glass, rolling the napkin onto the glue a section at a time.
Once you’ve covered all the glass, put a little glue along the first edge of the napkin and overlap the second edge on top of the first. Smooth everything together to make sure the glue attaches to the napkin and the glass.
Once you’ve covered the whole glass, trim off any excess napkin left over, except for the edge along the bottom.
Turn the candle over so the bottom edge is facing you. Now brush a little glue along the bottom of the glass and press the edges of the napkin into the glue.
Set the candle upside down. Now, brush a thin layer of glue all around the outside of the napkin-covered-glass to seal the napkin on and protect it from the elements.
Let everything dry really well, and then you’re ready to light your candles!
This is a great project for beginners because you don’t have to be too precise. If you have extra edges where you got off center, you can cut them off and finish them with a coat of Mod Podge.
Plus, the napkins don’t need to lay perfectly flat on the glass. The inevitable folds and ripples will add some texture to your masterpiece. Enjoy the process!
Candle Makeover Materials
Here’s a quick resource to get all your materials to make your own candles:
You could do this same project with any number of different styles of printed napkins. I can imagine how pretty these would be for a wedding, covered with an elegant print, instead of this fun and fruity design.
You could probably even use other types of craft paper, or even thin fabric. The possibilities are endless!
I’d love to hear from you if you make your own, or if you have any questions about the process! Leave me a comment below…
Easy Mod Podge Candle Makeover
Transform plain glass pillar candles from the Dollar Store into a show stopping centerpiece with only cocktail napkins and Mod Podge!
Materials
- Glass pillar candles
- Cocktail napkins
- Mod Podge
Tools
- Paintbrush
- Scissors
Instructions
- Remove any labels from the candles by soaking them in water for a few minutes.
- Separate the top printed ply of the cocktail napkins. Discard the other ply(s).
- Cut the napkin down to the size of the candle from top to bottom, including about a half inch extra.
- Paint a 1 inch strip of Mod Podge along the front edge of the napkin.
- Press the front edge of the napkin on to the glass, with the edge of the napkin lined up to the top edge of the glass. The other edge of the napkin should overlap the bottom of the glass a little bit.
- Continue painting Mod Podge along the glass and pressing the napkin, smoothing as you go.
- Tuck the extra edge of the napkin around the bottom and adhere with Mod Podge.
- Cover the whole thing with a light coat of Mod Podge and set on its top edge to dry for at least 15 minutes.
Recommended Products
As an Amazon Associate and member of other affiliate programs, I earn from qualifying purchases.

Susan
Monday 27th of September 2021
Does the heat of the burning candle affect the Modge Podge/paper?
Meredith
Thursday 30th of September 2021
It didn't bother mine, since the paper was attached to the outside of the glass and the candle didn't burn too hot. Plus, I think the Mod Podge protects the paper a bit.
Mariann Brooks
Wednesday 26th of February 2020
I love this! Thank you for making the instructions so simple. I am getting some stuff to do this tomorrow :)
Meredith
Thursday 5th of March 2020
Oh fun! I hope you enjoy the project. I'd love to see how yours turn out!
Jeri Walker (@JeriWB)
Tuesday 16th of July 2019
I love this idea! I may live to try modge podge again, but I'm taking a break after the Georgia O'Keeffee coffee table I created a while back.
Meredith
Wednesday 17th of July 2019
Ha! I can understand needing a break after a project of that scale!