The weather is cold outside so today we're warming things up inside with this fun and easy Watercolor Heart Banner made from book pages.

This is such an easy project that I set my kids to work on it. They're always happy to help with any project involving paint, but when I explained that we'd first be ripping pages out of a book they were horrified.
I realized that everything I and their teachers have been telling them all their young lives about how to properly treasure and care for their books was crashing down around them, all for the sake of a craft project.
They quickly rallied though, when I explained to them that this was not a library book, or even one of our collection, but was a book I got at the dollar store, just for the sake of making it into something else. (Don't worry, I read it first and confirmed that it wasn't worth keeping on my bookshelf!)
That hurdle cleared, we moved on to ripping, tearing and destroying the book. I knew I'd need about 30 pages, but they were having so much fun, they ripped every last page out and then we ended up surrounded by paper hearts by the end of the project.
This post contains affiliate links. If you make a purchase, I may receive a small commission at no additional cost to you.
How to Make a Watercolor Heart Garland
Here's what you'll need to make your own heart garland, in addition to a book that you're willing to sacrifice:
- Twine or Jute String
- Watercolors and Brushes
- Mini clothes pins - I used red
- Scissors
I'm including affiliate links below if you need to purchase any of these items. I had everything on hand except for the clothespins.
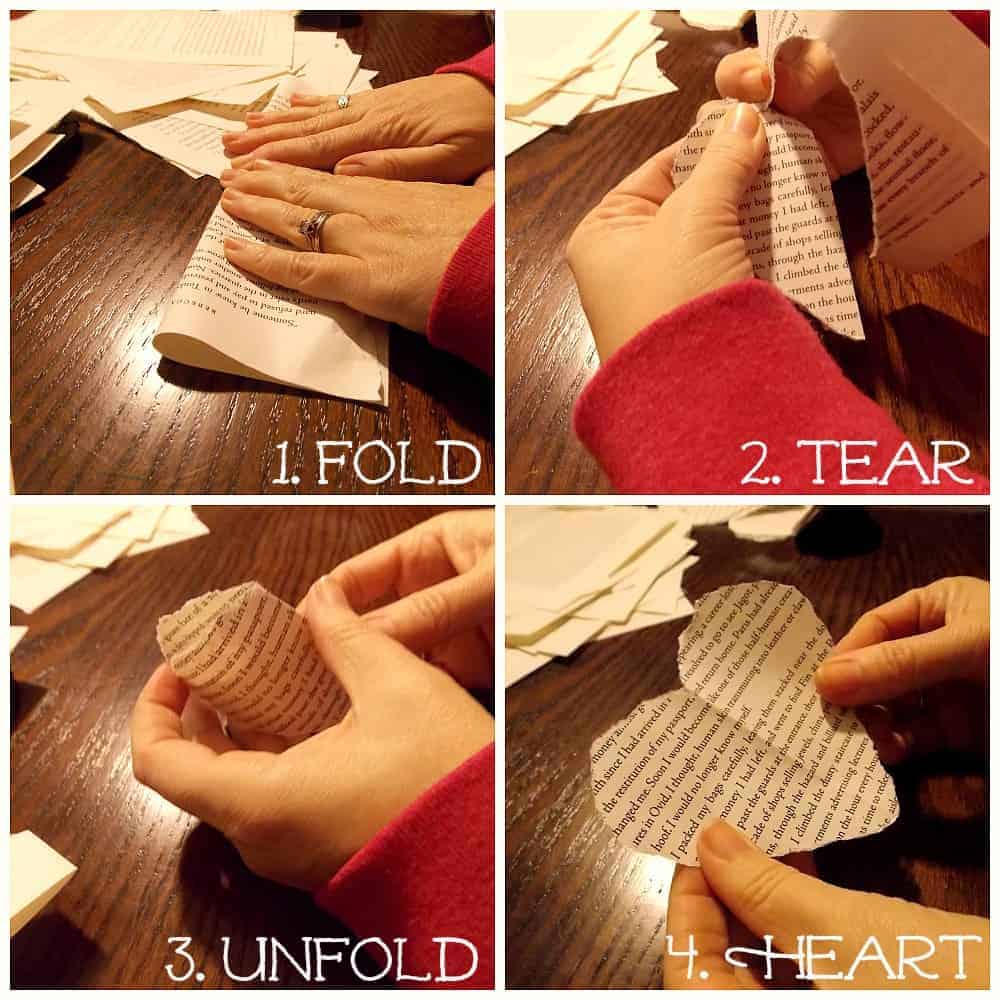
- Fold the page in half lengthwise.
- Starting at the fold, tear around the edge of half of a heart shape. (Pay attention to the direction of the text so all your hearts don't end up upside down.) You can use the first page to get your shape just right and then it can be your template for the other pages.
- Unfold, and discard the rest of the page.
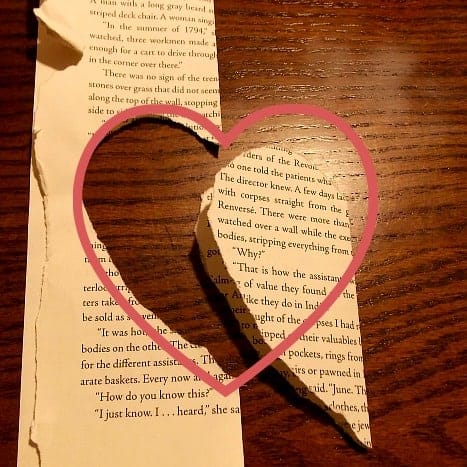
- There's your first heart!
Now you're ready to paint the borders:

Using a sponge or large brush, paint the edge of the heart with water only. This will allow the paint to seep in and give you a nice watercolor effect.
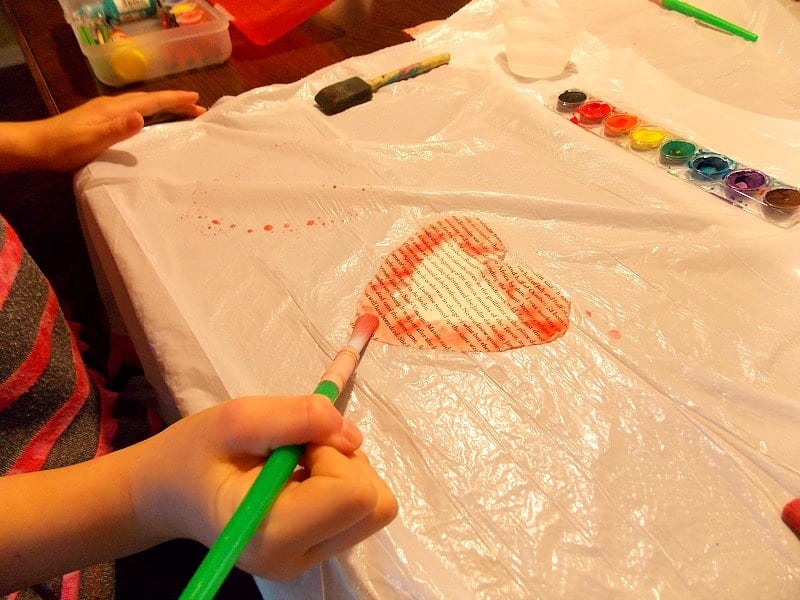
Paint around the edge of the heart. It doesn't need to be perfect.

Set the heart aside to dry. It will fade and curl a little which is what gives the banner its rustic style.
We had great fun doing this part of the project, and I was amazed at how many ridiculous puns came up. "My heart is ripping!" and "Stop stealing my heart" were just a couple.
The kids giggled the whole time, and I couldn't help but think that this may be the best way to celebrate Valentine's Day.
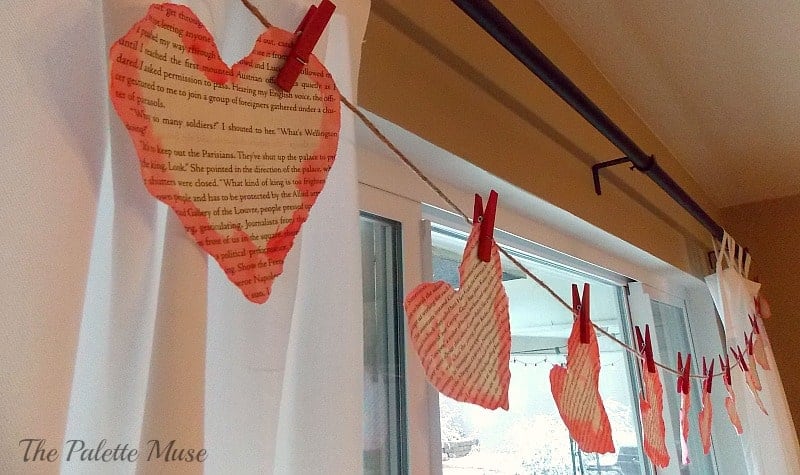
It took a few hours for the hearts to dry, so I waited till today to hang them, and that turned out to be the easiest part! I simply cut a length of jute a little longer than the width of my window.
Then I pinned on hearts at about 6 inch intervals along the string. I hung the string by tying it to the ends of my curtain rods, and then straightened out a few of the hearts. Done!
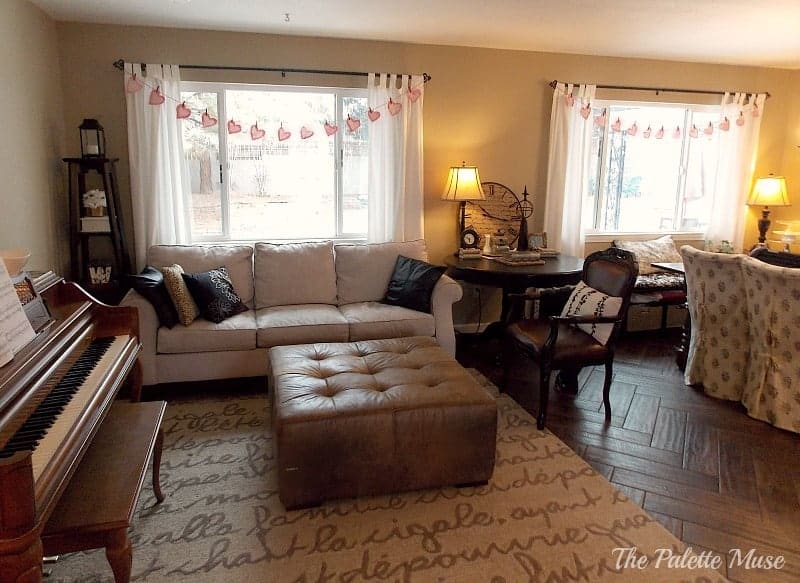
It does seem a little warmer in here, just adding a pop of red and pink into the room.
How are you staying warm this winter? I recommend a messy, destructive project with the kids!


Beth Niebuhr says
What a sweet project to do with children! I wish I had some grandchildren!
Meredith says
They do make things a lot more fun! (And more messy)
Aimee says
Oooh...I love this!!
Meredith says
Thank you Aimee! 🙂
Sandey says
Lovely!
Meredith says
Thanks Sandey!
andleeb says
It is nice project and good that children can also participate in such projects and hearts look so cute.
Meredith says
Yes, the kids had a great time! And they got a kick out of helping me with a project for the blog.
Toni @ Debt Free Divas says
This is sooooo neat. I so envy creative folks who can dream something and then actually produce the vision. I have creative thoughts...that's where it ends. Ha!
Meredith says
Lol! That's how I usually am too, but since starting the blog, I have to follow through. It's amazing how practicing creativity makes it grow!
Beverly Roderick says
What a fun craft to share with your children! I love book page crafts. I did a few hearts for my mantel this year. I love that your children were reluctant to tear up a book at first! Thank you for sharing this on the Spring Craft Blog Hop. Pinned and Tweeted.
Meredith says
Thanks for visiting and sharing Beverly! This was my first book page craft, but it was so much fun it definitely won't be the last!
Life With Lorelai says
What a fun idea... very cute and clever. Great project for kids. Please come share at the Home Matters Linky Party! We'd love to have you for a visit. The Door is OPEN! http://lifewithlorelai.com/2015/02/05/home-matters-linky-party-23/ 🙂
~Lorelai
Life With Lorelai
Meredith says
Thank you Lorelai! I'll head over for a visit! 🙂
Creative Mama Renee says
I love projects where the kiddos can be involved! The part about them being horrified to rip up a book made me smile. That just means you're bringing them up right!
Thank you for sharing on the Spring Craft Blog Hop!
Meredith says
Thank you Renee!
Brittany says
As a librarian, I love book page crafts! Thanks for joining the #HomeMattersParty - we hope to see you again next week 🙂
Meredith says
I bet you have lots of great book page projects! Loved the Home Matters Party linkup, will definitely be back this week!
Candice says
Thank-you for linking up to bloggers brags pinterest party. I have pinned this post to our board.
Meredith says
Thank you Candice!
Amy Nielson says
Very cute. My kids would LOVE this!
Meredith says
Thanks Amy! It really was a lot of fun.
Anna says
What a great kid's DIY project!!
Alli says
Those look like such a fun project, I can't wait to give these a try.
Dee says
This is adorable! I tend to cringe at the thought of tearing out book pages, but a Dollar Store book would work! Thanks for the suggestion. Pinned! 🙂
Meredith says
Thanks for pinning Dee!