Did you know you can make whipped cream in a jar? Maybe everyone knows this except for me, but I was blown away by this idea when visiting my parents’ house last weekend. My mom handed my daughter a jar of what looked like mayonnaise and asked her to shake it. I asked if she was making her own dressing these days, and she looked confused for a minute, then said, “No, it’s whipped cream.”
“Wait, what?”
Then I noticed the huge bowl of berries on the table, and immediately my mouth started watering. As I was trying to politely wait for dinner to be served, my mind started reeling with all the things I could put whipped cream on. (More about that in a minute.) I didn’t know whether to be impressed with the amazing things my mom knows, or to be incensed that she never shared this nugget of wisdom with me. Before I could decide which emotion I’d claim, my daughter had stopped shaking the jar, and I opened it up for a taste.
Y’all, there is NOTHING like fresh whipped cream. I’m not sure what else was for dinner. But I know there were berries and cream.
It’s probably been a good thing that all these years that I knew I’d have to get out my Kitchen-Aid to make whipped cream if I wanted it fresh. (Not that I mind pulling out my kitchen gadgets. It’s cleaning them up afterwards that’s usually an effective deterrent to my cravings.) Well, no more. Look out waistline, I can now have whipped cream whenever I darn well please!
If you already know this trick, feel free to skip this next part and head to the fridge to see if you have the ingredients, because I know you want some now. However if you’re culinarily challenged like me, read on to see how easy this trick is and join me in the revolution.
How to make your own fresh whipped cream in a jar.
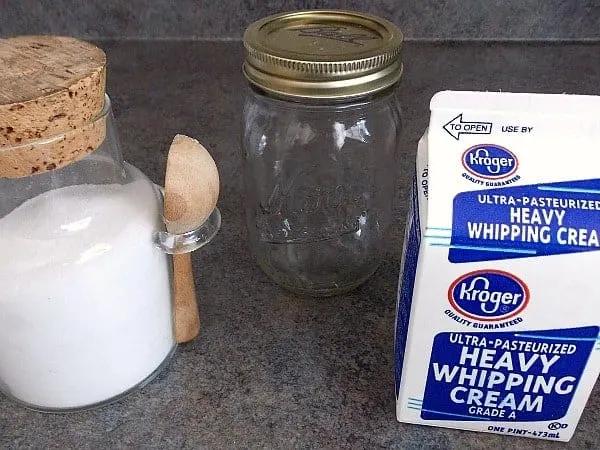
- A Jar. I used a mason jar because, come on, everything just looks cuter in a mason jar. But you can use any kind of jar that fits comfortably in your hand and has a tight-fitting lid.
- Heavy Whipping Cream. Fresh and good quality, please. It really makes a difference.
- Sugar. Plain white granulated is fine, or if you’re on a low-carb diet, you can substitute Splenda.
Here’s how:
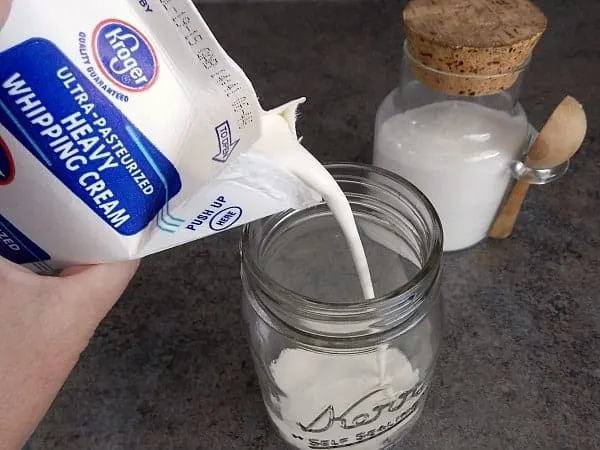
- Pour enough cream into the jar to fill it no more than halfway. For a 16 oz. size jar, this means 8 oz. of cream.
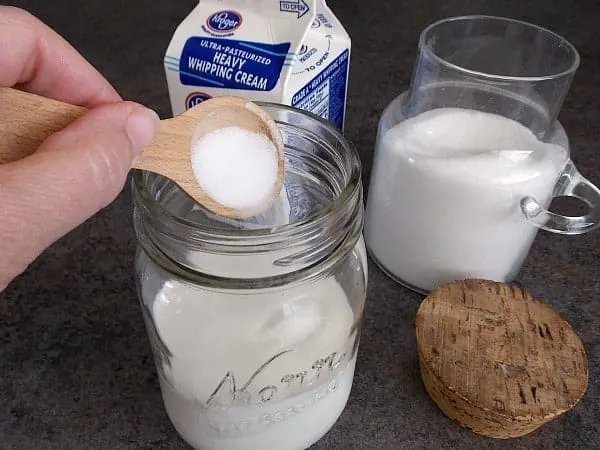
- Add 1-2 teaspoons of sugar per 8 oz. of cream.
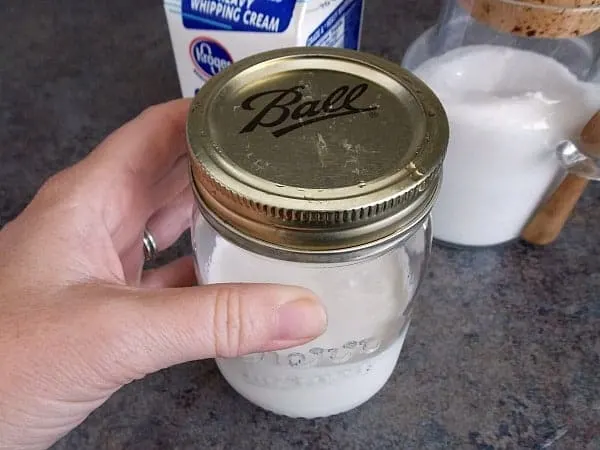
- Screw the lid on tightly. You do not want to shower your kitchen with heavy cream.
- Shake it like your momma taught you. Oh wait, that was my momma. Just shake it really hard for a few minutes. Better yet, give it to your kid to shake – their arms never seem to get tired, especially when dessert is on the line. You’ll hear the sound of the cream changing from sloshy, to gloppy, and then finally to almost silence once it’s whipped completely. Yes, those are the technical culinary descriptions.
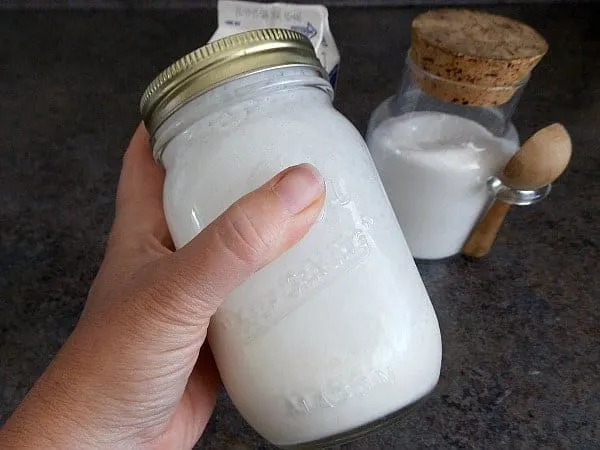
- Open the lid and taste it. If desired, you could even put it on berries or something else, but I won’t tell if you want to eat it right out of the jar with a spoon. Or your finger. No judgement here, people.
All this shaking and anticipating got me started thinking about all the wonderful foods that become even more wonderful with whipped cream on top.
- Berries
- Pancakes
- Ice cream
- Cheesecake
- Let’s just simplify here and say any dessert item
- And of course, my hands down favorite…Coffee.
One more thing, you mean I can have whipped cream and berries on my next camping trip? Will wonders never cease!
What will you put your whipped cream on? And are there any more of these little secrets I should know about?

Jennifer
Wednesday 25th of October 2017
I wish I had seen this earlier. I just beat 16 ozs of heavy whipping cream by hand with a whisk. My hands are now cramped up lol. Next time I'm trying ir via the mason jar technique.
Meredith
Thursday 9th of November 2017
LOL! Oh no, next time I hope this saves you some cramped hands!
Johanna
Wednesday 8th of July 2015
umm, this is amazing. like, my jaw is hanging open and i'm unable to even run to my fridge to see if i have ingredients because i'm so amazed.
Meredith
Monday 13th of July 2015
I know, right? That was exactly my reaction!
Aliza B
Thursday 11th of June 2015
I think this would be so tasty! Much better than the stuff from the aerosol can! Right now with it being berry season it's perfect!
Thanks for linking up at Bloggers Brags Weekly Pinterest Party. I've pinned your post to the Bloggers Brags Pinterest Board. Hope to see you again next week!
Meredith
Friday 12th of June 2015
It really is so much yummier (and probably healthier) than the spray stuff! Thanks for stopping by!
Kristen from The Road to Domestication
Monday 8th of June 2015
Oh! So simple! I love this method! Thanks so much for taking the time to link up with us over at the #HomeMattersParty - we hope to see you again this Friday!
Meredith
Tuesday 9th of June 2015
Thanks for visiting, Kristen! I love the #HomeMatterParty, I'll definitely be there this week!
Jeannette Paladino
Sunday 7th of June 2015
Great idea. One question: can it be saved in the refrigerator for future or does it have to be eaten right away?
Meredith
Tuesday 9th of June 2015
Thanks Jeannette, and good question! I've eaten off of my original batch for several days and it's been perfect. In fact, I think the consistency sets up a bit in the fridge.