Progress on my girls' bathroom for the $100 Room Challenge, beginning with staining and painting the ugly old oak cabinets.
This project, like most of my room makeovers, started with painting and staining cabinets. Because I was unsure how the staining would go, I decided to start with that project. I figured if it turned into an epic fail, that would give me more time to change course and try something else.

This post contains affiliate links. If you make a purchase, I may receive a small commission at no additional cost to you.
Staining Oak Cabinets without Sanding
I'm more of a paint girl than a stain girl, so this project was a little outside of my comfort zone. And truthfully, I'm not even sure I did it right, so this will be less of a tutorial and more of a collection of my thoughts on the process.
I decided to follow the process in this post from Designing Vibes, and I'm pretty happy with how it turned out!

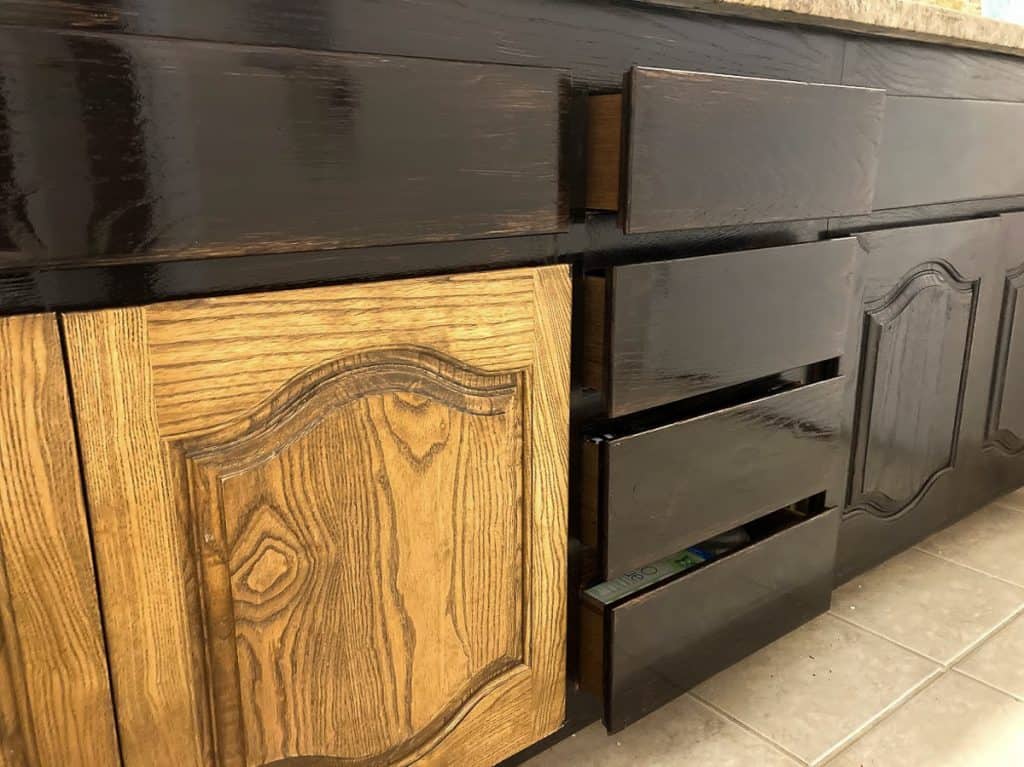
I used some Minwax wipeable gel stain that I had leftover from one of our flip house projects. I knew my only option was to go darker, unless I wanted to start by sanding down the whole cabinet to its original wood, which frankly was more work than I wanted to do. Plus, I thought a darker stain would bring out more of the deep colors in the granite. (It's actually super nice granite, just a little orange for my taste.)

I think the dark stain really grounds the space and gives the wood a richer feel. (Don't worry, prettier pictures will be coming soon!)
Wipeable Stain Process
If you've read any of my other cabinet posts, you know I hate sanding. Yes, stain is supposed to go on naked wood. No, I was not willing to put in the time and mess to make that happen. Enter gel stain.

Supposedly this stuff is made to be wiped on and wiped off, with less mess than liquid stain. In my experience, both times I've used it, I needed to brush it on.
No problem, I love brushes!
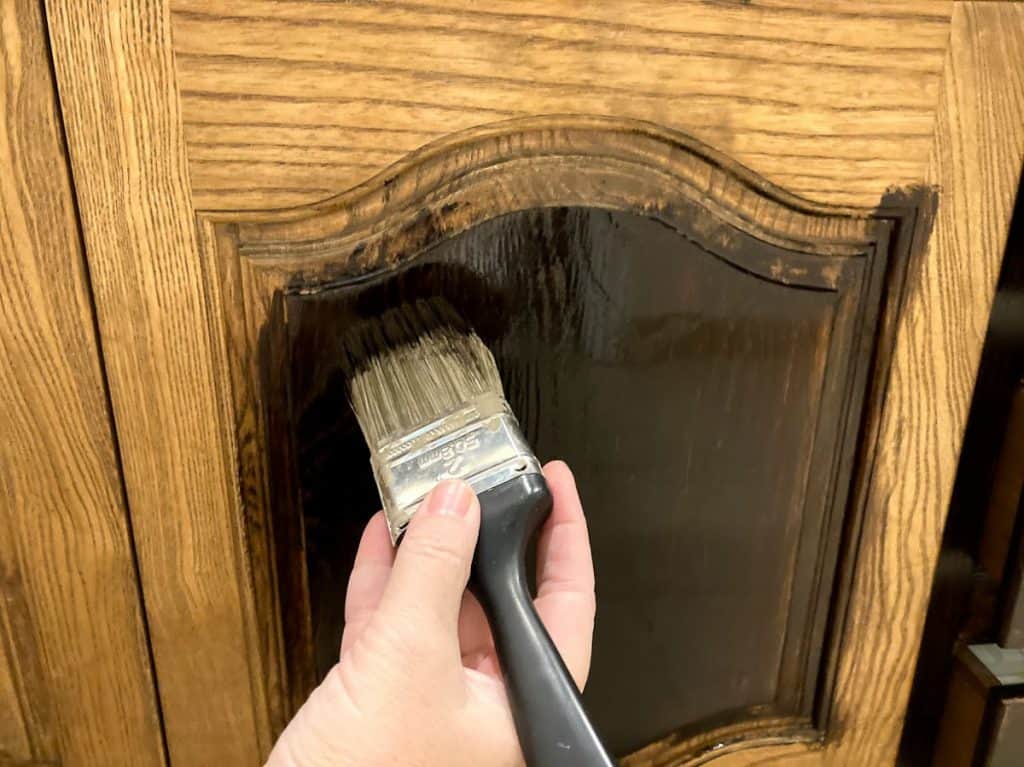
Rather than brushing it on, then wiping it off after the recommended 3 minutes, I brushed it on and let it completely dry as is. That created a nice dark semi-opaque stain with a pretty satin finish.
(Because I didn't sand the cabinets, when I first tried the wipe on/wipe off process, all the stain wiped right off. This is where my process deviates from the recommended use, so I can't tell you to do it this way. What I can tell you is it worked for me.)
My Caveats for Going Off-Label
Since this isn't the recommended use for the product, I feel compelled to add a couple of my own warnings here.
First, I don't know how this finish will stand up over time. I'll definitely come back and update this post in the future.
Second, make sure you open a window. For DAYS. Brushing the stain on so thickly made for a lot of fumes. My daughter said, "Mom, I know bathrooms stink sometimes, but never like this!"
Finally, you're an adult. That means you get to do what you want in your own house, as long as it's not a safety concern. If an off-label process works better for you than the one recommended by the manufacturer, go for it! Just be ready to adjust your plans if things don't go well or hold up over time. In my case, this vanity needed a change, and this was a good first step. If it doesn't last, I'll just cross that bridge when I come to it. There's always paint.
Painting the Old Oak Cabinet
Speaking of paint, I decided the cabinet in the shower room needed to be lighter, not darker like the vanity. It got the same treatment my kitchen cabinets got, using leftover paint from that project. Super easy, and great for the budget!
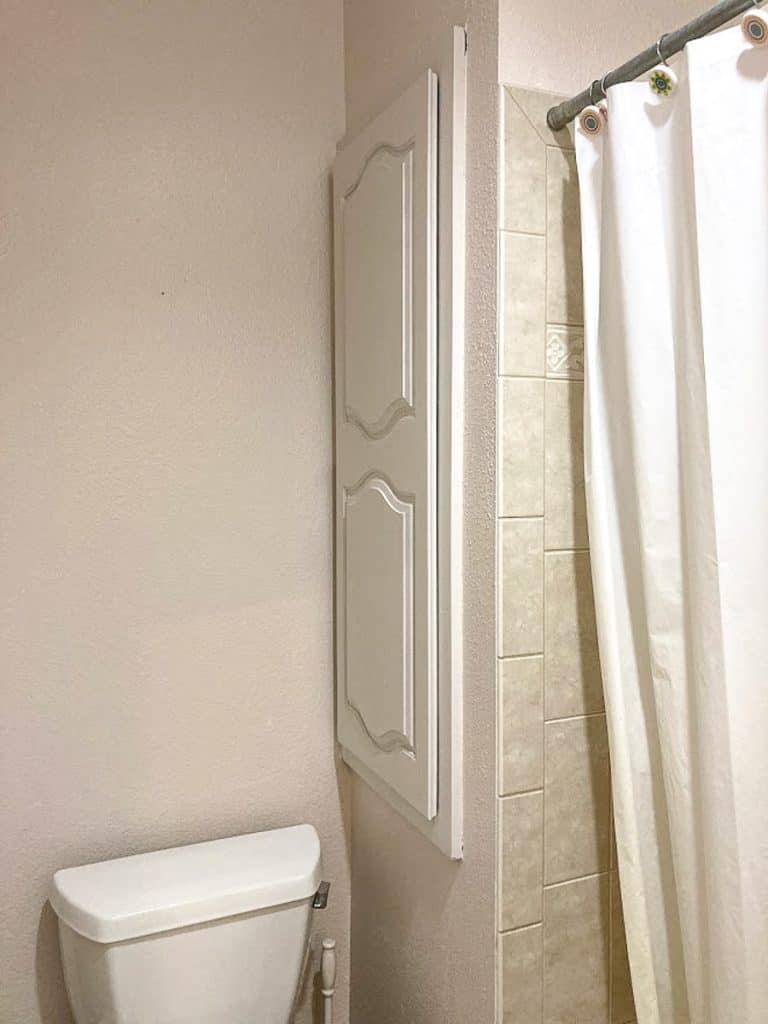
It already looks better in here with the fresh white cabinet and all the visual clutter removed.
Next week, I'll tackle the wall paint. It's not a huge space, but there are a lot of edges between the two rooms, so it was more than I could handle this week. Plus the fumes from the stain were so bad I couldn't work in here very long!
$100 Room Challenge Updates
Before you go, be sure to sign up for the newsletter to get updates on the next few weeks of the challenge. Or follow along here:
Week 1 ~ Week 2 (you’re here) ~ Week 3 ~ Week 4 Reveal


Wendy says
I have never used gel stain but it looks like it's not too scary! I love that you tied in the granite.
Meredith says
Yeah, I was a little scared at first, but it turned out so much better than I thought, so now I'm a believer!
Rebecca | R&R at home says
This look so good! I have always wanted to try gel stain!
Meredith says
Thanks, you totally should! I'm a big fan now.
Christina says
That's a huge difference, and it's so great that the color/pattern is complimenting the counter instead of competing now.
Meredith says
Thanks Christina, that's what I was hoping for but you never really know how it's going to go until you try it!
Jen @ JENRON DESIGNS says
Those darker cabinets are going to save you so much time when cleaning. They cover a world of scuff marks and dirt, lol~
Meredith says
That's a really good point, I hadn't even thought of the cleaning benefits!
Leigh says
This is great! I love using gel stain too!
Meredith says
I can't believe it's taken me this long to try it!
Kati | Houseful of Handmade says
I like the dark wood with the granite! And hopefully the smell goes away soon.
Meredith says
Thanks Kati, and the smell is finally gone!
Lori King says
Hi, 5 years ago I used gel stain on my cabinets and used a dark gel stain as a glaze on top. I also used a sealer. They turned out great and I even had a contractor complement them. My issue now is that my floor is dark and it makes my kitchen look dark and outdated. I’ve never been into a plain white look, but I love the Idea of a off white and a dark glaze. I’m not sure if I would have to sand and if anything would adhere to the gel stain.
Thanks in advance!
Meredith says
Hi Lori, I think it would depend on whether your current finish is holding up well. If it's still in good shape, try painting over it in a small area first to see if you like the finished product. Maybe the inside of a cabinet door?
Lisa @ Recreated Designs says
What a difference! It looks wonderful... even if you did go off-book LOL.
Meredith says
Thanks Lisa!
Erin- Lemons, Lavender, & Laundry says
I completely agree that the darker color works well, especially with the granite. I have never tried a gel stain, but it looks like it worked well (even if you took your own path with it).
Meredith says
Thanks Erin, yes I'm happy with how it came out. Now I'm just curious to see how well it holds up over time!
Jackie says
Making the oak darker did help bring that orange tone down from the countertop. Looking good- can't wait to see what you tackle next.
Meredith says
Thanks Jackie! Yes, I'm pretty happy with less orange!
Sherry says
I really like gel stain too. Your cabinets are looking beautiful!
Meredith says
Thanks Sherry, now I see why everyone love this stain!
Tracy says
That's awesome! I had sanding too. It makes such a mess!
Meredith says
Me too! It takes patience that I just done have!
marie says
I noticed the edges of the drawers have a worn look. Was this done on purpose, or did the stain not adhere in those spots?
Meredith says
No, I think I was just not being careful to get into all the edges. The stain adhered here well to everything I meant for it to!