You don’t need to buy new furniture or cabinets to get your phones and tablets organized! Turn any drawer into a charging drawer with this quick and easy DIY project.
When we remodeled our kitchen, one of the things I knew I wanted was a dedicated charging drawer to keep all the electronics off the countertop and out of sight. I looked into ordering custom cabinets with a special-order charging drawer, but the cost just about broke my budget.
I had a feeling there was a cheaper way to get what I wanted. (Which is usually the beginning of all my DIY projects.)
I did a little research and found that you can buy the charging strip for pretty cheap, and install it yourself. All you need is a power source, a few tools, and a charging strip that fits your drawer. Read on to see how I did it!

This post contains affiliate links. If you make a purchase, I may receive a small commission at no additional cost to you.
How to Install a Charging Station into Any Drawer
First you need a drawer. And a power source. This is crucial in planning where you want to put your charging drawer.
If you are converting a piece of furniture, like a desk, that’s easy. Your desk will likely be located close to a wall outlet anyway. Simply use one of the outlets to plug in your charging strip.
If you are installing a charger into a cabinet, like me, it’ll take a little planning ahead. It’s easiest to do this when you’re planning a full remodel, but if you’re just doing this one project, you can have an electrician add an outlet on the inside of your cabinet.

If you already have a cabinet with an outlet inside (like for lighting or a microwave) then you can use one of the plugs for your charger.
I decided to put my charging drawer right at the front edge of my kitchen, since it’s the closest to where I come and go from the house. It’s also right in the same spot where our countertop charging station used to sit, which means my family will have an easier time adjusting to the change.
Get the Right Charger
The type of charging strip that goes into a charging drawer is basically a glorified power strip, with a frame that allows it to be mounted onto the back of the drawer. It’s not rocket science, but man is it a cool idea!

This is the exact power strip we used, but there are several others available, in different sizes and colors.
Be sure to choose a power strip that it will fit your drawer, with at least an inch or so of wood leftover all the way around the frame of the power strip. That will ensure that you have a solid surface to attach the strip to, without compromising the structural integrity of the drawer.
How to Install the Charging Power Strip
It’s easy to turn a drawer into a charging drawer with these few steps! If you’re working in a new or remodeled kitchen, you can make it even easier by doing this project before the countertops go in. But it’s not a deal breaker if you have to work under existing countertops.
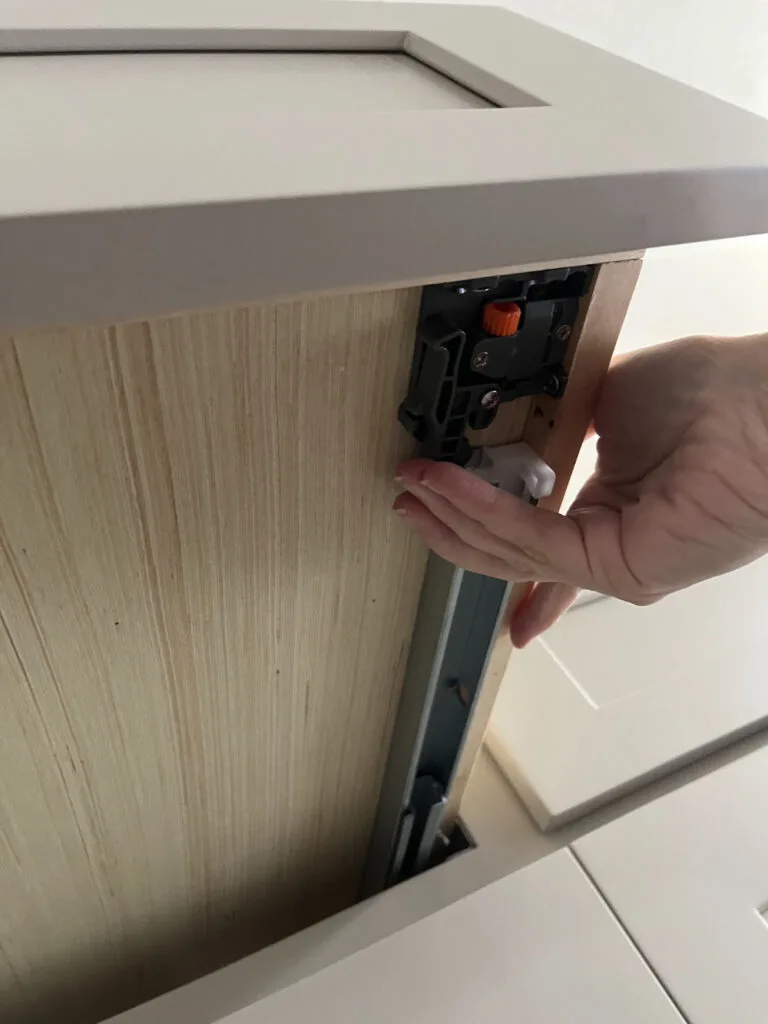
Remove Drawer
First you’ll need to remove the drawer that you’ll be modifying. They usually have a release lever attaching the drawer to the tracks.
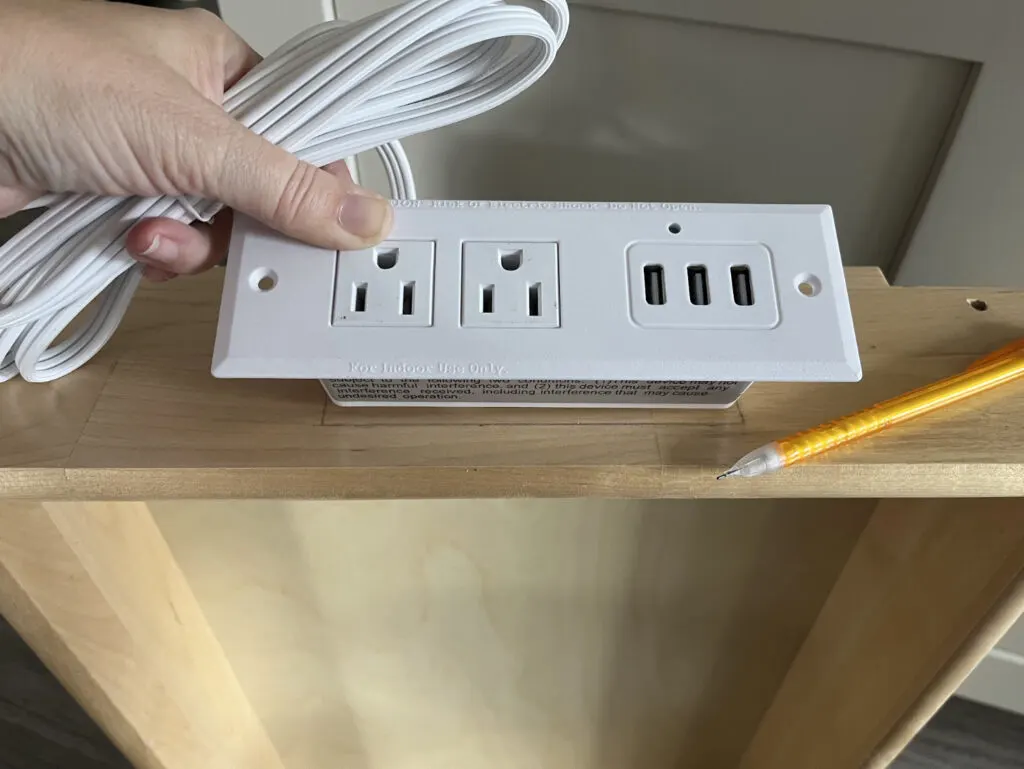
Measure and Mark the Spot for the Charger
Hold the charging strip up the back of the drawer and use a pencil or marker to mark where you want to cut around the body of the charger.
Cut the Hole for the Charger
This is easiest with an oscillating saw like this one. With an oscillating saw and a flat edge wood blade, you can easily cut out the exact lines of the rectangle for your charging box.

If you don’t have an oscillating saw (you should), you can use the method of drilling out the four corners with a large drill bit and then using a jig saw to cut the lines in between the corner holes.
Insert the Charger in the Hole and Secure
Make sure the charger fits by threading the cord through the hole from front to back, and setting the charger in the hole.
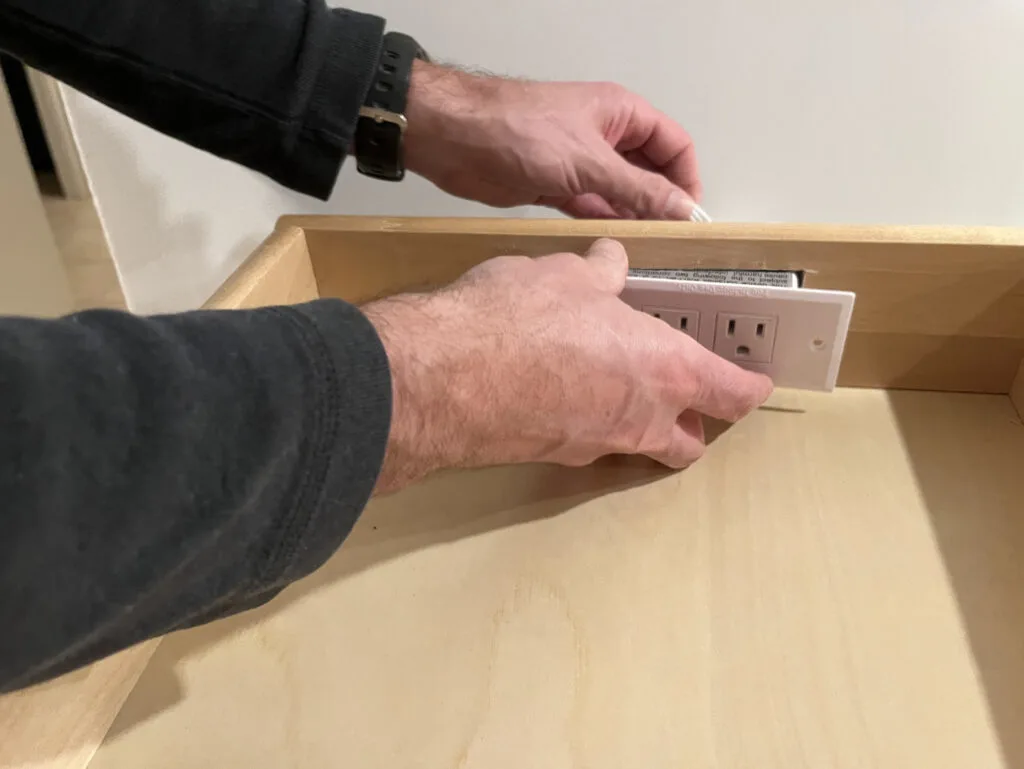
If it fits, use the included screws to mount the charger onto the the back of the drawer. If it doesn’t fit, you may need to adjust by sanding or cutting more of the edges of the hole.
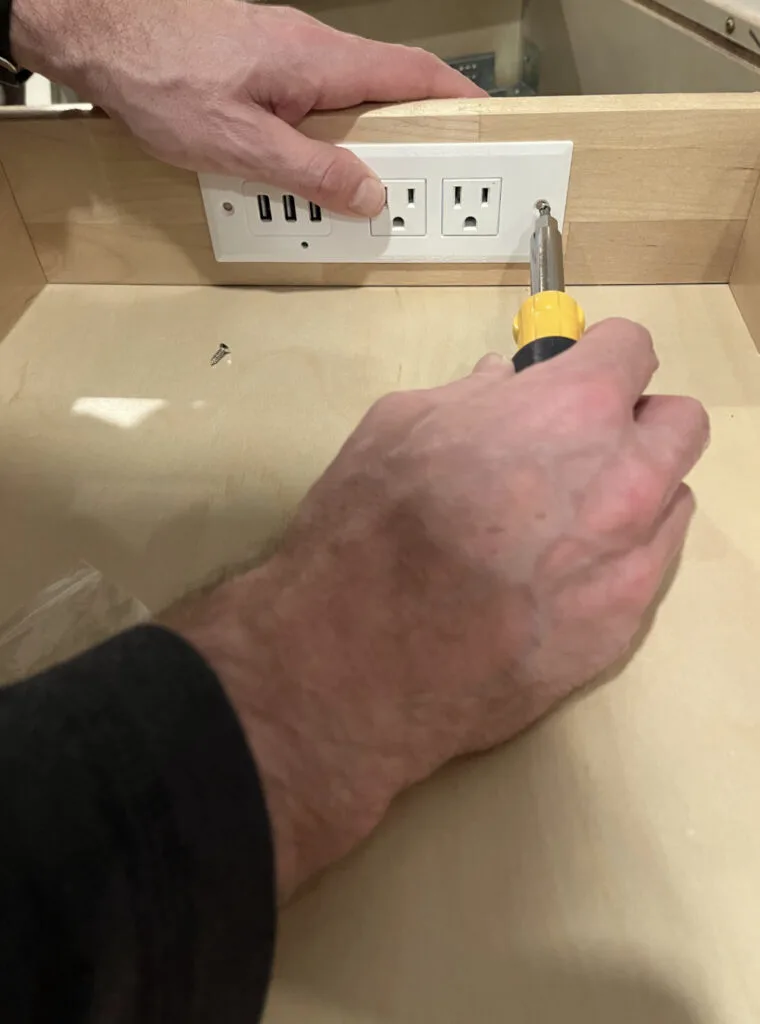
Plug In and Test
Before you put everything back together, make sure you plug the charger into the wall outlet and check to see that it works. Green light!

If you’re installing the charger in a kitchen cabinet, make sure the cord has room to move in the cabinet when the drawer is pulled out. You don’t want your cord getting caught or pulling over things in the cabinet!
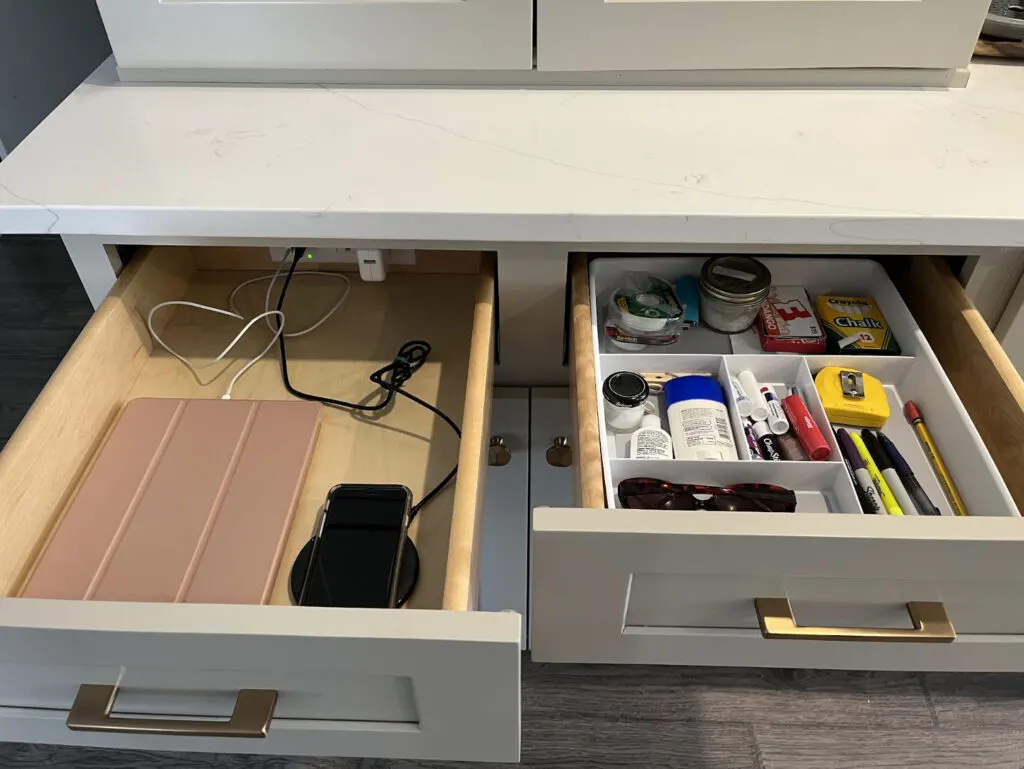
Once you’ve done all the steps, you’re ready to plug gadgets into your charger and get to organizing!

Turn Any Drawer Into a Charging Drawer
I wish I had known this trick before I spent $300 on a fancy office desk because it had a built in charging station! But at least I figured it out in time to save hundreds on my kitchen remodel, and I hope it saves you big bucks too, while helping to organize all your charging gadgets.
You can use this trick on any drawer where you have a power source nearby, and access to the back of the drawer to make the cuts. Then simply organize your cords inside the drawer for a sleek and clean countertop or desktop.
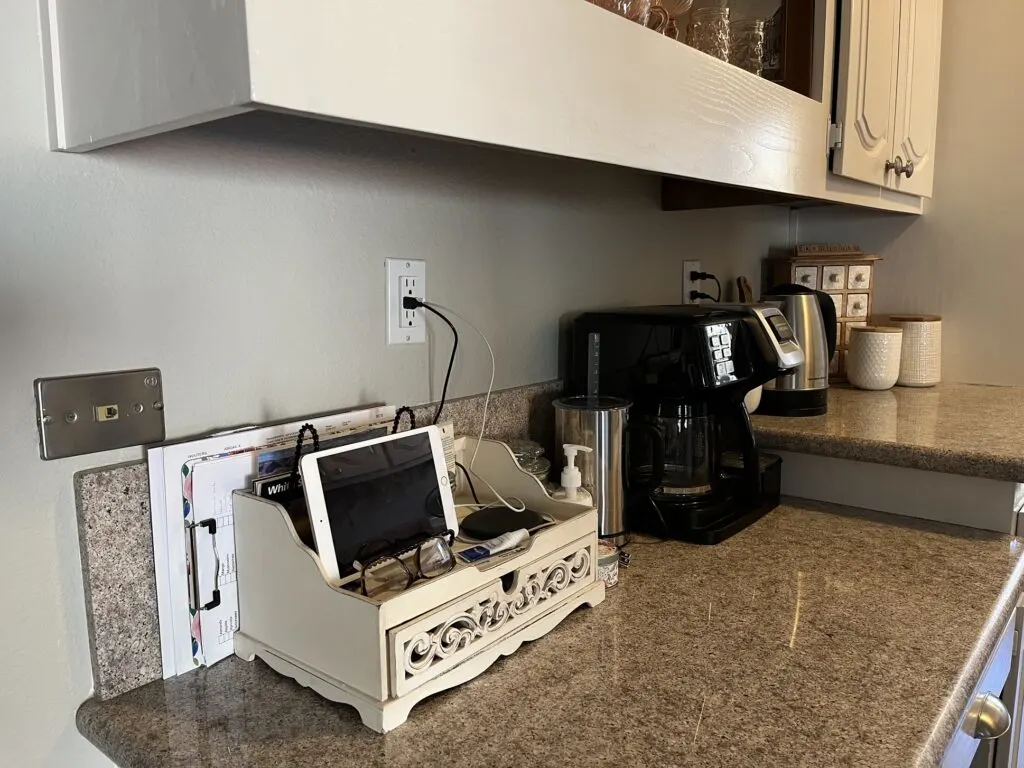
Here’s peak at my countertop before the remodel, where I did my best to corral my cords with a desktop charging station. But it was a magnet for all kinds of desktop detritus.
And here’s the lovely after pic, complete with new cabinets, countertops, and organized charging drawer.
You can find more pictures and resources from my new kitchen remodel in the full kitchen remodel reveal post here.
