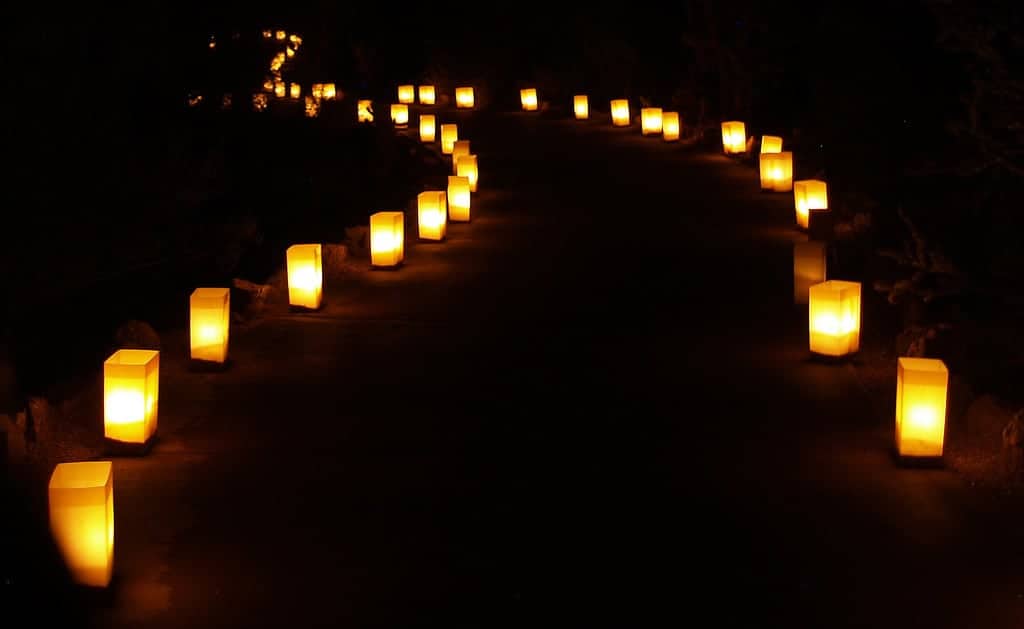
I may be a little biased, but I think luminarias are magical. If you're not familiar with them, luminarias are a Christmas Eve tradition here in New Mexico. Sometimes called farolitos, they have their roots in ancient Spanish culture. They traditionally consist of paper bags with a bit of sand in the bottom for weight, and a candle lit inside, which doesn't sound very exciting, but somehow in the dark of Christmas Eve, they become a symbol of light and love.
The first year of our marriage, and our first Christmas in our new house, we suffered not a snow storm, but a terrible sandstorm. It carried mounds of sand from the neighboring lots where houses were still in the early stages of construction and had no vegetation, right into our front yard and deposited it in our newly planted landscaping.
It was a Christmas that Charlie Brown would have been proud of. But not to be deterred from my enthusiasm for making our first little house a home, I went out and bought a package of lunch bags, and a 50-pack of candles, and I spent the day shoveling that sand into luminaria bags. When I was done, the effect was enchanting and I felt a teeny bit better about the sand dunes in our front yard.
I know not everyone has that much sand available to them (consider yourself lucky), so today I'm bringing you a fun craft that involves no sand but plenty of magical candlelight. These are etched glass luminarias, or candle holders.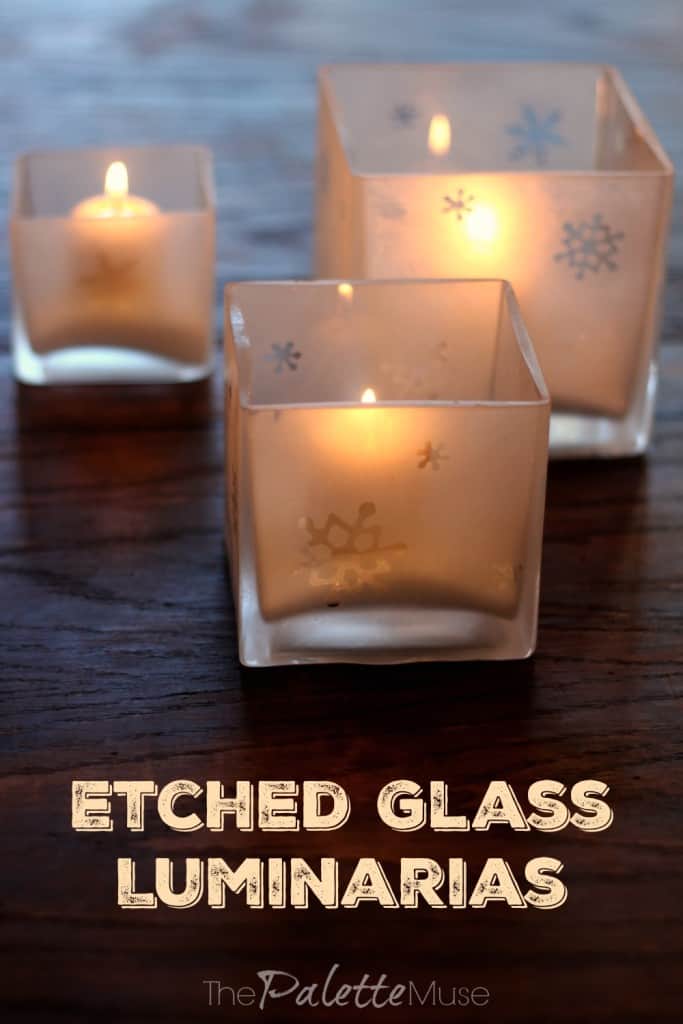
If etching your own glass project sounds intimidating, don't worry. That's what I thought too. Slinging liquid acid around didn't sound like a smart craft project to attempt with my children. So I've always wanted to do something like this, but never could quite bring myself to try it.
Then DecoArt sent me a bottle of Easy Etch to try. (Thanks DecoArt!) This stuff is different because it's a cream application, rather than liguid. So it's easy to control, which makes it safer, and is even reusable. To be clear, this is still not a craft I'd want to take on with small children, much to my adventurous young crafters' dismay.
To make your own etched glass luminarias, here is what you'll need: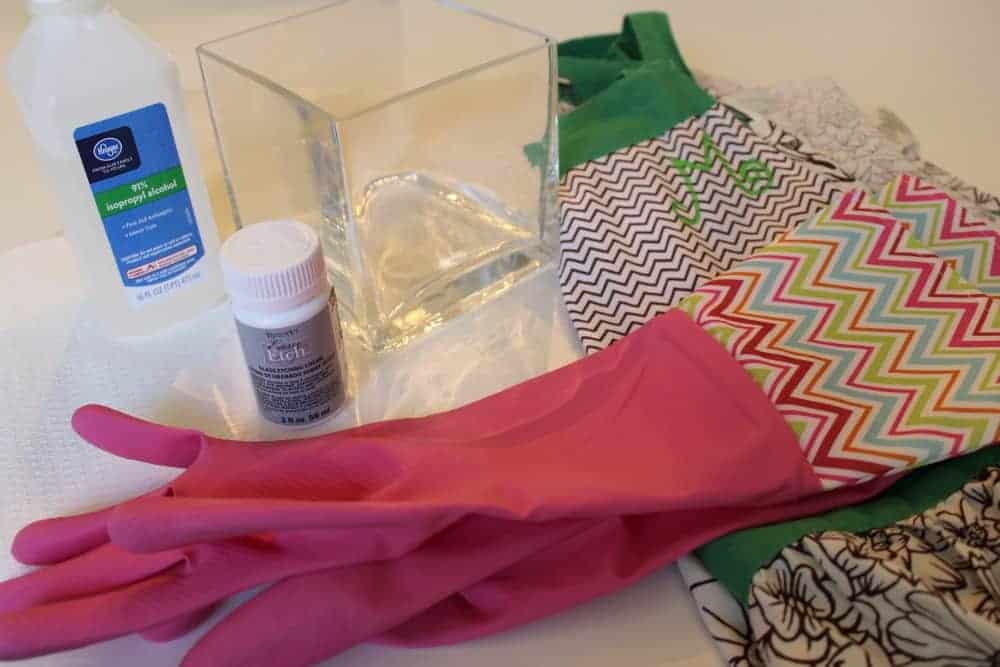
- Glass containers. (I'd been saving these from who-knows-where, but you can find square ones similar to this at the dollar store.)
- Easy Etch by DecoArt
- Rubber gloves
- Apron
- Rubbing Alcohol
- Paper Towel
- Stickers or adhesive stencils
Note: Be sure the stickers have the right outline that you want. Some stickers have a print on them that looks like what you want, but the outline is larger and less defined. What matters is the outside shape, so keep that in mind while you're shopping. Also, I used foam stickers, but I wouldn't recommend that because it's hard to get the cream into all the nooks and crannies. Next time I'll make sure to get flat ones.
Here's the etching process:
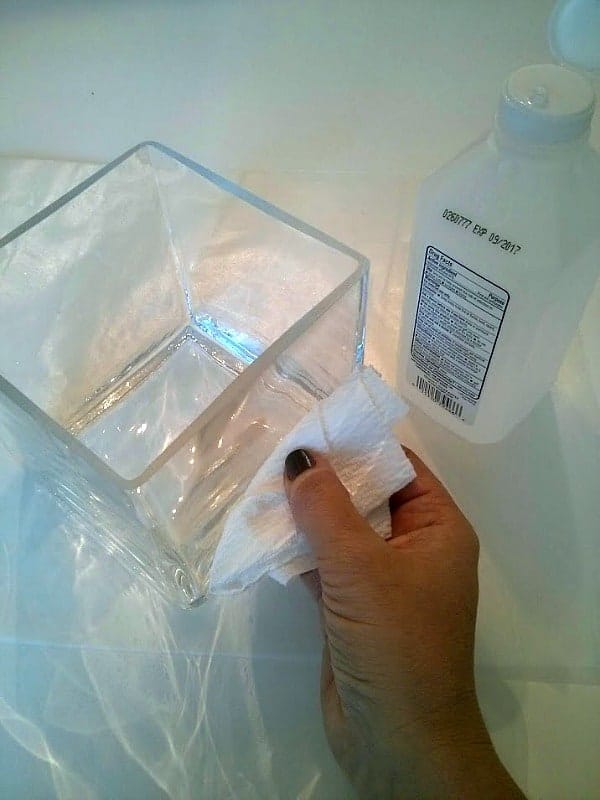
- First, clean your glass containers. Then swipe them all over with a paper towel and rubbing alcohol. This will remove any unseen residue that might interfere with your stickers or the cream.
- Position your stickers or stencil as you like and press down carefully. (If you want to tape off any areas not to be etched, blue painters tape works great.) On these, we are going to etch everywhere except the snowflake stickers.

- Put on your gloves and apron, and use them throughout this process whenever you handle the etching cream. Cover your work space.
- Using a palette knife (or in my case a plastic knife left over from a birthday party), scoop out some of the etching cream and apply a think coat to the glass. Be sure to carefully push the cream into all the nooks and crannies on the snowflake stickers.
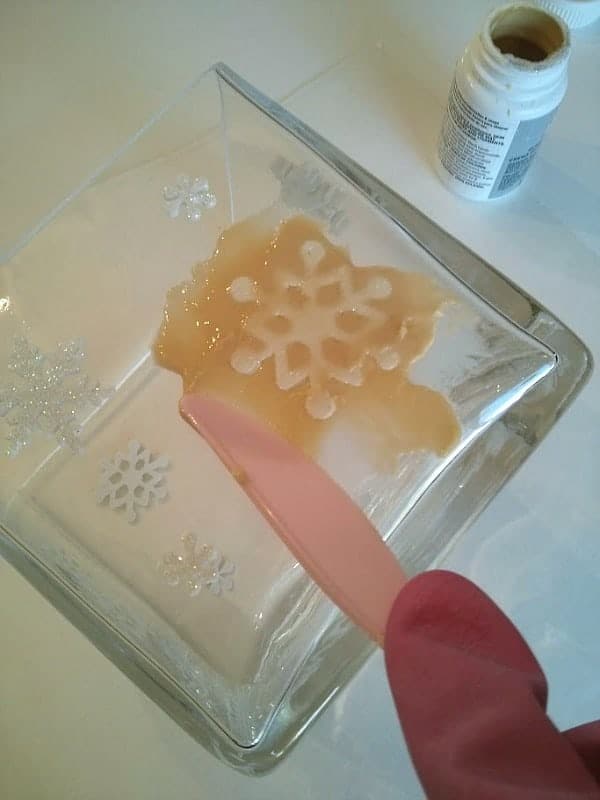 Look from the inside if possible, to make sure the etching cream is covering everything evenly and completely.
- Let it sit for 15 minutes. You can work on multiple jars at once, while the first one is sitting. I found that a 2 oz. bottle of Easy Etch was enough to do this whole set of three jars, but not all at one time.
- Use your knife to scrape off as much of the cream as possible and return it to the bottle, to be used another time.

- Rinse the glass under running water. Then remove the stickers and rinse and wash thoroughly. Easy Etch can etch glass and ceramic, so they recommend rinsing in a stainless steel or fiberglass sink, and then flush the sink thoroughly afterwards. I don't have either fiberglass or stainless steel, so I picked the sink in the bathroom that I'm most urgently hoping to renovate soon, hoping it would finish off the sink and I'd suddenly have a good excuse to get a new one. No such luck. My sink is fine, so the reno project will have to wait...
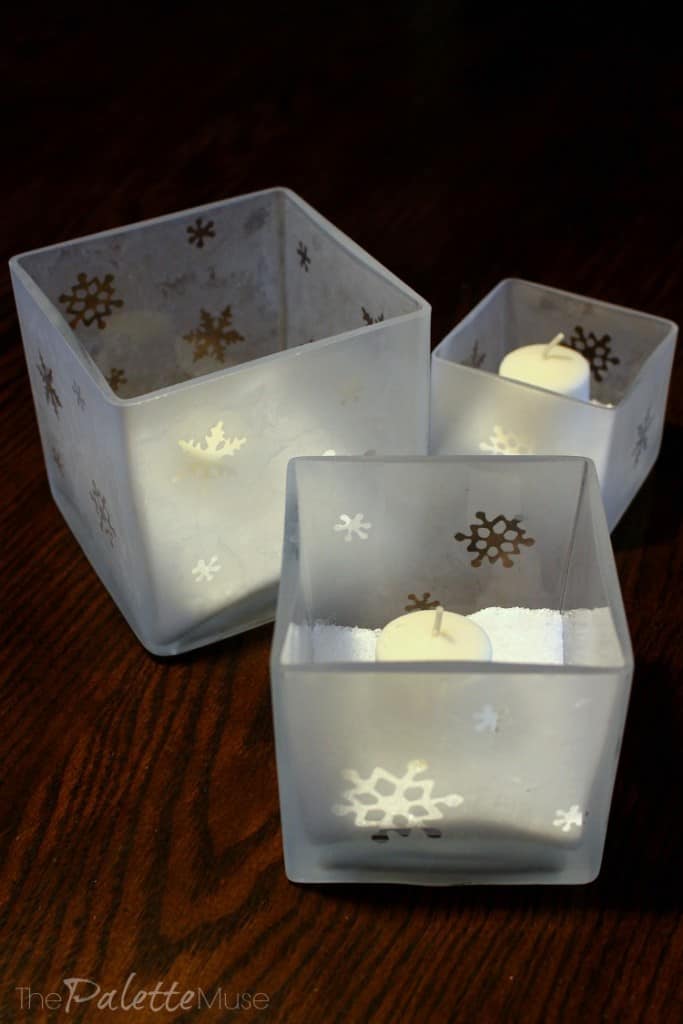 That's it! Allow the glass to dry, then you can add a little votive or tea light candle and you have a beautiful snowy candle holder. For an even snowier effect, I put epsom salt in the bottom of these. It reminds me of the sand in the bottom of my luminarias.
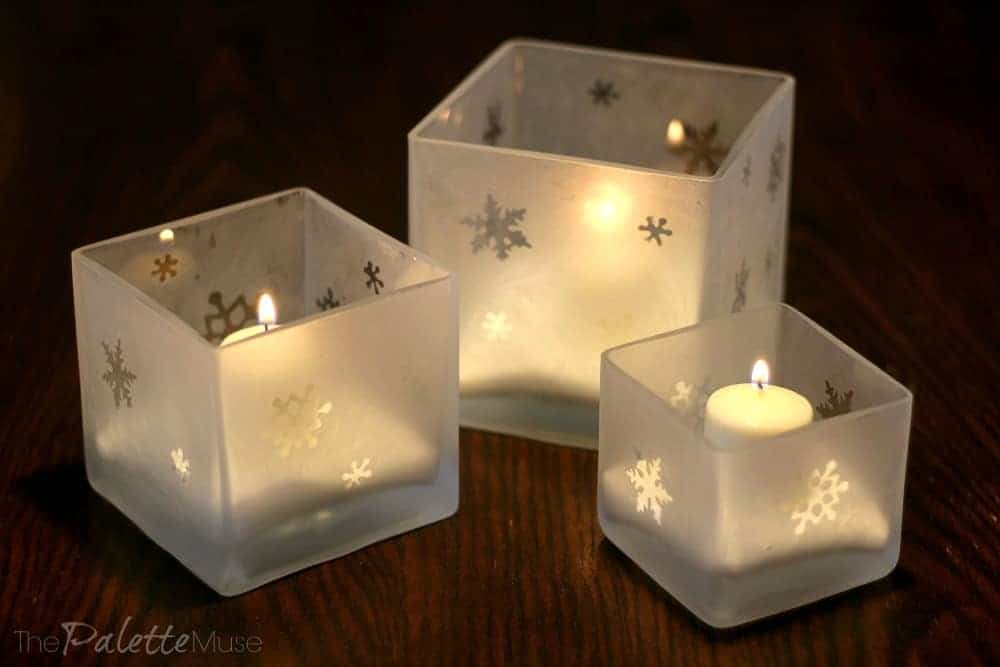 By the way, don't worry if your etching pattern doesn't show up while you're rinsing the glass. I thought I had done the first one completely wrong, but as the glass dried, the etched part showed up beautifully.
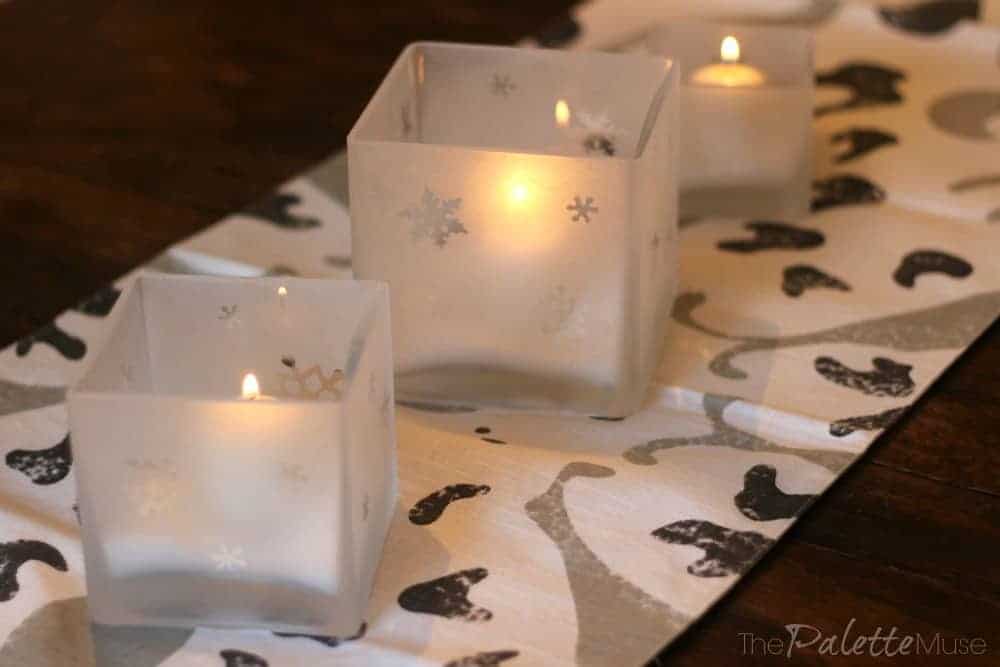
This was such a fun and easy project, and now my whole family is brainstorming what we can etch next.


Anita C. Lee says
I hope you made these as a Christmas present for your mother. I think she'd like them!
Meredith says
Ha! I guess I'm going back to the store...
Born To Organize says
🙂
Pili Gomez says
I love how they turned out. And we have plenty of sand here from the beach, so I will use it to fill them.
Thanks for sharing the process, I've been a bit afraid about using the etch cream
Meredith says
Thank you Pili! I was afraid of the etching process too, but this cream makes it easy and very controllable.
Mary-The Boondocks Blog says
Very pretty! We are all getting into the spirit of Christmas. These are elegant and make the perfect gift.
Meredith says
Thanks Mary! These really would make the perfect gift!
Sandey says
These are lovely! And your detailed tips and tricks make a novice "crafter" like me feel confident that even I could do this! BTW, I laughed out loud at your choice to use the sink you want to replace. Not that I've ever done THAT before... 🙂
Meredith says
Ha! Too bad my scheming didn't work this time. I'll find some way to destroy that sink eventually! And yes, you need NO skills whatsoever to accomplish this one!
Pamela Chollet says
Oh Meredith, I love these! I want to try them. Are there certain types of stickers that work better than others? Basically, are there stickers for those of us who are DIY impaired? One more question, I don't understand how the containers get that frosted look.
Meredith says
You should Pamela! It's a really fun project. You can use any kind of stickers that have the shape you like, but try to stay away from the foam stickers. They're a little harder to work with than plain flat ones. And the frosted look comes from the etching process. The whole glass starts out clear, then you put stickers on to keep those parts clear, and after you're done with the etching cream, everything is frosted except where you had the stickers. Etched = frosted. Does that help?
jacquiegum says
These are so beautiful! I, too, love the effect of the bags and because sand is so available in Florida, I used to see it there all the time. But etching these looks like fun and the end product is delightful.
Meredith says
Thanks Jacquie! I guess that makes sense that luminarias would be popular in Florida too!
Jeri Walker (@JeriWB) says
Etched glass is always something I've wanted to try to do, so thanks so much for this post and the great directions.
Meredith says
You should try it, Jeri! I was pleasantly surprised at how easy it was. And if you have a few old glass containers, it makes a really inexpensive craft.
Susan cooper says
These are beautiful. Reminds me of looking out the window at a snowy wonderland as a kid. 🙂 And candles just make a room so cozy. I'll have to give those a try. Sounds fun.
Meredith says
Thanks Susan! I even etched some bottles to give my new coffee liqueur to friends for Christmas gifts! 😉
Small Talk Mama says
Super cute votives! I like that you can use them all winter long.
Meredith says
Thanks! That's what I like about them too. 🙂
Karen says
do you do all sides at the same time or each one separately? Very nice idea. Love the snowflakes and epsom salt idea is great!
Meredith says
Great question, Karen. You can do them all at once if you have enough cream to go around. I had used most of my cream by the time I got to this one, so I only did two sides at once. If you do that, I recommend not attaching stickers to the last sides until you're ready to do the etching. (Learned that one the hard way!) Ideally, I would do all the sides at once, if I were you.
Nettie says
Off to Dollar Tree methinks! They're absolutely beautiful.
Meredith says
Ha! Thank you Nettie!
Melanie {The Party Suite at Bellenza} says
Amazingly easy to do in just a few steps! Love this project. Would be wonderful for a winter wonderland tablescape!
Meredith says
Thanks Melanie, I agree! I'd love to do loads of them and have them all over the table!
Born To Organize says
I just popped over from Hometalk and I'm so glad I did. I loved the tutorial, but I loved your sand story even more. What a crazy thing to have happen. I'm glad you turned lemons into lemonade, or sand into luminaries as the case may be. Great project, gorgeous photos and fun post. Oh and I love the idea of using epsom salts. That would never have occurred to me. Alys
Meredith says
Thank you Alys, both for visiting and for your sweet comment! This was a really enjoyable project, I hope you give it a try!
thesummeryumbrella says
Genius. What a great idea, Meredith!! So easy, and so cute!!
Meredith says
Thank you! That's the best kind of craft - easy and cute, right?
Heather Shspcott says
Do the snowflake stickers go on inside before the etching oriduct?
Meredith Wouters says
Great question Heather! The stickers, and the etching cream go on the outside of the glass. Stickers first, then add the cream on top of them. Hope that helps!
lenie5860 says
These are so neat Meredith - that picture of them lining the drive is wonderful. What a terrific way to welcome guests, especially little ones - i can just see them oohing and aahing.
Meredith says
Thank you Lenie! There's just something about candlelight that makes everything seem magical.