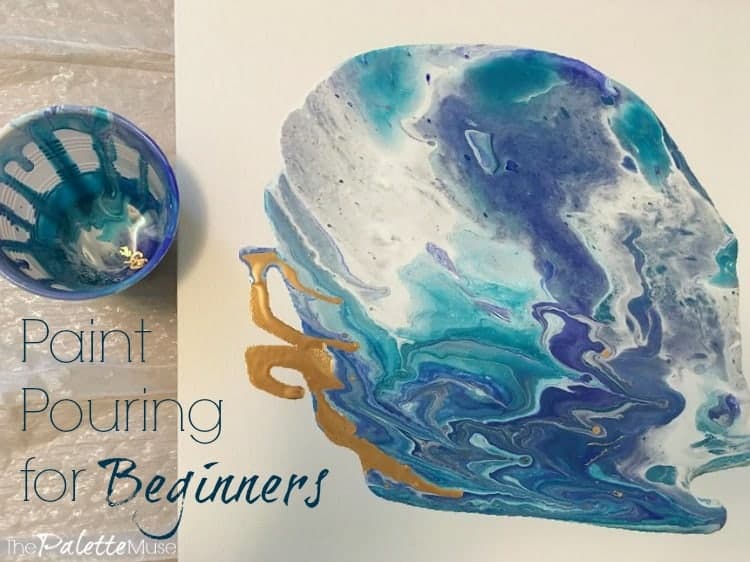
How to create stunning paint pouring art to make a unique statement piece of wall art, for less than the cost of ordering a print!
Have you heard of paint pouring? Maybe you've seen the mesmerizing Youtube videos of people pouring paint onto canvas and making amazing creations? I've been captivated by the idea for a while, so when I started thinking of how to decorate our office/guest room for the $100 Room Challenge, I knew I wanted to give it a try.
If you haven't yet read last week's post, check it out first to see where this room started, and where it's going, as well as read all about the $100 Room Challenge and how it works.
My main complaint about this office is that it's a little drab and boring, so I knew I wanted to brighten it up with color and some cool artwork. But, as you may have noticed, artwork is expensive, and my budget is not. So what do you do when you can't afford something? Make it yourself!
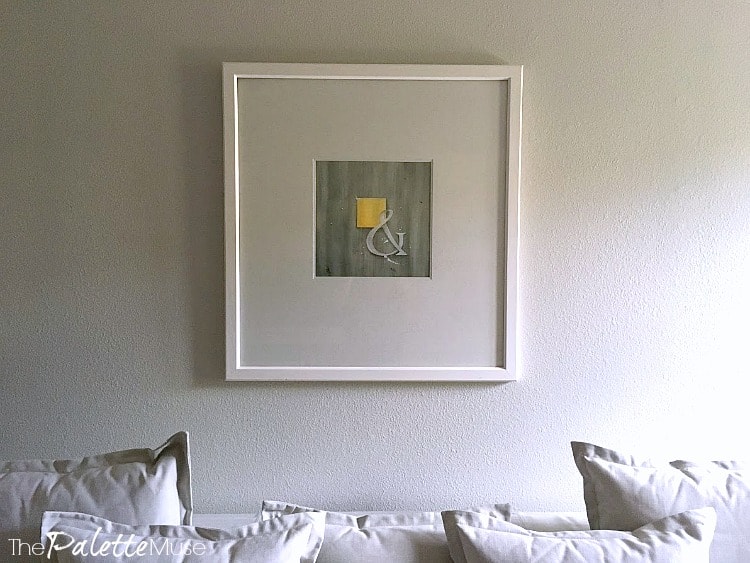
I have this framed painting that I did for my old office, but I'm ready to move on to something new. I'm going to use the frame and just replace the painting in it. (By the way, the frame originally came from a thrift store. I simply painted it white for a big impact on a little budget.)
~ This post contains affiliate links. If you make a purchase, I may be compensated at no extra charge to you. Thanks for supporting The Palette Muse! In addition, I'd like to thank DecoArt for supplying the Pouring Medium for this project! ~
How to Get Started with Paint Pouring
I can hear you now. "Meredith, that's fine for you to talk about creating your own artwork. But what about the rest of us who aren't artistic?" Well friends, I chose this project specifically for you. I promise you can do this, with no painting experience (or talent!) whatsoever.
This is honestly a 3 step process, and it will take you back to your preschool finger painting days. (I hope that's a happy memory. If not, this may not be the project for you.) Here's all you need to do:
Before you get started, be sure to cover your entire work area. The whole idea is to pour liquid paint all over a canvas and let it drip off the edges. Make sure you have drop cloths, a tray or extra plastic to catch the drips, and maybe even gloves. Now we can get started.
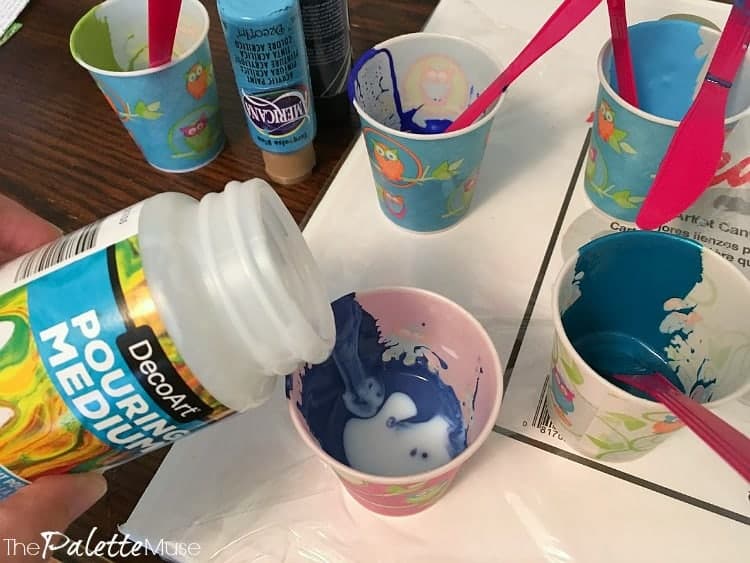
Step 1. Mix your paint with pouring medium. I used DecoArt pouring medium and the measurements for paint to medium are printed right on the back of the jar. I found that I needed more medium and less paint to get the right consistency. (More on that in the Tips section below.)
Step 2. Pour the paint on the canvas. You can either pour each color on separately, or pour them together in a bigger cup and then onto the canvas. The first method is shown in this helpful video:
The second is called a "dirty pour" which is what I did here:

Step 3. Play with the canvas until the whole thing is covered and you get a pattern you like. This is the fun part!
Tilt the canvas back and forth and all around until the paint runs to each edge and you see cool swirls and cells appearing. It's like the paint is doing the work for you!
That's it! That's all there is to it. Well, then there's drying time and coating it with a topcoat sealer. But you can see how easy and fun it is to create your own artwork in an afternoon. Read on for more detailed tips to help you get the best results.
Paint Pouring Tips
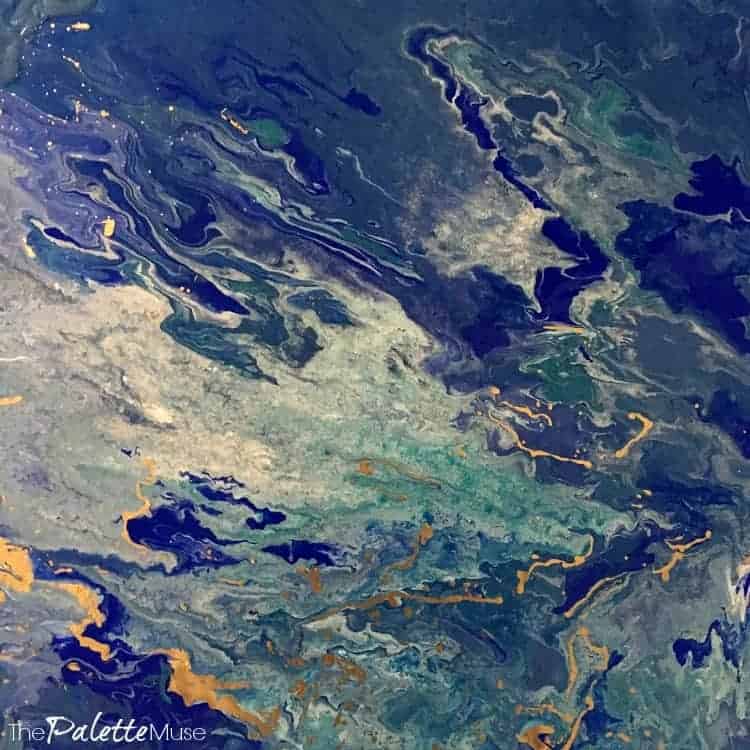
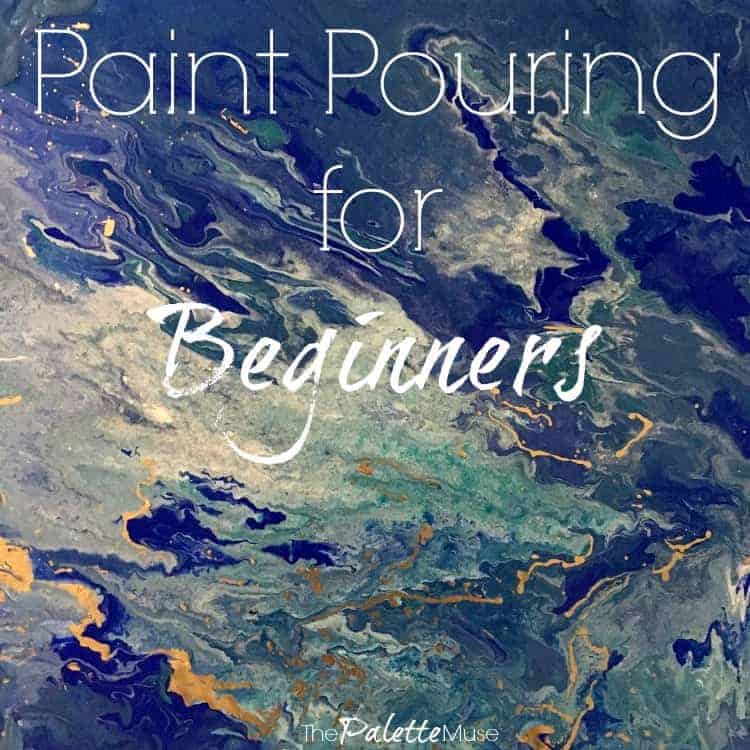
Pick a palette. A palette can be any combination of colors. When you're first getting started, I suggest picking just a few that go together, like all greens or blues. A simple palette makes a big statement, without ending up with color mixtures that might surprise you. I used four versions of dark blue, plus a little white and a tiny bit of metallic gold. Here are some sample color palette ideas to get you started.
Be sure your paint is thin enough. It should be about the consistency of coffee creamer or heavy cream. (I understand everything better when related to coffee.) On my first attempt, the paint was much too thick. When you pour it on the canvas, it should be puddles, not blobs.

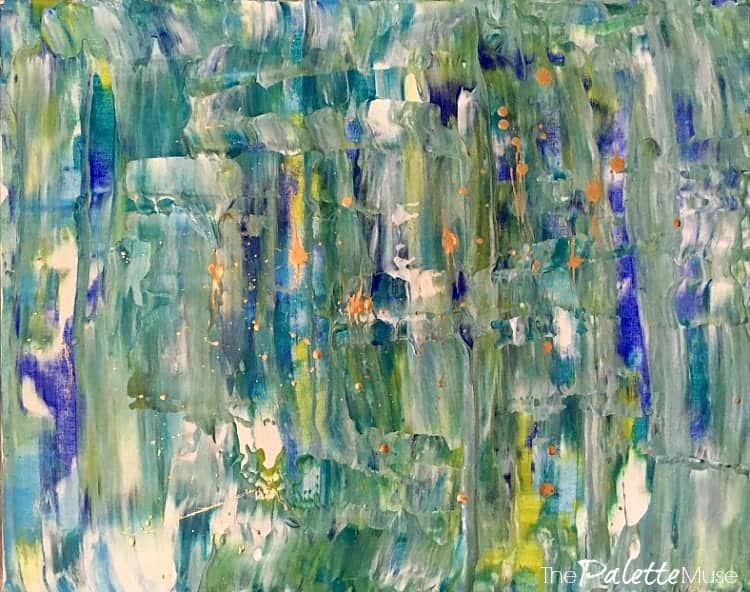
I had fun working on my first canvas though, and it turned into something interesting, just not what I was going for in the office. I may use it somewhere else though. (There are no mistakes in art, only happy accidents.)
Cover your workspace. This is a messy project! (Which is half the fun.) Paint will be dripping everywhere, and you shouldn't have to take your mind off your creation to make sure your tabletop stays clean.
Be generous with the paint. You need enough paint to pool up on the canvas and spill over the edges. I HATE to waste paint. After years of art school and spending student loan money on paint, I have a hard time being lavish with that resource, but this project requires it. And it's worth it!
Don't overwork the paint. Once you pour the paint on the canvas and tilt it around a few times to spread the paint over the canvas, stop yourself. Back away from the art. Let it sit and settle. You can always add a few touches, but you can't undo it once you've gone too far. It might change slightly as it dries, and that's all part of this dynamic process.
Have fun! Art doesn't have to be intimidating or serious. Just get messy, enjoy the process, and see what you end up with. You might just surprise yourself!
Paint Pouring Resources

Here's everything you'll need to get started in paint pouring. You'll notice there are no brushes, no intimidating tools, just lots of color and fun!
Acrylic Paint - any kind will work, but I prefer using craft paints like DecoArt's Americana paints. They're good quality for a much lower price than artists' acrylic paint.
Paint Pouring Medium - I used DecoArt's pouring medium and loved it.
Clear Pouring Top Coat - this is the final step of your painting, and gives it a durable glossy finish which enhances the liquid feel of the artwork.
Canvas Board - really you can use any flat surface, but I like canvas boards because they are flat, lightweight, and easy to work with. If you plan on hanging your art directly on the wall though, you'll need either a frame or a traditional canvas, since the canvas boards don't have hangers attached. Since I'm framing mine, the flat board works great.
Plastic Cups - to mix your paint. Anything will work really, but I like clear plastic, so you can see what colors you have.
Popsicle sticks - also for mixing. Again, anything will work. I actually used plastic knives leftover from a set of plastic utensils I bought at the Dollar Tree for a kid's birthday party. I mean really, why do they even include knives in those sets? We only ever use the forks and spoons!
Drop Cloth - or any large plastic sheeting to cover your workspace. Paint's gonna fly, people!
Disposable Cookie Sheet - This makes a handy tray for catching all the paint spills that come off the edge of your canvas. You can use it again and again. Just make sure it's at least an inch larger than your canvas on each side.
Disposable Gloves - I can't help using my fingers to get into the paint and help it along in certain areas. Plus, as you hold onto the side of the canvas and tilt it around, the paint will run off into your hands. Gloves are optional, but make cleanup a lot easier.
$100 Room Challenge Progress
This project is as far as I've gotten in my challenge. The good news is I've only spent about $10 of my $100 budget so far! (While DecoArt supplied the Pouring Medium, I'm still including it in my budget because you'd have to include it in yours if you were doing this project.) Next up, painting a wall, making pillows, maybe some more artwork, and hanging a custom shelf. I better get to work!
$100 Room Challenge Week 1 ~ Week 2 (You’re here!) ~ Week 3 ~ Week 4 (Reveal)
Follow the $100 Room Challenge by newsletter to get all the latest updates!
Or follow along on social media: Instagram | Pinterest | Facebook | Twitter
Also, as always, I love to hear your comments and questions on this paint pouring tutorial. Leave me a comment and let me know if I can help!


Jen @ Jenron Designs says
Meredith I love this I have always want to try paint pouring but never really knew where to start, now all I want to do is try it. Thank you so much for such great tutorial!
Meredith says
Thanks Jen, you should totally give it a try! It's really not as intimidating as it looks, and it's so fun.
Deneen says
This is very cool Meredith. I have been thinking about doing some painting lately, and now I'm motivated!
Meredith says
That's awesome Deneen! I'm so glad it motivated you!
Rebecca | R&R at home says
What a fun project!! I love it!!
Meredith says
Thank you Rebecca!
Jeri Walker (@JeriWB) says
One of my former students has been experimenting with paint pouring. I love it.
Meredith says
Me too, I can't believe I haven't run across it before now. So satisfying!
Brittany Goldwyn says
Oh this is nice. I would love to try this!!
Meredith says
Thanks Brittany, you should totally give it a try!
Wendy says
Meredith I love this! My kids are 20 and 17 and this is exactly the type of thing they would love doing. I am totally going to have to do this with them. Fun craft time! And my oldest can hang it in her apartment! Thanks so much for sharing this!!!
Meredith says
Thanks Wendy! Yes they would love this. I'm so glad to hear you're kids still craft with you sometimes. That gives me hope!
Erin Meyer says
Okay... that's looks like SO much fun!!! I love the way the piece turned out. I'm going to have to try this sometime... and I'm one of those "non-artistic" people, so this sounds perfect for me 🙂
Meredith says
Thanks Erin! You could totally do this. Just give yourself permission to experiment and have fun with it!
Brooke Cribbs says
I have always wondered how they did that, thank you for the tutorial and I know a great activity I can do with my girls too! Thank you!
Meredith says
Thanks Brooke! I was intimidated to try it but I'm so glad I did!
Stephanie Chatterjee says
I love that and think it's possible even I could end up with something very decent!
Meredith says
It's totally possible! You'll do great, I hope you enjoy it!