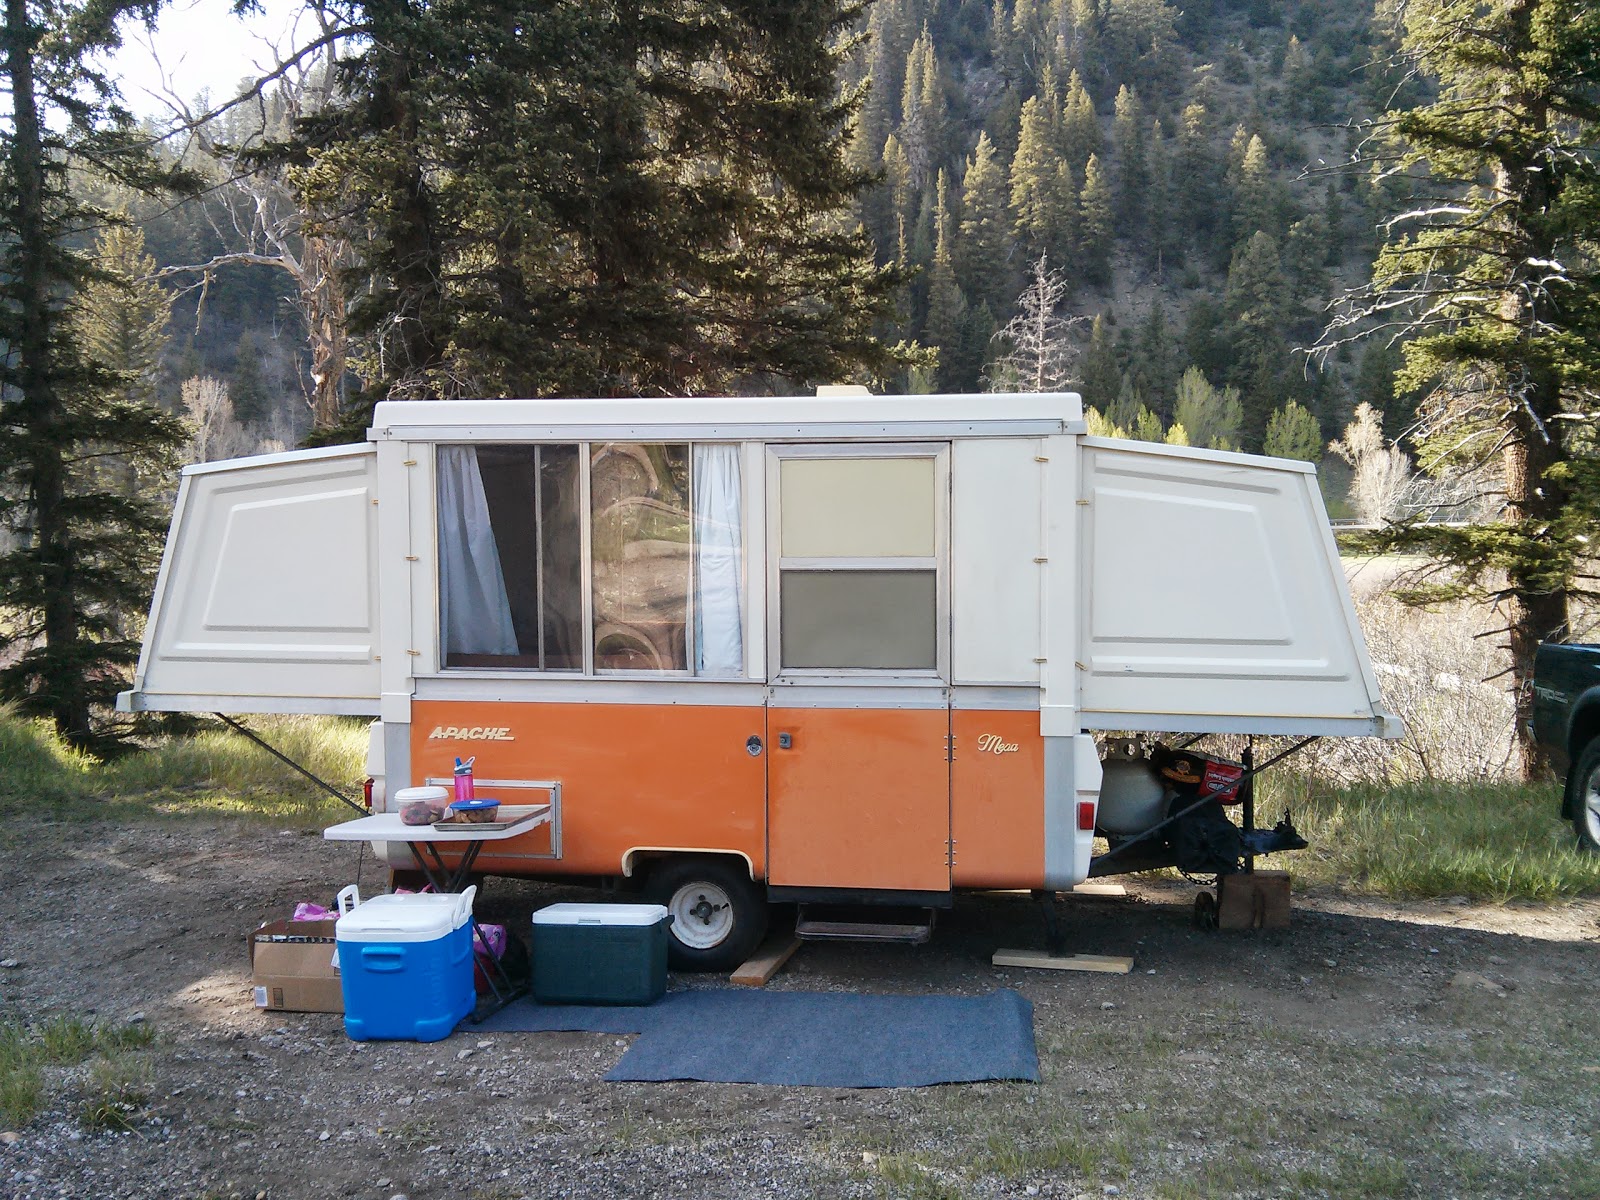
The first stage of our Apache remodel, complete with resources for hard-to-find Apache Camper replacement parts.
Our new/old 1976 Apache Mesa camper made her maiden voyage last weekend. We considered smashing a bottle of champagne on her stern, but were afraid it would shatter. (The camper, not the champagne bottle!)
She did great and proved to be very comfortable.
Prior to the trip, we replaced tires, packed ball bearings, and replaced the window curtains. I'll leave the mechanical stuff to someone else, but I do want to show how I replaced the curtains, in case anyone out there is considering a similar project.
Apache Camper Curtain Update
The first thing I wanted to do to update our little vintage camper was rip the curtains right off the walls. I controlled myself however, and carefully removed them one tiny tab at a time.

I figured, rather than reinventing the wheel and figuring out how to hang new curtains, I could use whatever mechanism was originally holding these things onto the camper windows. I just had to figure out what that was...
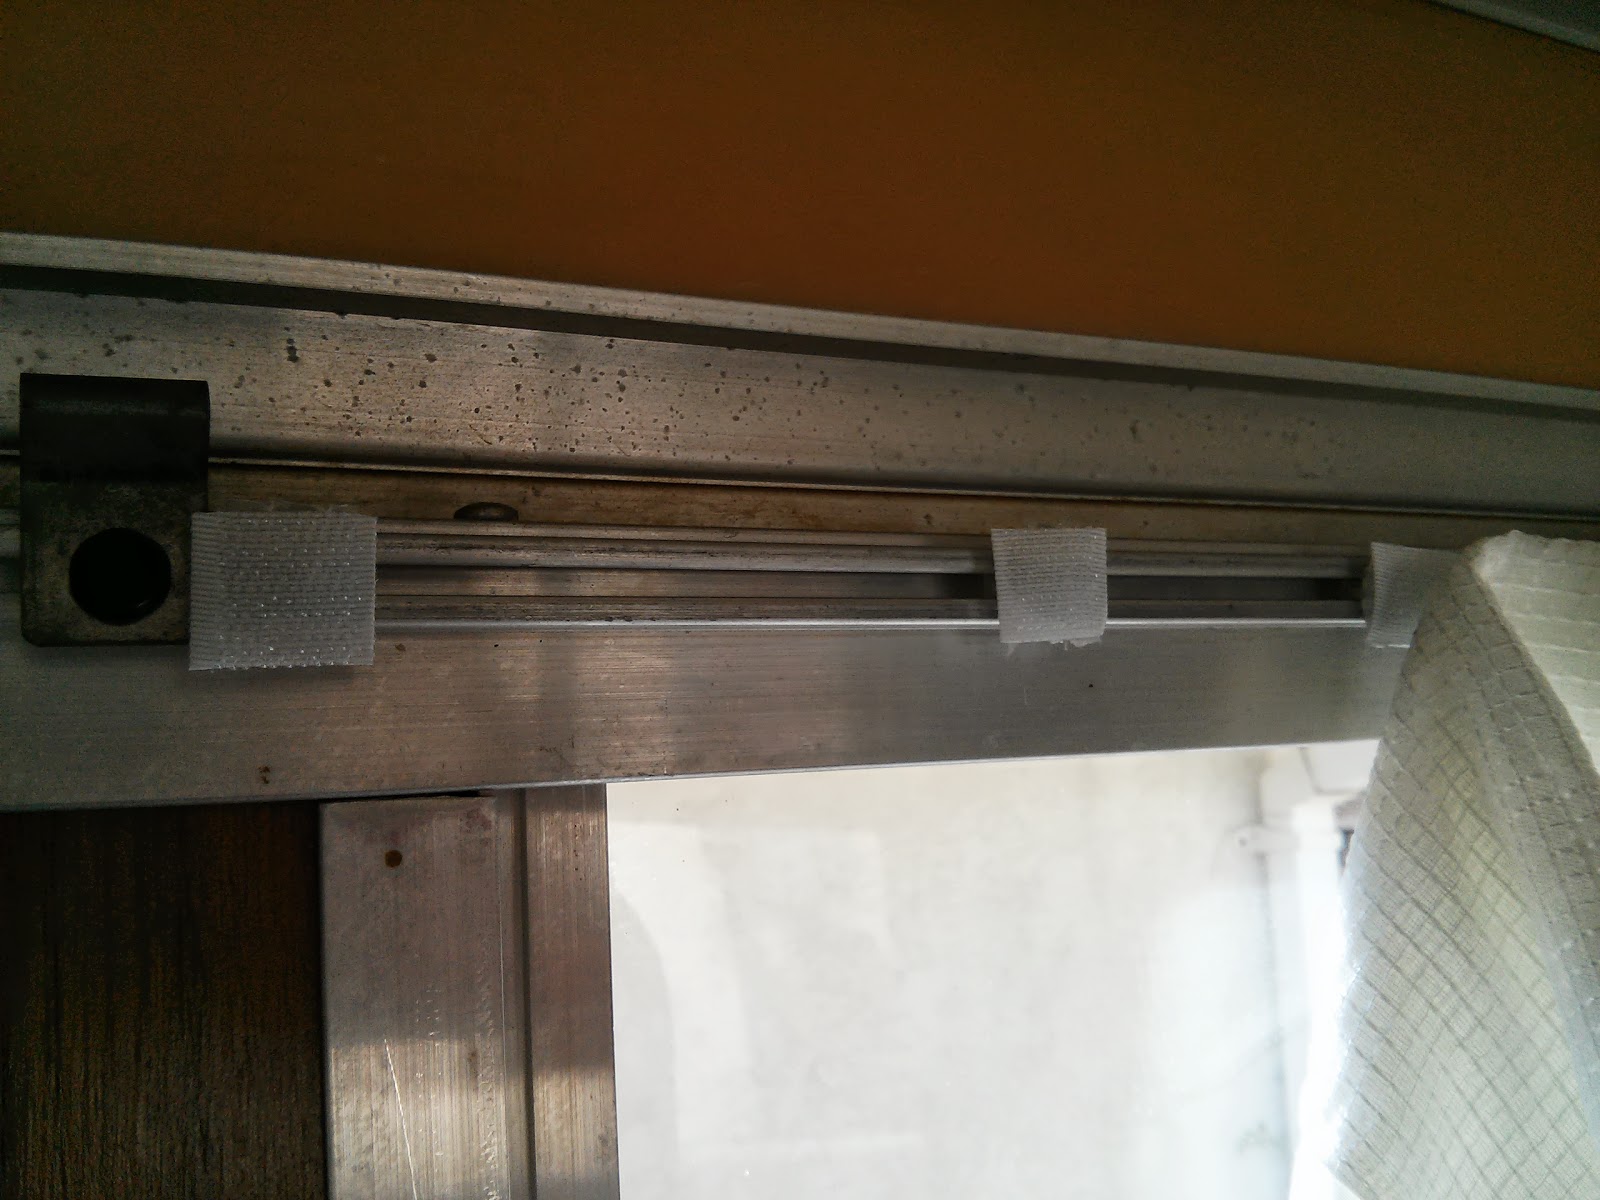
When I removed the old, shrunken, moth-nibbled orange curtains, I found they were attached by means of little plastic tabs on a ribbon that had been sewn into the header of the curtain. You can sometimes find old Apache parts online, but with 120 of those little tabs throughout the camper, I didn't want to replace them all, if I could help it.
The plastic ribbon holding the tabs to the curtains was so aged that it disintegrated with a gentle tug, so I left the tabs broken off in the aluminum grooves on the wall, and elected to attach the new curtains to the old tabs with velcro. This way, the curtains can slide on the tabs, if you just want to open and close them, or they can easily be pulled off to wash, or stow the camper.
Epoxy 101
I went through a couple of different attempts at attaching the velcro to the tabs, and finally found that epoxy works best. If you've never worked with epoxy, here is what I learned:
1. Cover your workspace well, with something disposable. Use only disposable tools, like plastic spoons, toothpicks or popsicle sticks.
2. Epoxy comes in 5 minute, 30 minute, and more, bond times. They're not kidding. If you have 120 things to glue, you do NOT want to try to do it in 5 minutes.
3. Work in small batches, since the epoxy loses its grip as it sits longer before bonding.
I had to remove all the tabs from their grooves, epoxy the velcro to them, then slide them back into their grooves.
Then the fun part - curtains!
I shopped and shopped for fabric that I liked, knowing I'd have to custom make these curtains, and wanting to keep costs down. My budget for this project could be summed up in one word: cheap.
One day, in despair, I was wandering the aisles at Lowes. (Yes, this is what I do in my free time. You'd be surprised what kind of inspiration you can find at hardware stores!)
I found the perfect curtains, on clearance for $6 a panel. They were light blue and cream polyester, which had the advantages of being sturdy and washable, as well as giving a nod to the retro-70's vibe of the camper. I was thrilled because I knew I couldn't even buy fabric for that cheap, and these were fully lined.
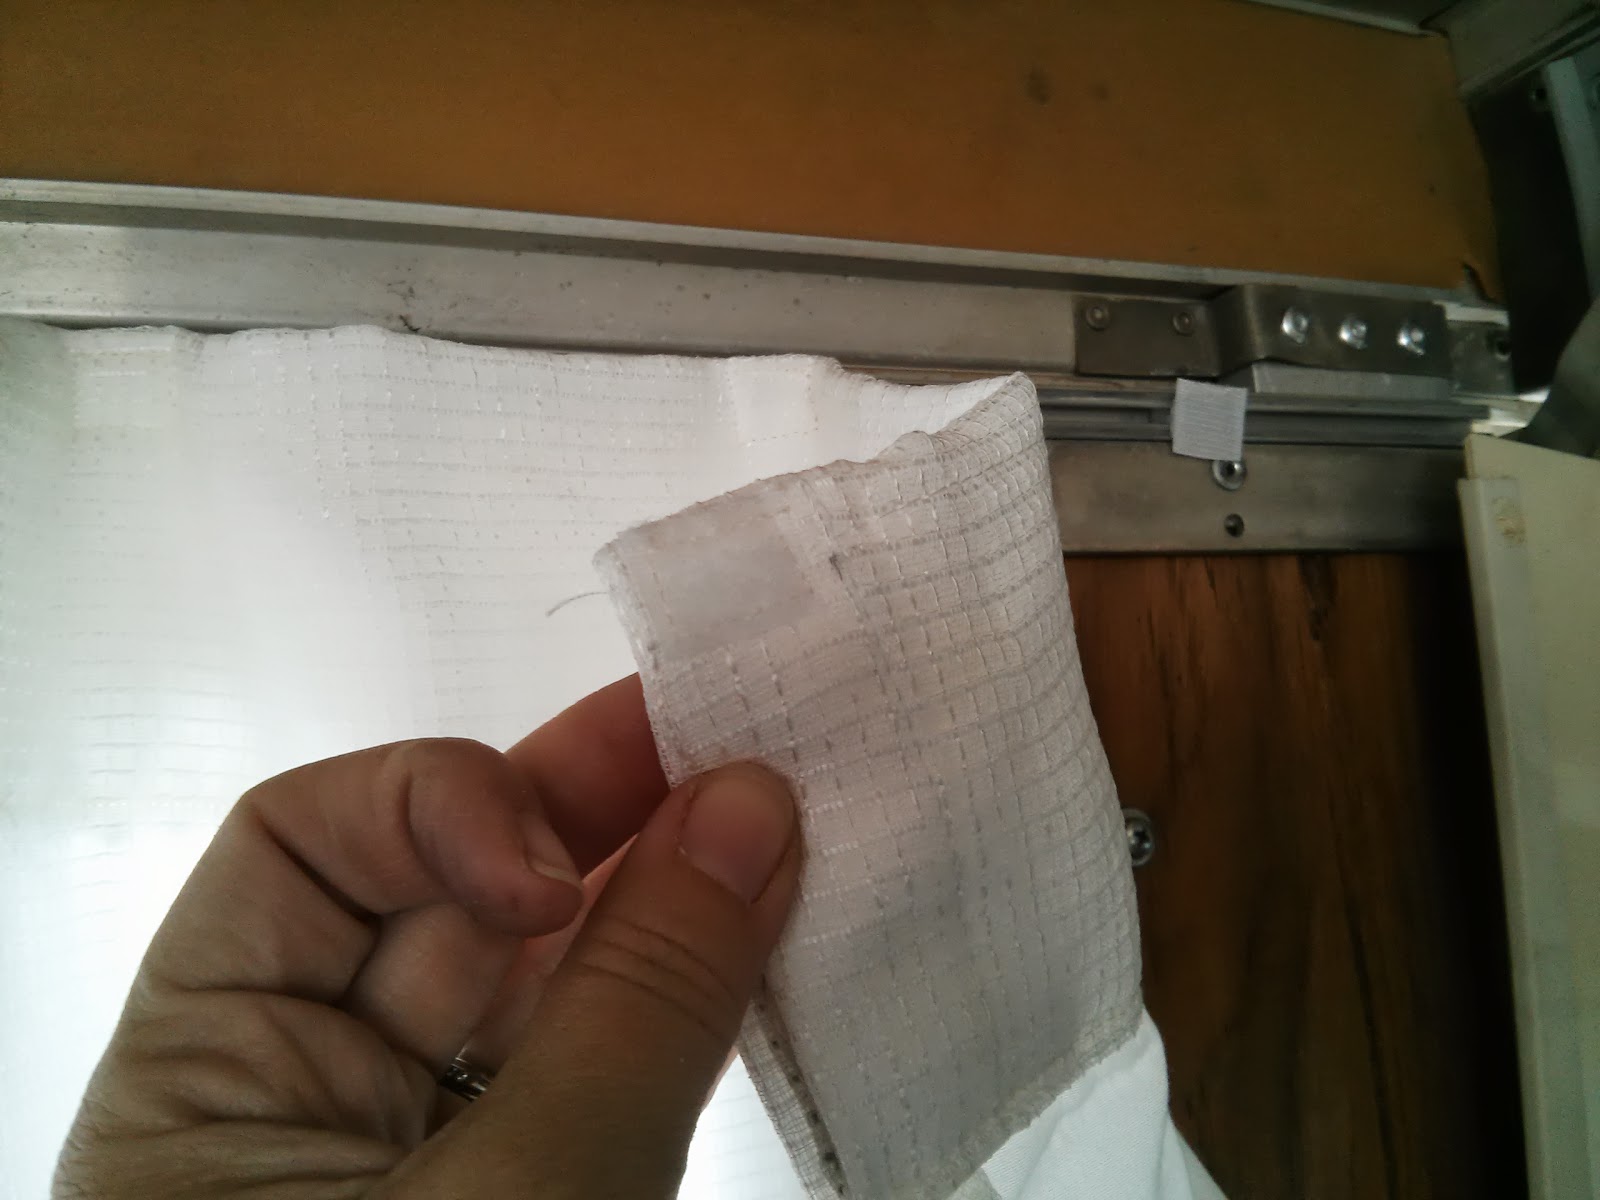
All I needed to do was hem them, and then attach the velcro tabs at the top. Turns out, sewing on dozens of tiny velcro squares is not as much fun as it sounds.
Finally, the curtains were ready to hang, and I think they look beautiful.
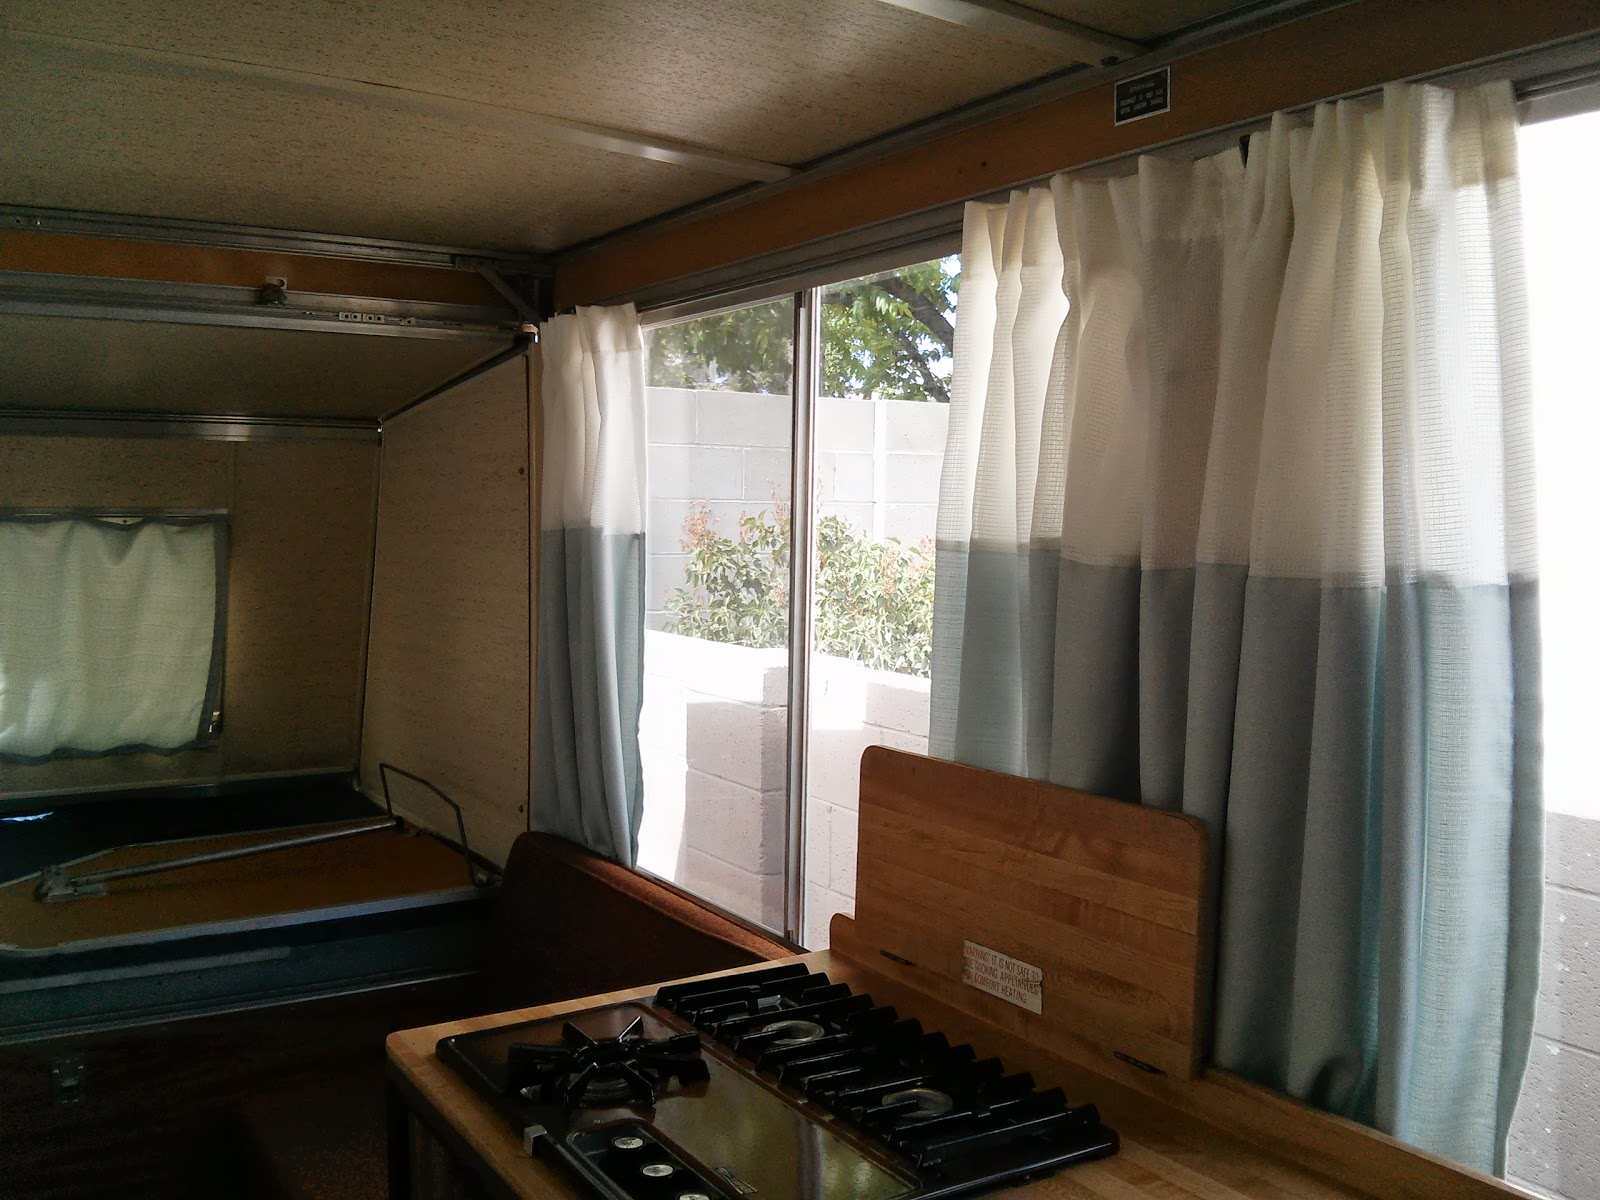
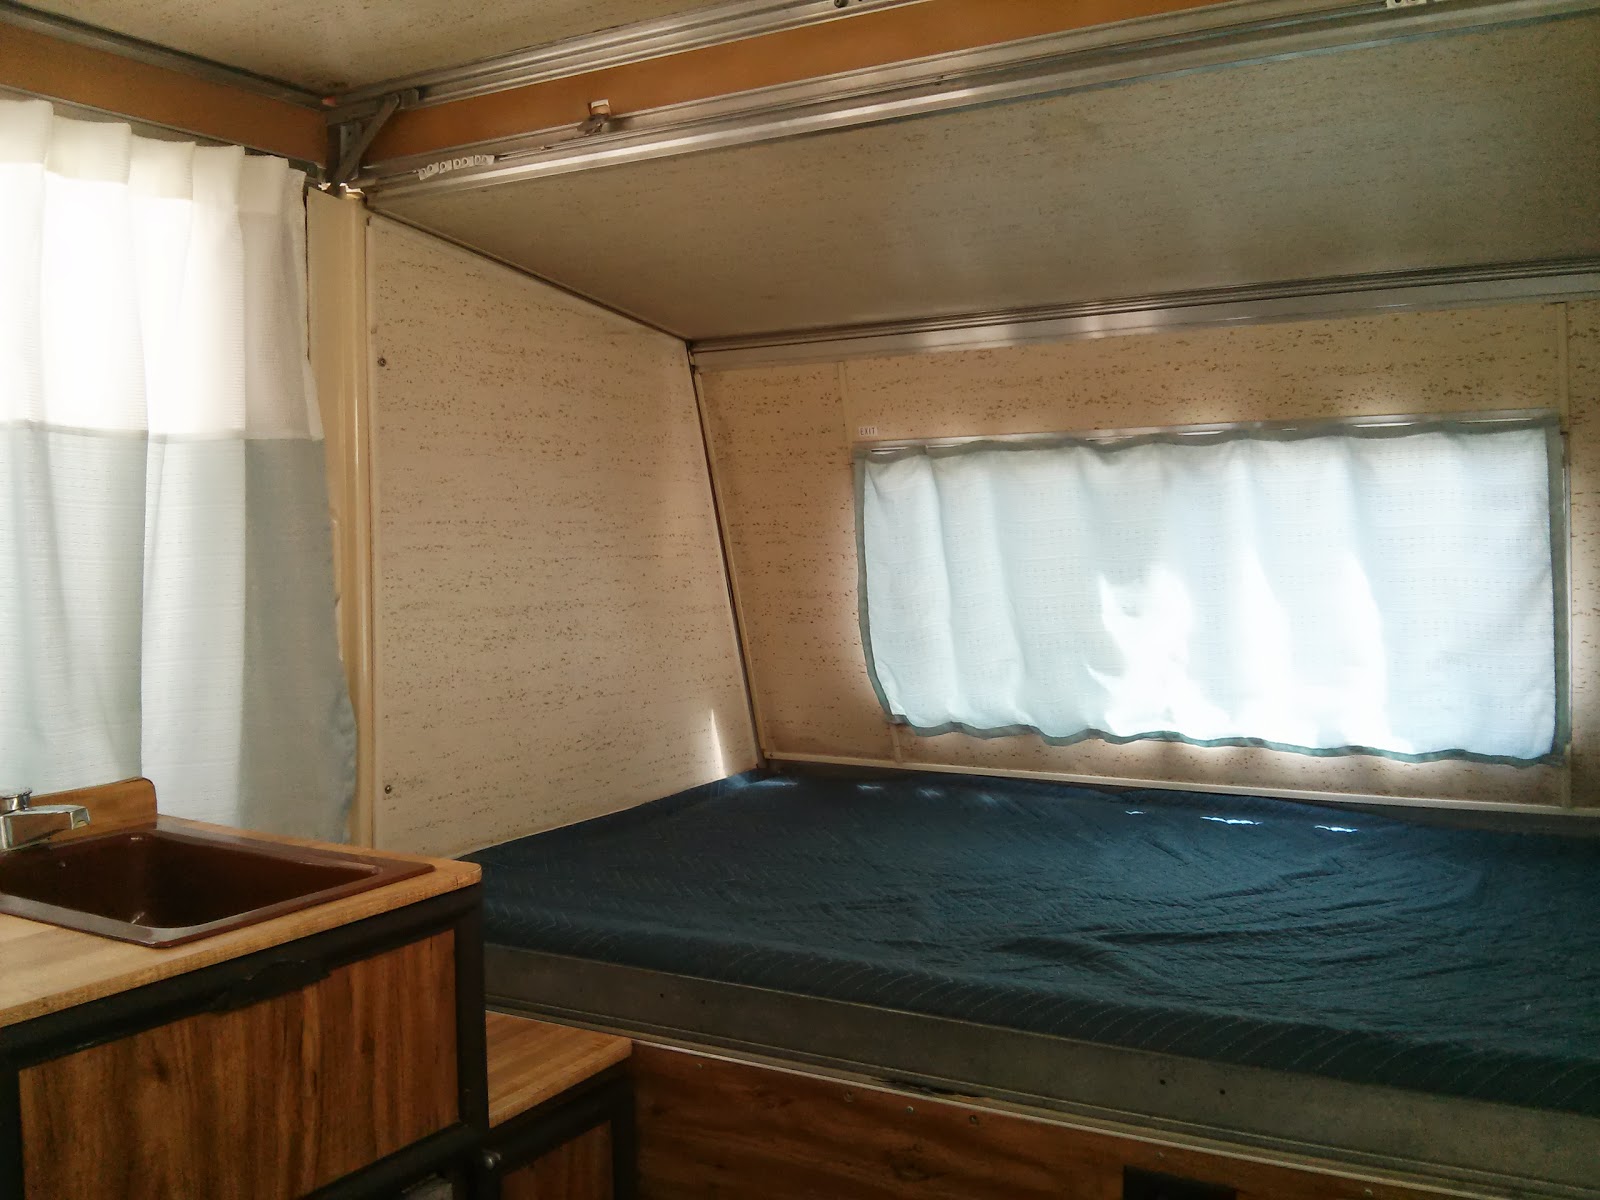
Or at least they will once everything else is finished. (Stay tuned for the final Apache camper makeover reveal.)
We packed the camper to the gills, as well as the truck, then headed to the New Mexico mountains. As much as I love a good redecorating project, I spent the weekend being reminded of the real reason we bought the camper...
 | ||
| Hot Cocoa in the Morning |
 |
| Hiking |
 |
| Fishing |


Tracy says
Thanks!! This is the most feasible Apache curtain method I've seen yet! Now to find the tabs that came with my camper...
Lillian says
@Tracy,
Go to Temu they have a cry thing you want and more
Lillian says
@Lillian, I will be renovating one just like it, into a food cart for next summer. It is in need for f a lot of TLC wish me luck.
Tracy says
Sorry to post again but are these the sliders you put the velcro on?
http://www.apachecampertrailers.com/assets/53-00-961%20(2).JPG
Meredith says
Thanks for posting - I love to help! Those are not the right ones. Let me do a little research and get back to you...
Meredith says
Here they are! http://www.apachecampertrailers.com/assets/33-90-001.JPG
They are sold on the tape (which can be sewn onto the curtain fabric), but mine had all popped off the tape so I just used each one separately, with the velcro.
By the way, the first ones you were looking at are the curtain tabs that go on the bed ends. I didn't make curtains for the bed ends, so I never needed those. They're meant to be used with the snap tape. Good luck, and let me know if you have any more questions...
rebekah says
I am so excited. We are going to go look at one of these campers tonight if the guy calls us back and your tips are wonderful. I hope this works out and I can get started soon 🙂
Meredith says
Ooh, I hope you got it! If not, keep looking! They're hard to find, but worth the wait...
Tandra@LittleHousesBigDogs says
Thanks for the great post! I've been stuck on what the curtains for the last couple weeks. Right now we're still in the clean up/rehab stage, http://littlehousesbigdogs.com/2015/07/26/trailer-talk-makeover-series-the-green-machine-exterior-updates/
I can't wait to get to the curtains and fabrics of the project! Thanks again!
Meredith says
Thanks for stopping by Tandra! Your Apache is going to be so cute! I know the cleanup stage is a bit of a drag, but soon enough you'll get to the fun stuff. Can't wait to see what you do with it!