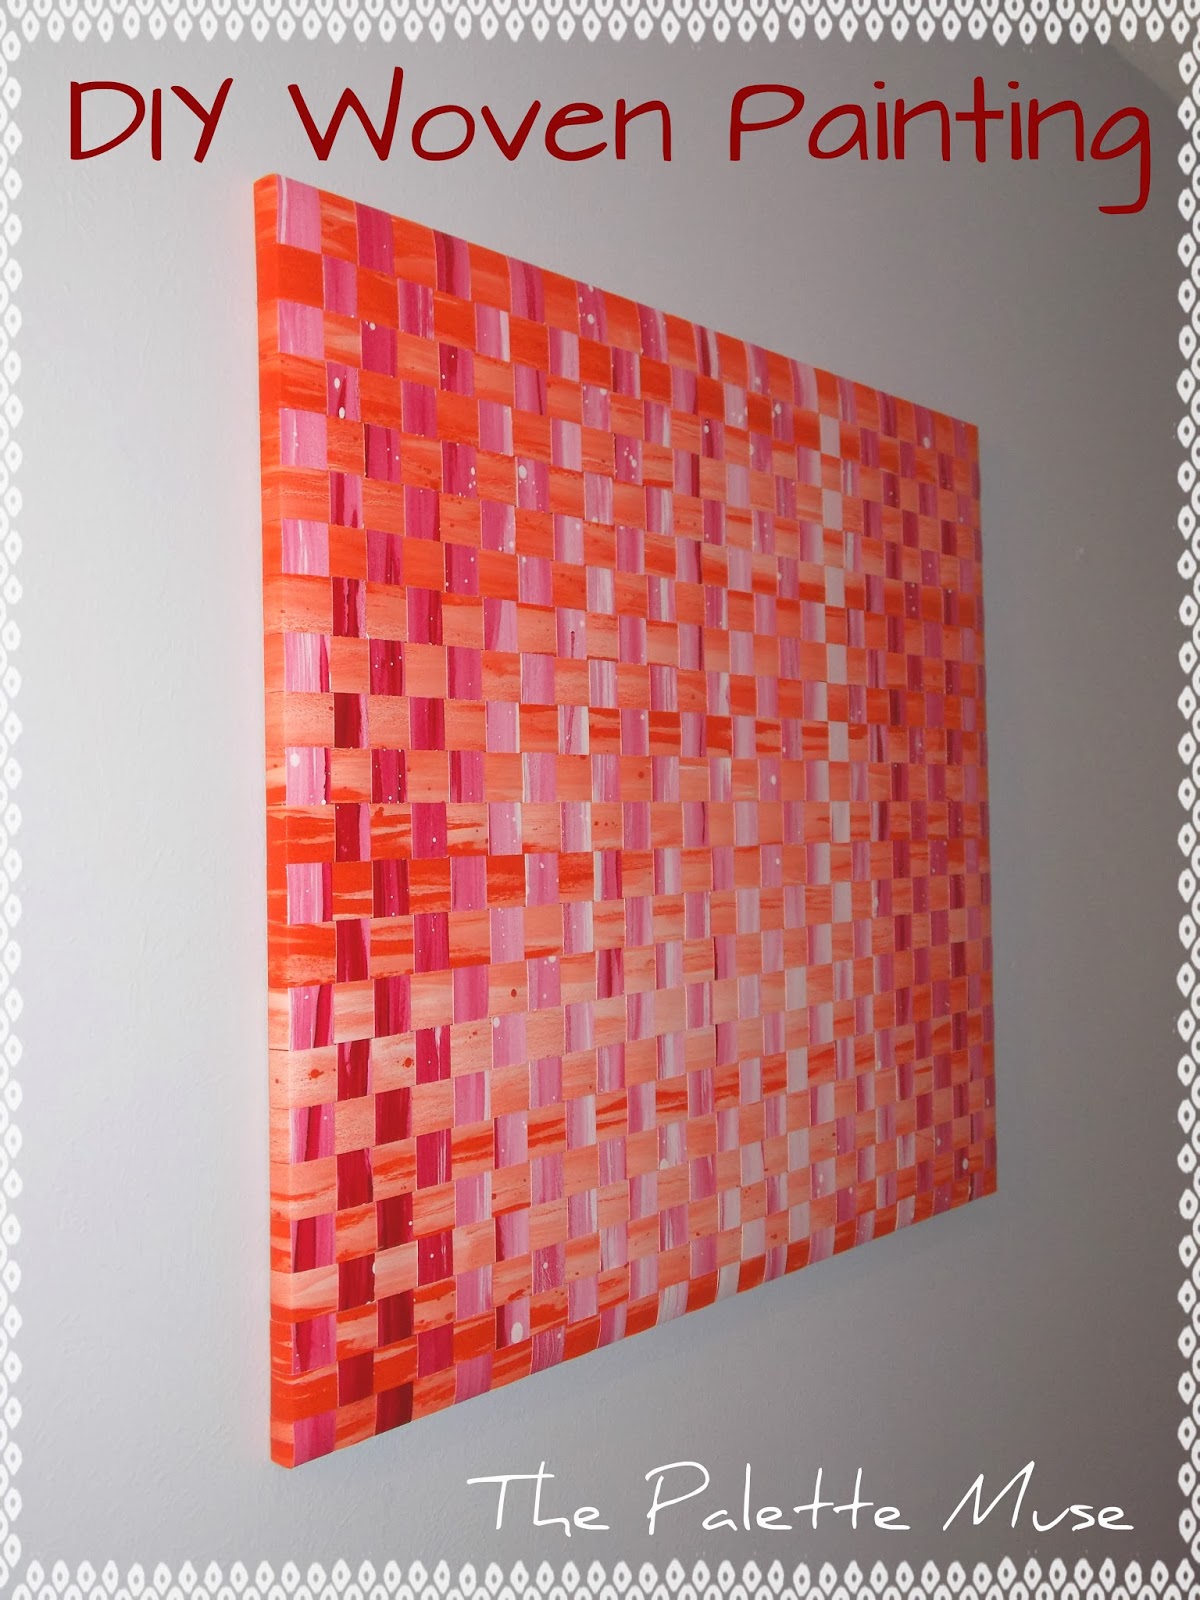
How to make your own woven painting, no art skills required!
I might be a little biased, but I believe that every home should have at least some art and some books, not necessarily in that order. If you find your home lacking in the art department (or the "funds-to-buy-art" department) I've got a project for you today that you can do yourself, with no experience, and very few supplies, to add a little color to a room. This is a woven painting that I recently finished for my bedroom.
You'll need:
A Wooden Frame (build yourself, or buy from your local hobby store)
2 Colors of Acrylic or Latex Paint (I used Valspar paint samples from Lowes)
2 Large sheets of heavy paper (at least 4 inches larger on each side than your frame)
Paintbrush
Staple Gun
If you're not used to working with paint and paper, you might want to start small. My piece is pretty large: 31" by 37", a size I specifically chose to fill the space on the wall, so I had to build a custom frame. If you choose to build your frame, it's a pretty easy process. You'll need 4 lengths of pine 1x2's, mitered on the ends, and four corner brackets. Any frame larger than about 36" should also have a center support beam, which would be the same 1x2 material, just cut to the inside dimensions of the frame. If need more clarification on frames, just drop me a comment below, and I'd be glad to help you out. Now, on to the fun part:
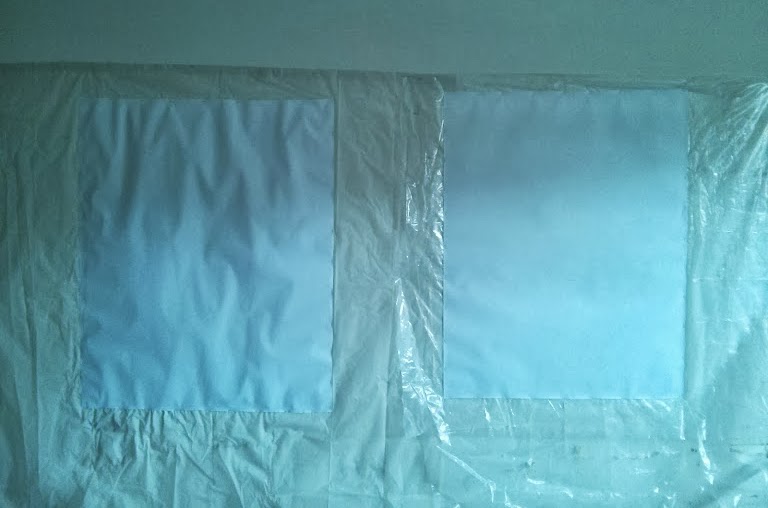
- Hang your paper on a wall, with either tape or staples. The paint will drip so be sure to cover the floor and the wall. Garages are great for this kind of project.
- Use a wet rag or sponge to dampen the entire sheet of paper. Just do one paper at a time, so the second one doesn't dry out while waiting. In the picture below, you can see the left paper is treated.
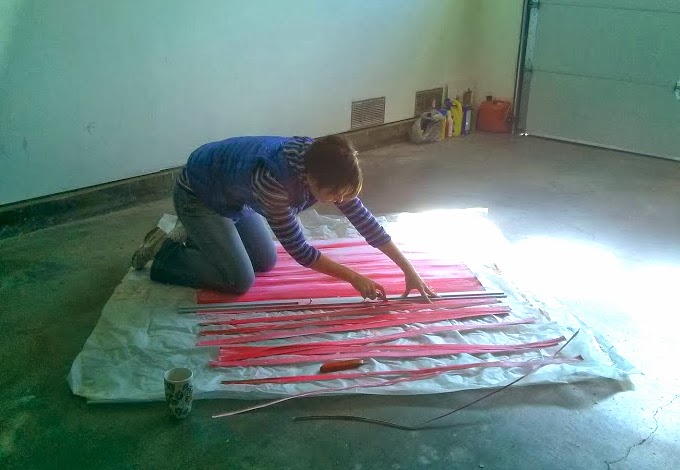
- Wet your brush well, and fill it with a little paint. You can also dilute the paint with water to achieve a more watercolor effect. Paint vertical streaks on the paper, layering until you like the effect.

- Cut the paper into roughly even strips. I used a straight edge and utility knife, but if you have smaller sheets of paper, you can just use scissors.
- Choose one colored paper to be the base, and lay all the strips together, as if it were one big page. Then weave the other color of strips as tightly as possible through the base strips, alternating over and under. In mine, the edges are uneven because I was looking at how the parts worked together and choosing certain sections of each strip to emphasize. This step reminded me of first grade class projects. In fact, my daughter approved, saying "Mom, it's just like the one I made in art class last year." (Not sure if I should take that as a compliment.) You can see what the unframed version looked like here.

- At this point, I thought the next step would be to lay the frame upside down on the painting, as shown in the picture.
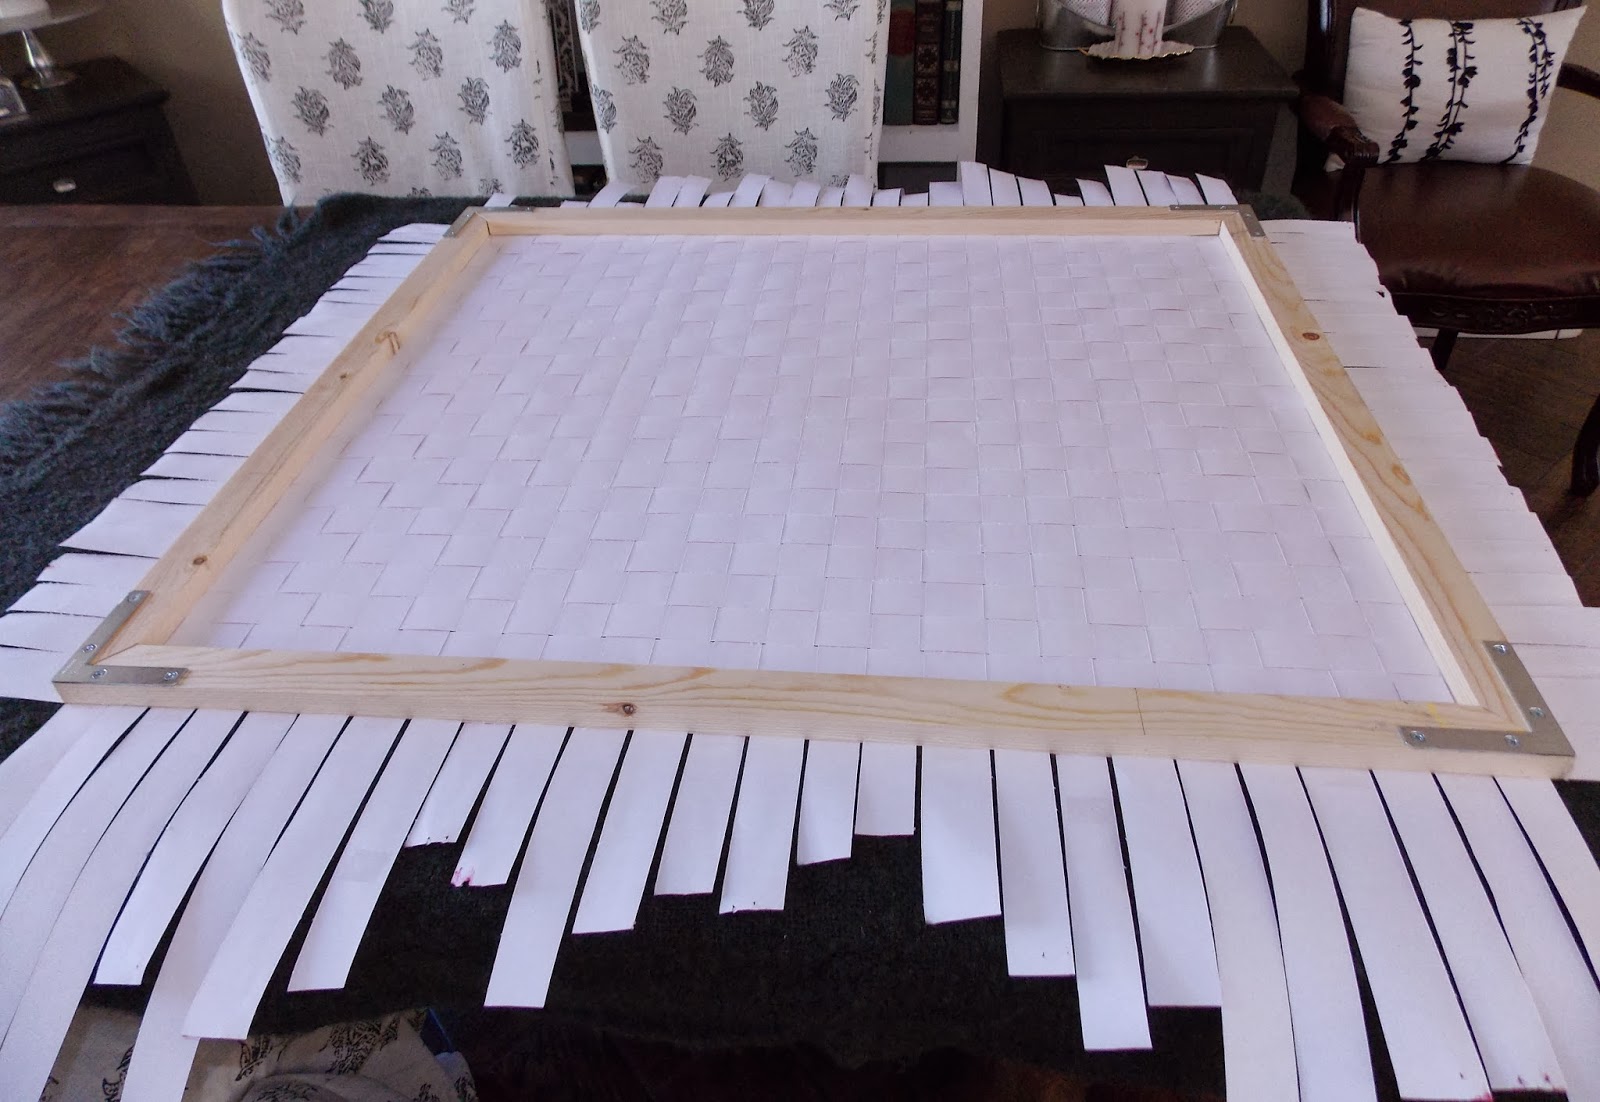
But when I did that I realized that the unfinished pine frame might show through between some of the strips, so the next step was actually to paint the frame. I used orange, the dominant color of the painting.

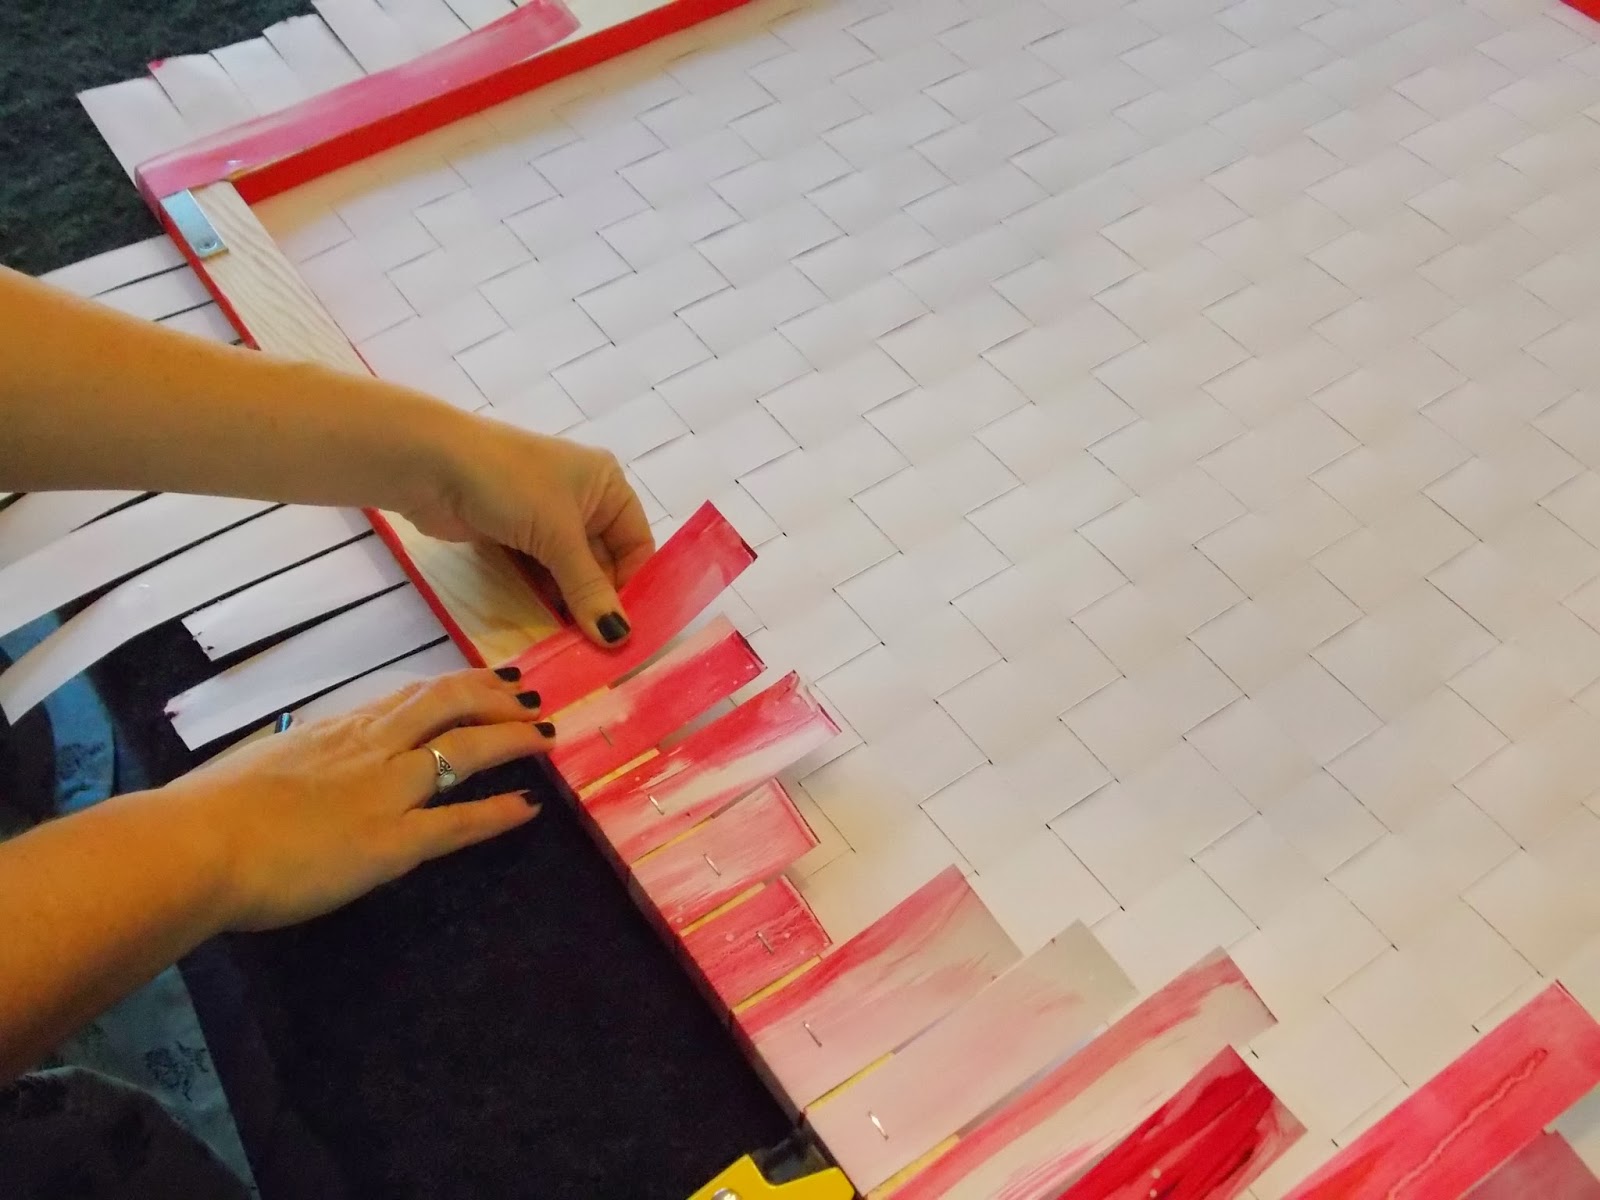
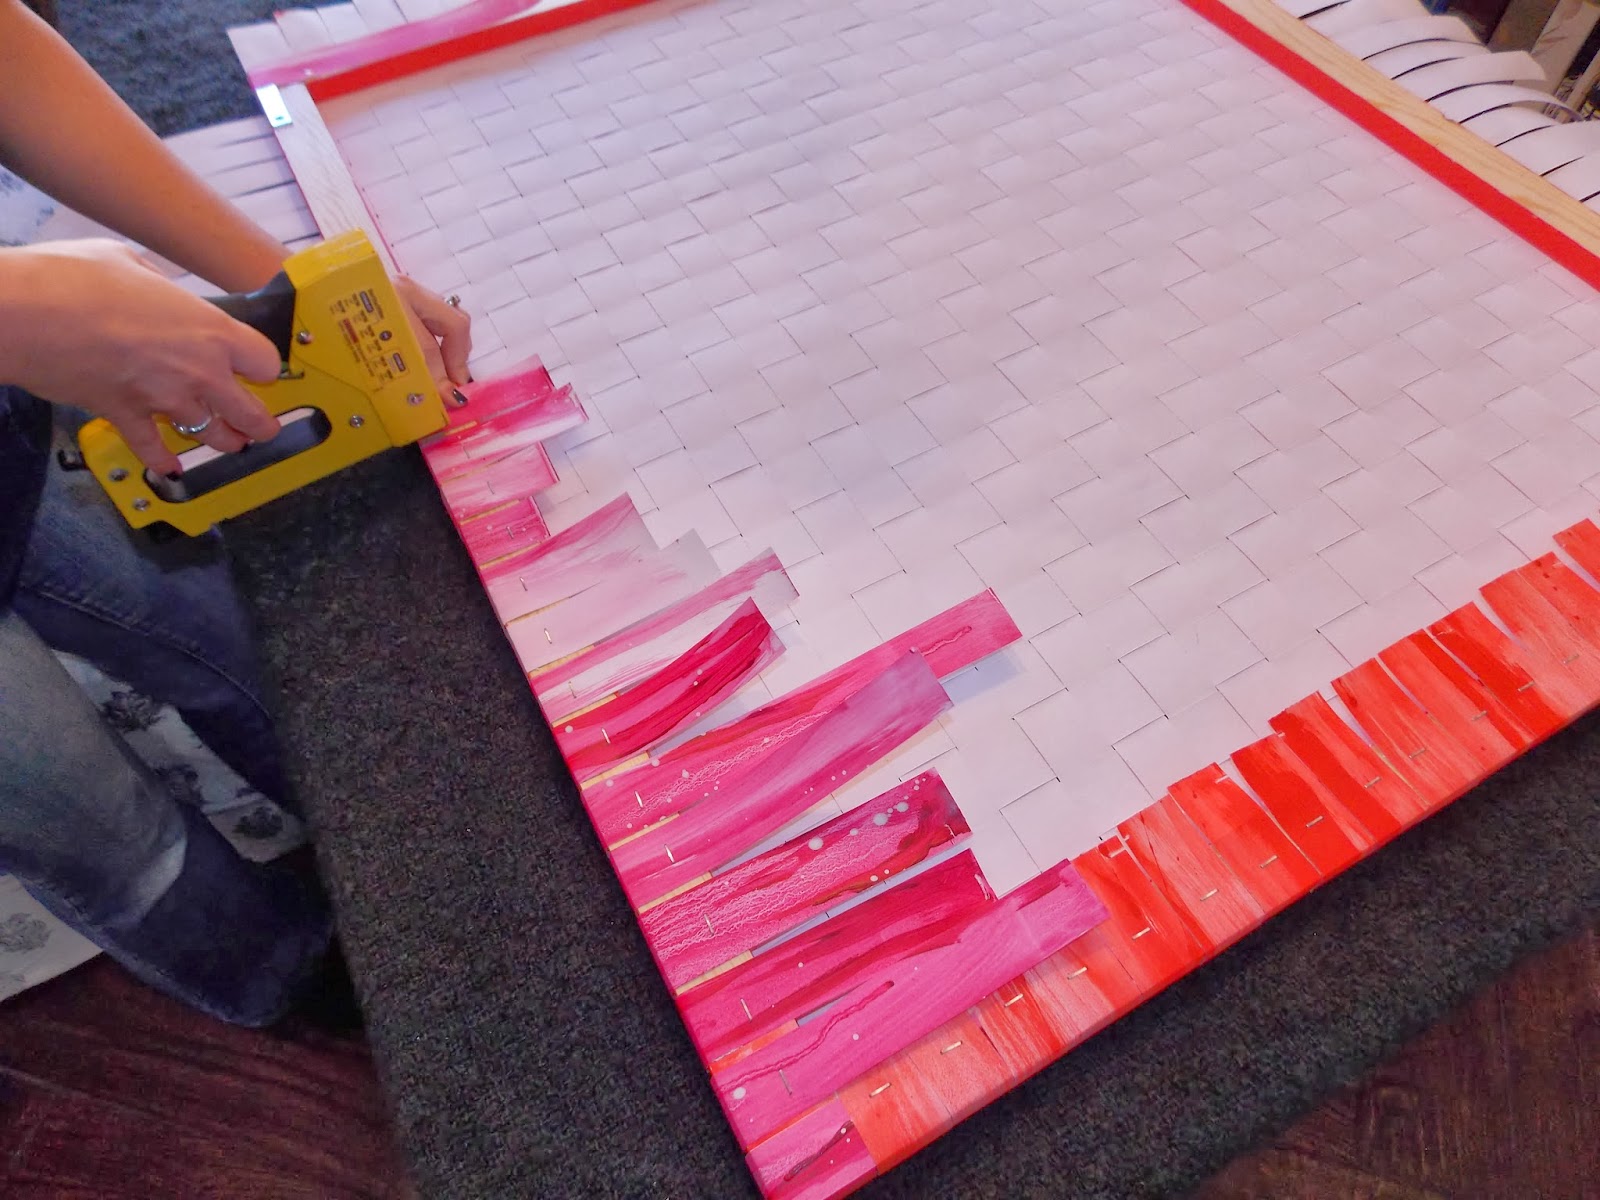
Tip: Canned Veggies Make Great Stilts for Painting Projects - Once the paint is dried, stretch the painting on the frame, being careful to line up all the edges and corners first, then staple each strip to the frame.

- Finally, hang your new painting, and enjoy. Voila! You are now an "artiste".

I think it's just the pop of color that this quiet bedroom needed, to keep from being boring. Stay tuned for the unveiling of the rest of the bedroom redo.Thanks to all of you who offered comments and opinions when I was trying to decide whether to frame the painting, or keep is as it was, with uneven borders. I decided that for this particular room, it should be stretched on a frame, but it sure was hard to let go of all those interesting edges. I always love to hear your opinions - they really help me sort through the artistic decisions along the way! Thanks for being a part of this project.


Melissa says
I love this project and can't wait to try it one of my walls. I was wondering if you could do a tutorial on making the frame though?
Meredith says
I'm so glad, and yes! I will try to do that in the next few weeks so you can try it. Basically it's just 4 pieces of 1x2 wood, with mitered corners attached with flat corner brackets. But I'll do a short post that breaks it down for you. Thanks for your interest!
Christine says
When you say heavy paper are you referring to something like butcher paper?
Meredith says
Hi Christine, I was actually referring to something a bit heavier than butcher paper. You can find it in craft/art supply stores, near the large pieces of watercolor paper. Mine came in a big roll and it's called art paper, or multi-media paper. It needs to be heavy enough to handle the paint and the stretching on the frame. Let me know if you have trouble finding it and I'll attach an amazon link...
Denise Hosner says
Oh, I love this strappy art! But I can't figure out how you flipped it over without it falling apart , so you could lay the frame on it!
Meredith says
That's a great question! The answer is "very, very carefully." No really, the weaving holds together pretty well if you've woven it tightly and are very careful with it. You could also tape the edges of the front with blue painter's tape first, sort of like a tape "frame" and then remove it afterward. Be sure to use the blue tape and not regular masking tape, as the latter might be hard to remove without tearing the paper. Also, use heavy art paper, not flimsy craft paper like butcher paper, and you'll be fine. Good luck!
Denise Hosner says
I like the painters tape idea! Thanks!
Judy Babcock says
Judy Babcock from Bosque Farms, New Mexico; We are doing a remodel of my office. Textured the walls and hung new doors. The painter said that the blue tape works but he likes Frog tape (green) better. Says it is more sticky but easier to remove.Perhaps Meredith, perhaps we can get together sometime. I used to paint watercolors but got distracted doing dog rescue for the past 18 years past nineteen years.
Meredith says
Hi Judy, so nice to meet a fellow artist, especially a local! I've heard great things about the frog tape too. Maybe next time I'll give it a try...