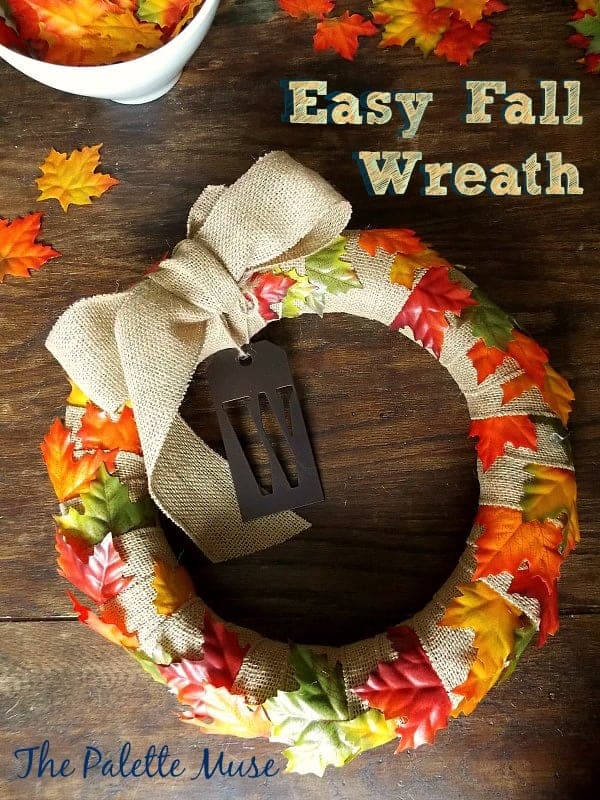
This DIY fall wreath is so easy, you don't even need hot glue! Find out how to make your own, with simple craft supplies.
If you've been on Pinterest or DIY blogs lately, you've probably noticed that wreathes are HUGE right now. Ok, the wreaths themselves aren't actually huge, just the design trend is.
I mean, wreaths haven't been this big since the mid-80's, and I know this because I remember learning how to make one in girl scouts around the 6th grade or so. Who would have thought that particular life skill would come in handy again later...much later...in life? I guess you just never know.
Anyway, I do love wreaths, and I love projects that are easy, no sew, and super cheap. Bingo!
Looking back, I remember my girl scout wreath project involving a LOT of hot glue. I mean, there were glue strings everywhere. And mauve taffeta ribbons. Neither was attractive, and neither will be making a comeback here on this project.
This wreath project needs no glue whatsoever, indeed no fasteners of any kind. It's super easy, and the only things you'll need are the decorative items themselves. Mauve ribbon optional.
This post contains affiliate links. If you make a purchase, I may receive a small commission at no additional cost to you.
Here's how to make your own Easy DIY Fall Wreath.
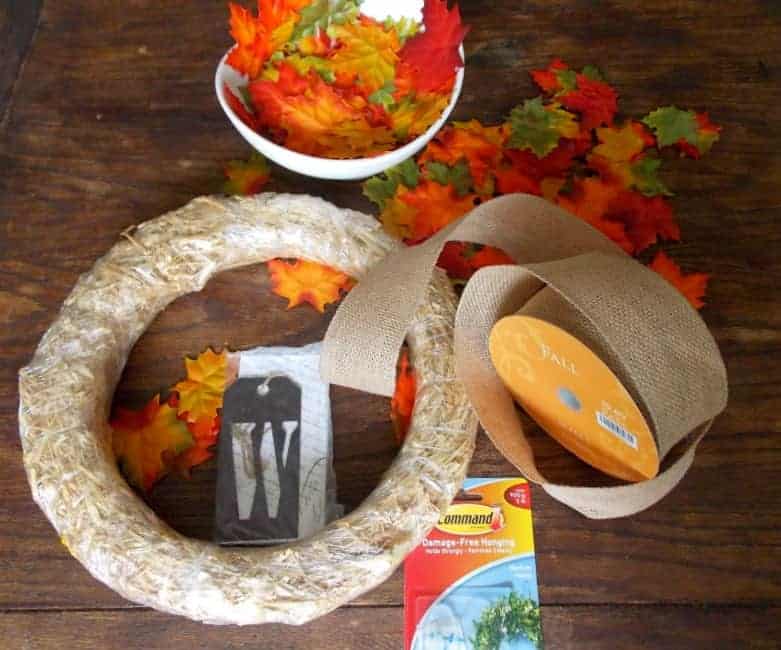 First, gather your wreath-making supplies:
- Wreath form (you can get these at craft stores, if you don't happen to have one like this beaut left over from the 80's. It still had the original Michael's price tag on it for $1.38. That tells you how old it is when the Goodwill price is almost as much as original retail!)
- Wide ribbon such as burlap. 2.5-3 inches wide is ideal. For a standard 14" wreath you'll need at least 22 ft.
- Fall leaves (we mostly have pine needles around here, so I'm using leaves from the Dollar Store.)
- Embellishments (find things that can be tied on to keep the project truly glue free.)
- Wreath hanger, or hook and ribbon (I love removable 3M Command hooks.)
How to put together the wreath:
- Make hot cider. (Projects are more fun with something festive to sip on!)
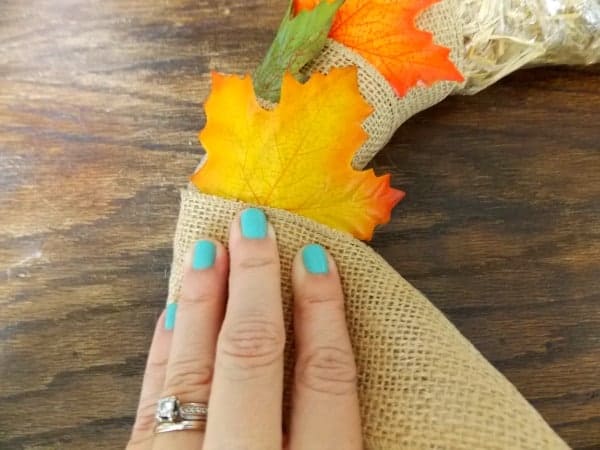
- Unwrap your ribbon and DO NOT CUT any of it yet. Hold the ribbon with one hand about 2 feet from the end.
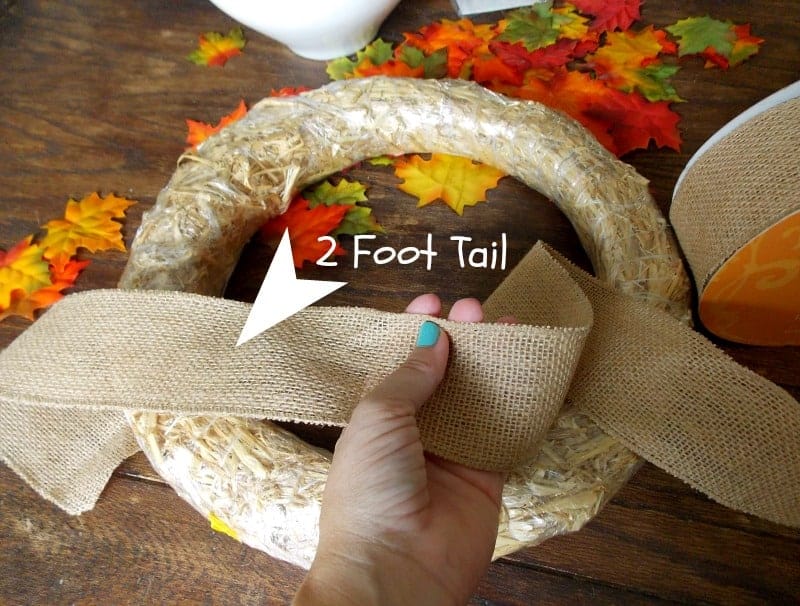
- Starting at any point, wrap your ribbon around the wreath, keeping the 2 foot tail of the ribbon unwrapped.
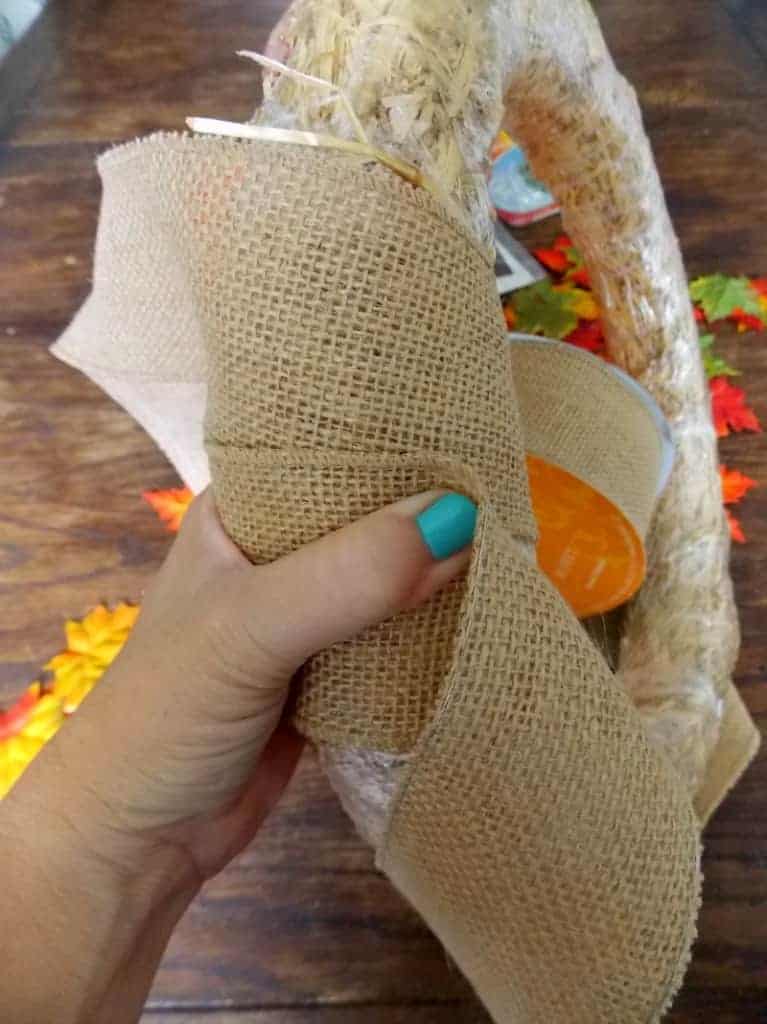
- As you are wrapping, tuck a leaf here and there into the edge of the ribbon. Make sure you wrap the ribbon tightly as you go.
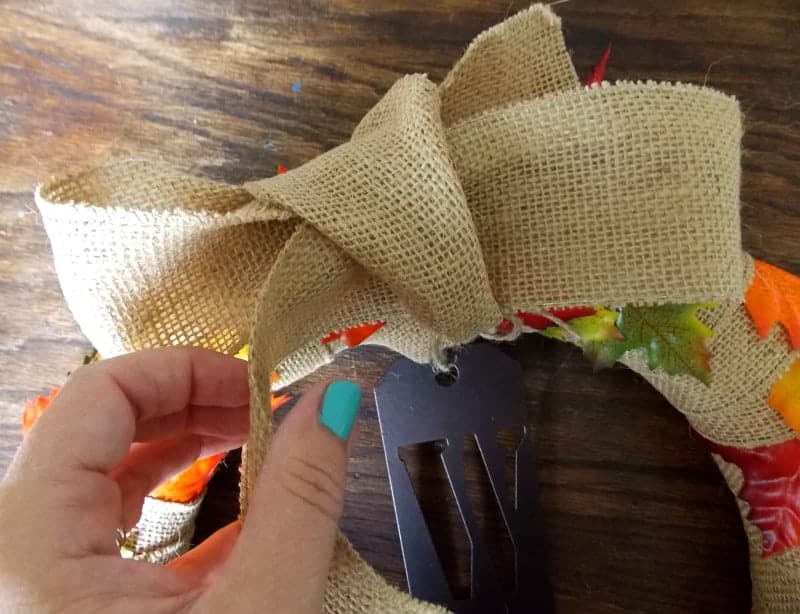
- When you reach the starting point, tie the ends of the ribbon together in single knot.

- Thread the ribbon through any embellishments you'd like to add, and tie a bow. Or, for a more rustic look, just tie a chunky knot. At this point you can cut the ends to make your bow or knot look right. I like my wreaths to be slightly asymmetrical, but you can make the bow or knot end up wherever you'd like, just by turning the wreath a little.
- Hang your new creation on your front door, or in a window to welcome guests.
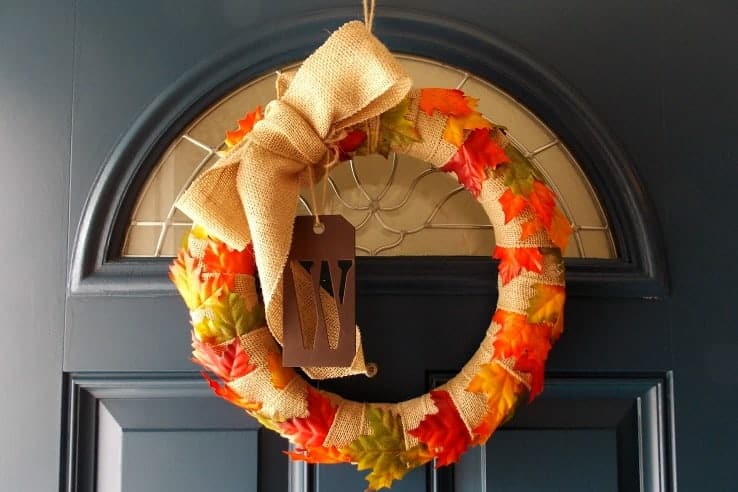
You could also switch out the leaves for some other decorative element, such as holly berry sprigs or spring flowers to keep up with different seasons.
Wreath Making Tips:
- If you can find wire edged ribbon, it makes crafting so much easier. It holds its shape and you can mold it around the wreath so it stays put better.
- Look for ribbon in the seasonal area of your craft store, in addition to the fabric and ribbon section. I found mine for 40% off!
- A clear command hook hung upside down on the back of the door is a great trick for hanging things by a ribbon. You can remove it easily whenever you need to, or just leave it there and change out your decor seasonally.

Stay tuned to see how I'm transforming my other Goodwill rescues!


Sandey says
Step 1: make hot cider. LOVE IT! 🙂
Meredith says
Thank you Sandey! 🙂 You're invited!
Eve Koivula says
My favorite step, too!
And I just learned a new word, I never knew what those are called in English (right now I don't even remember what we call them... oh now I know, it's "kranssi". 🙂
Meredith says
Ooh, I learned a new word for me too! That's very cool. 🙂
Amanda Steinberg (@AntiMomBlog) says
this is absolutely adorable! i love it! stopping by from the click and chat link up 🙂
Meredith says
Thanks for stopping by Amanda!
jacquiegum says
Very attractive and nothing says welcome more than wreath, right? That and cider:) I haven't made one of these in years, but this is tempting...so easy!
Meredith says
That's right Jacqui!
lenie5860 says
I am just working on next week's post - all about starting to get ready for Christmas. This post fit right in with that - guess what I'll be adding. All those great Christmasy things to be found at the Dollar Store. Thanks, Meredith, I love easy.
Meredith says
Look at you, getting ready for Christmas early! What a great idea, can't wait to read that post!
Susan Cooper/findingourwaynow.com says
Oh, how funny. I was just thinking about making a new fall wreath for my door this year. I love too do that IF I ever find the time (Sigh). I also have a whole bunch of cool things to make that you've already shown me. 🙂
Meredith says
I know what you mean, you should see my list of things I'd do if I had more time!
Pamela Chollet says
Ahhhh ....I love this stuff but I have zero aptitude. Your girl scout glue gun experience describes my feeble attempt at creative gift wrapping last Christmas. I can't even get those command hooks to stay put...so It's nice to know I can come here and dream.
Thank you,
Pamela
Meredith says
Yes, there's something to be said for knowing your limits! Oh well, maybe just do the cider step and let someone else do the rest...
Arleen says
Now that looks pretty easy, which means I am in. I have enough leaves to make a lot of wreaths. Some of the red ones here are so beautiful. I also think this would be a great decoration for Thanksgiving in the middle of the table with candles in the center.
Meredith says
I love that centerpiece idea Arleen! This project can definitely go either way. I wish I lived in a place with great fall leaves.
andleeb says
WOW this winter wreath is amazing and super easy. I got so many Ideas from this post. I will definitely try to make one soon.
Thank you for a nice post.
Meredith says
Thanks Anna! Glad you liked it. 🙂
Jeri Walker-Bickett (@JeriWB) says
No sew is definitely my speed 🙂 October is always so amazing with all of the yellow, orange, and red foliage and there are so many ways to capture those colors as you did with your wreath project.
Meredith says
Yes, no sew and no glue! Less things to make a mess of. 🙂 I love October too!
Laurie S Hurley says
Ok, I can do the hot cider, but you know I am not handy. My daughter is, though and she's into making stuff lately. Passing this on to her. Beautiful idea and glad you shared this with us!
Meredith says
You make the cider, and she can make the wreath!
Donna Janke says
I love the look of your finished wreath. I suspect mine own attempt might be a little messier looking.
Meredith says
Like the great girl scout wreath debacle of '86!
Tim says
One of my favorite things about cooling temps is hot cider; who doesn't love that 🙂 Your finished wreath looks great Meredith and very professional. I probably won't be hanging one this year but seeing yours is just as heart warming.
Meredith says
Thanks Tim!
Jeannette Paladino (@jepaladino) says
Meredith -- so you hunt in Goodwill, too! One of my best friends is also into craft making and she gets most of her supplies from Goodwill. I'm all thumbs but even I could probably make this wreath it's so easy. Thanks for the lesson.
Meredith says
Yes, I love Goodwill! The possibilities for inspiration are endless, and cheap!
William Rusho says
Very nice looking and inexpensive to do. Thanks for sharing this with us.
Meredith says
Thanks William! Thanks for stopping by.
Ken Dowell says
Very pretty. Is that how they looked when you were in girl scouts?
Meredith says
Ha! I can't remember what the end result looked like, but I'm pretty sure it wasn't this!
jbutler1914 says
That is an awesome wreath.
Meredith says
Thanks!
niekkamcdonald says
Very cute! I think I might actually be able to do this. I love wreaths they make me happy when I walk up to my front door.
Meredith says
Thanks Niekka! You could totally do this!
Angela says
I'm a HUGE sucker for wreaths and burlap. Someday, I'm going to get really crafty with those two things. So I was really excited to see this post. The wreath is beautiful and easy to make. But I loved step #1. You got a good chuckle out of me there! You'll need to write a blog post on making the perfect hot apple cider and describe the smells, so you can link it to this post. Perfect to set the mood for Thanksgiving. I'm going to pin this to my crazy wreath addict pinboard in Pinterest. This will make 71 pins on that board. Is that excessive? LOL
Meredith says
Thanks Angela! I love burlap too. Sounds like I should be following you on pinterest! And that's a great idea about the cider recipe, I gotta start thinking about that one...
Beth Niebuhr says
What a great technique! I think you could easily add a few little items for Halloween too. It's great when you post things that are really simple to make. Thanks. Nice nail polish!
Meredith says
Thanks Beth, and I love the idea of adding a little Halloween decor! And I bought the nail polish for my kids but then kept it for myself. Don't tell!
Joanne T Ferguson says
G'day! Looks great! Thanks for sharing at our #SayGdayParty! Please make sure to revisit if you haven't already and say G'day to the hosts and someone else at the party! Cheers! Joanne @ What's On The List Pinned
Meredith says
Thank you Joanne! I always love Say G'day Saturday!
Maya says
I love, love your wreath! So easy to make and the look is spectacular!
Meredith says
Thank you Maya!
Sarah J says
Thanks for linking up at Two Uses Tuesday! New sew is the way to go! Thanks for sharing such a cute and easy craft!
Meredith says
Thank you Sarah!
Home Jobs by MOM (@HomeJobsbyMOM) says
Such a great wreath for this time of year! And easy to do 🙂