Sometimes interior designing is glamorous and fun, and sometimes it can be filled with drudgery and indecision. Recently, I made the tough decision to close my design business so I can be more available to my kids, and instead focus on this blog since it allows me to be creative and get my hands dirty with design projects, while still being able to stay home with a sick kid if needed.
So, with a heavy heart, I took on one last design project with one of my favorite clients, Angie. I love working with Angie because she has great taste and doesn’t hesitate to make decisions. Truly, she made most of her own design choices, with just a little guidance from me along the way. Together we had the most efficient trips ever to the tile and design stores. We’d go in, select a few options, reject a few, and bam! Done in an hour. (If you’ve ever tried picking all the finishes for a bathroom at one time, you know what an accomplishment that is.) Thanks Angie, for being so much fun to work with, and making my last project such a beautiful one!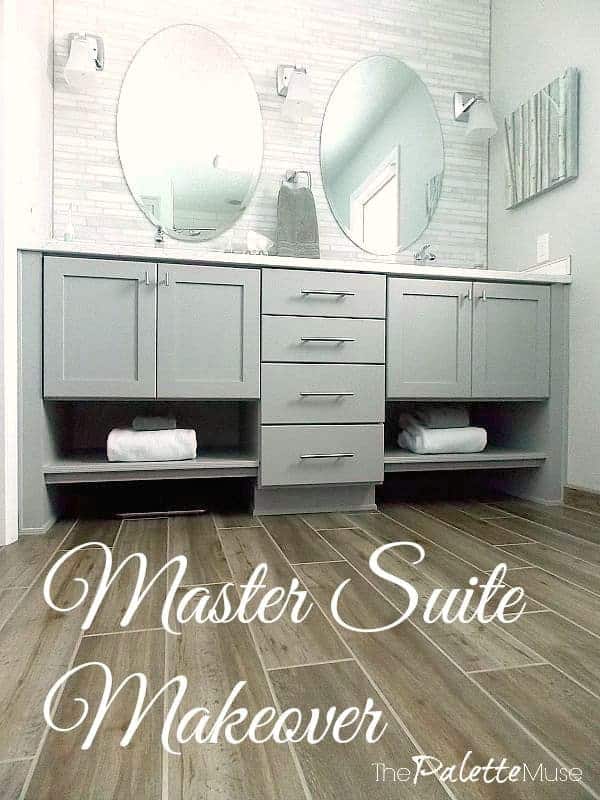
By the way, Angie writes a great food-allergy recipe blog called ConsciousEatery.com. Check it out for lots of fun and creative recipes, especially if you need to avoid certain foods.
Without further ado, let’s get on to some pictures, shall we?
Angie started her project by wanting to redo her master bathroom. And while we’re at it, maybe a little touch up on the master bedroom too. And we better do the guest bath down the hall too…
Angie and her family had contemplated moving to another house, but decided to stay put for a while longer, so every decision we made was primarily for their own wishes, but also with a little bit of resale value in mind as well.
Master Bath:
The master bath started out a bit cramped and dark, in spite of a window with plenty of natural light. Plus, it only had a one-sink vanity and a shower stall with no tub.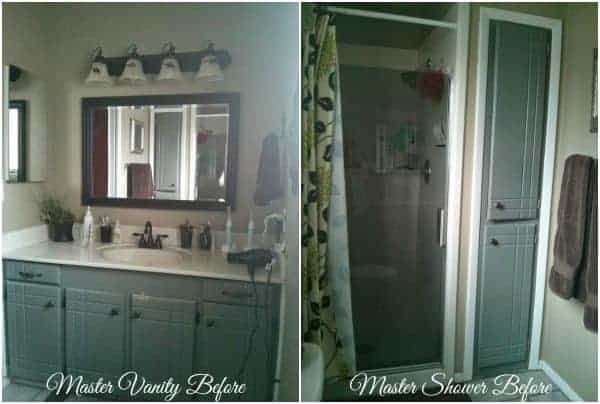 The first thing we did was move the wall between their master bathroom and bedroom, just 18 inches into the bedroom. It was enough to allow for a double vanity in the bathroom, and full sized shower/bath and extra cabinet, without taking away too much space from the bedroom. Now that the remodel is done, they don’t even notice a difference in bedroom space, but they sure notice all the room in the bathroom.
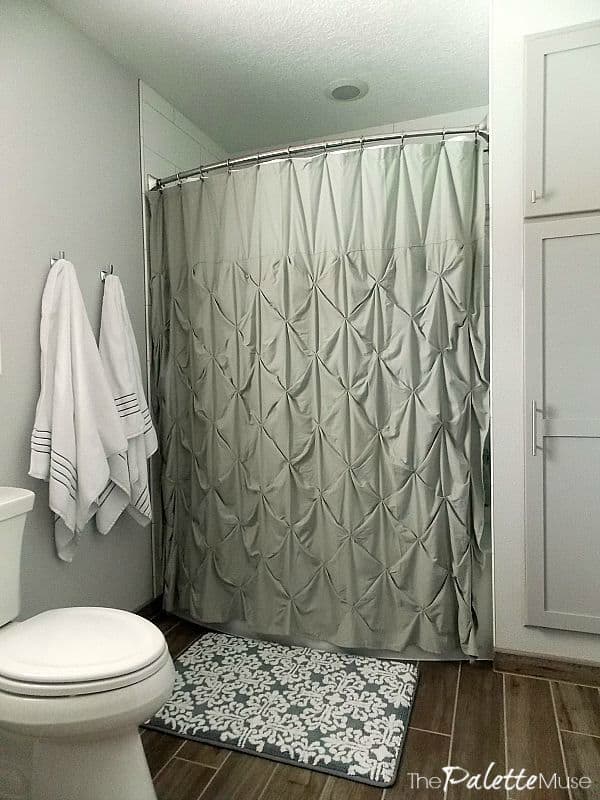
To save more space along the wall, we also used a pocket door, and sized it a bit wider than their old folding door, so it doesn’t feel cramped coming and going between rooms anymore.
We chose a durable wood-look porcelain tile for the floor, and a furniture-style vanity, so that they could slide their scale under the vanity when they’re not using it, to save valuable floor space.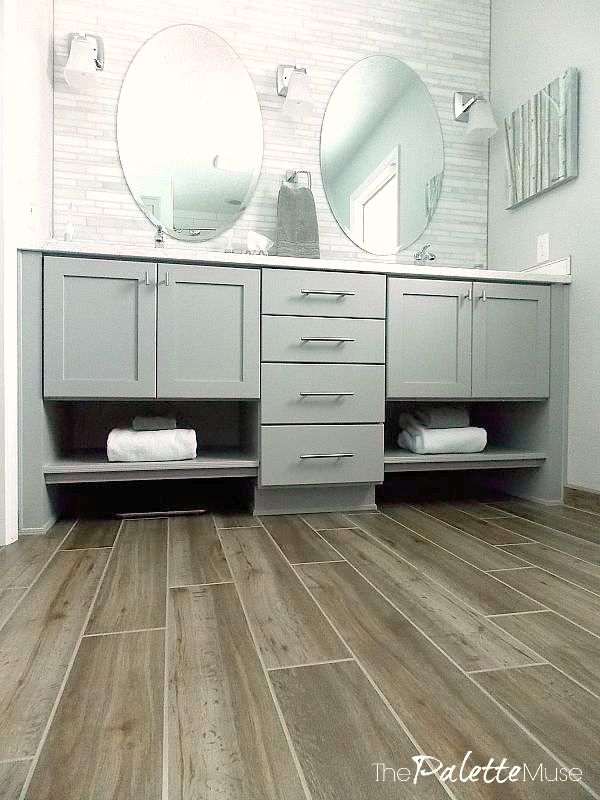
For the countertop, we chose a quartz that’s reminiscent of Carrara marble, but with the ease and durability needed in a hardworking bathroom. From there, we picked beautiful colors and finishes, all with a spa-like quality, and pulled it all together with a gorgeous and serene print from a friend, Ruth Simons. You can find more of Ruth’s inspiring work on her website, Gracelaced.com.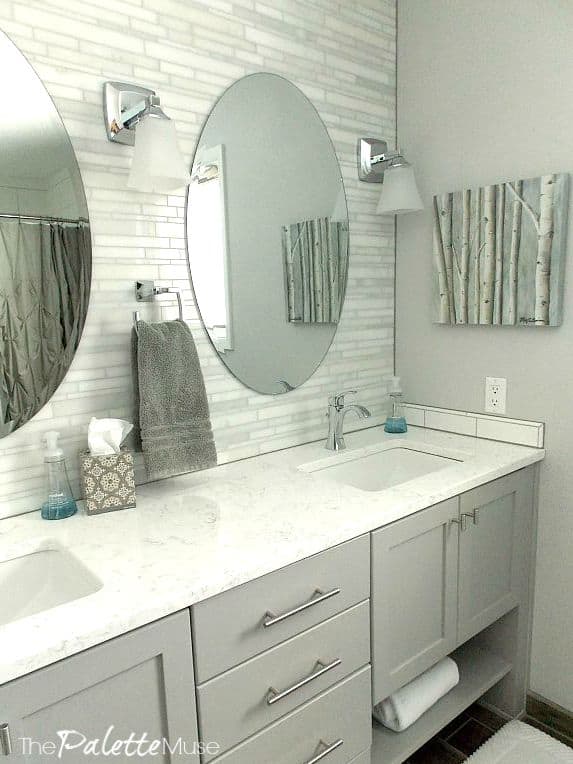

Angie found this amazing marble mosaic tile online for the vanity wall backsplash. It was so gorgeous, she decided to cover the whole wall with it, rather than just a few inches. Then we carried it into the shower as an accent to the oversized subway tiles.
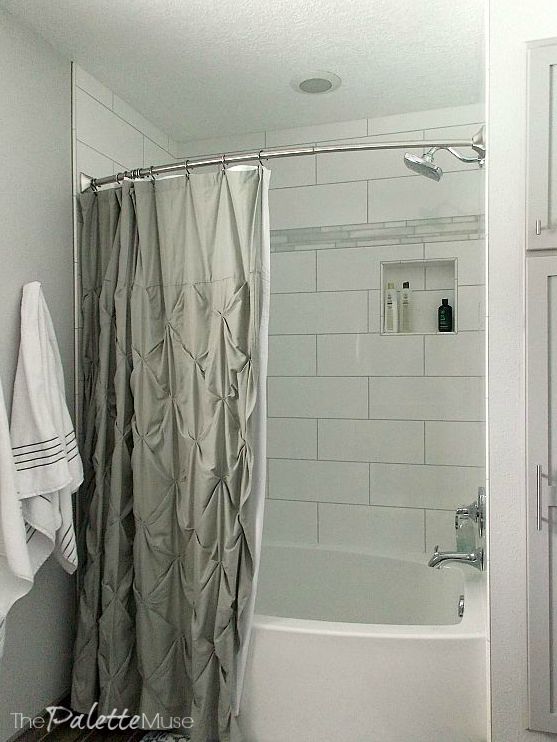
Love the oversized subway tile!
Master Bedroom:
With the master bath mostly done, and the wall moved, we turned our attention to the master bedroom. It had been fine, but the colors and furniture no longer suited Angie’s style, and she was hoping for something a little more modern. Plus, once she saw how beautiful the bathroom was becoming, she knew she wanted the bedroom to match. The red sponge-painted wall and heavy mission furniture had to go.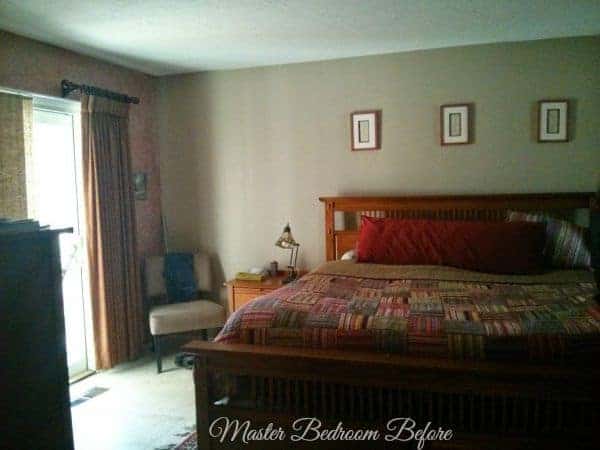
All we needed to do was change out all the furniture in the bedroom, as well as the carpet and wall colors.  Now it all ties in the with the bathroom for a relaxing master suite retreat experience.
Guest Bath:
Finally, we tackled the guest bath, otherwise known as the kids’ bath. 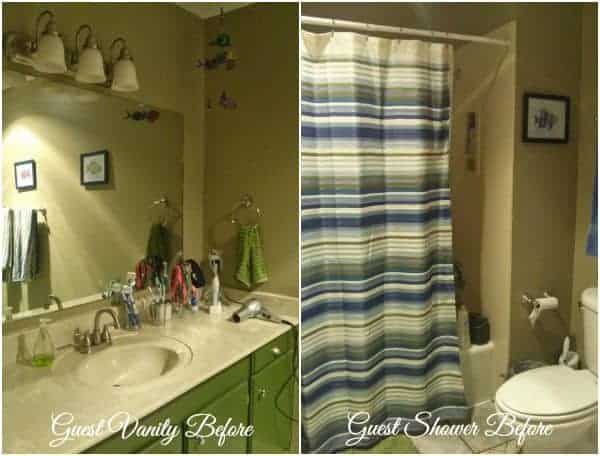 The very first thing we decided on was a skylight to bring in sunlight, since the bathroom is on the interior of the house with no natural light of its own. The skylight changed everything! Now, with gorgeous tiling and vanity, even this bathroom feels like a spa.
To increase storage and organization without adding medicine cabinets, Angie chose a double vanity with tower. With all the new natural light in the room, she was able to go with a beautiful dark wood stain.
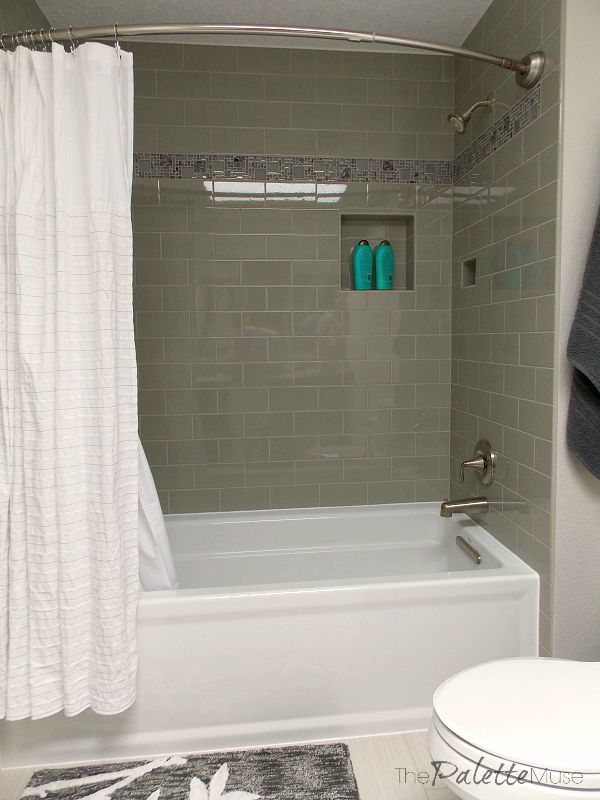
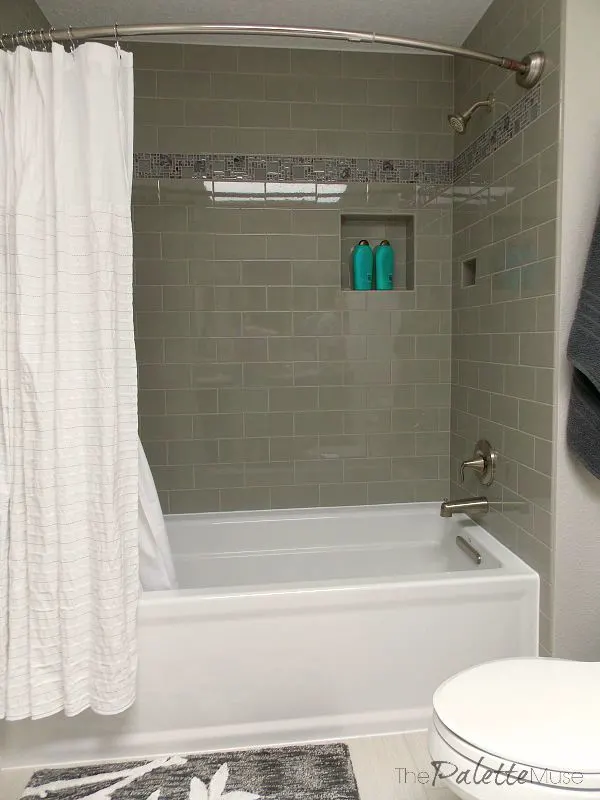 We chose a sophisticated gray subway tile to coordinate with the sleek feel of the cabinetry, and painted the walls in a neutral tone. Most of the colors in this room are neutral, with a few pops of aqua to keep it interesting and fun. Now it’s not just a kids’ bathroom, but an inviting guest bath as well.
Here are a few resources from the makeover, in case you’re wondering where to find similar items.
- Most of the bathroom linens are from Target.
- The bedroom linens (or similar) can be found on Overstock.com.
- Bathroom fixtures are Moen.
- Wall colors are Sherwin Williams.
- Cabinet hardware is from Lowes.
This has been such a fun makeover for me, and a wonderful way to sign off from my design business. Thank you to all my wonderful and inspiring clients!
kristin howard
Sunday 8th of January 2017
You certainly captured the spa feeling you all were oing for. Where did you find the Master Bath vanity. It has inspired me to consider my own re-do.
Meredith
Tuesday 10th of January 2017
Thank you Kristin! The cabinets were custom made for the house. If you can find a good cabinet guy, they should be able to recreate them.
Mamabee
Sunday 10th of July 2016
The master bath remodel (as well as the rest of the rooms) is gorgeous! May I please ask the brand and color name of the wood floor tile? We are about to remodel our bath and that floor is exactly what we are looking for! You did such a wonderful job on this! ?
Meredith
Tuesday 12th of July 2016
Thank you so much! The floor tile is from Daltile. It was called Legno, and the color is Grigio. The grout is Laticrete #24 "Natural Gray." Hope that helps, and good luck with your remodel!
queenmommyjen
Tuesday 25th of August 2015
What beautiful and refreshing spaces! Such clean, bright lines with great splashes of color! Now I want it :) Honey!!! He may not respond very quickly....
Meredith
Thursday 27th of August 2015
Ha! If he's anything like my Honey, he'll be running in the other direction! Thanks for such a sweet (and funny) comment.
Home Jobs by MOM (@HomeJobsbyMOM)
Tuesday 25th of August 2015
I love the idea of being able to slide the scale under the vanity. I need that! I have to prop mine up against the wall when I am done with it :-/
Meredith
Thursday 27th of August 2015
Me too! In my own bathroom, I compromised by buying a pretty one.
Dave J Baker
Friday 21st of August 2015
What a wonderful project to close things out, Meredith. It went from okay rooms to dazzling artistic rooms. Bravo!
Meredith
Thursday 27th of August 2015
Thanks! It's nice to end on a high note. :)