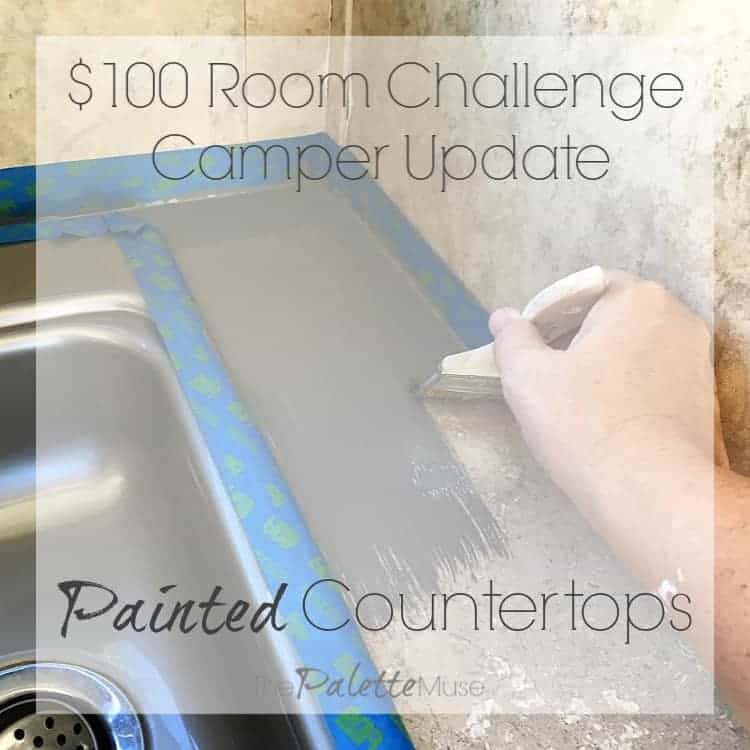
My $100 camper makeover is moving along at the speed of paint drying. So while I’m in between washing paintbrushes, I’ll fill you in on the latest project: How to Paint Laminate Countertops.
This camper needed an update on just about every square inch, not the least of which were the countertops. I wanted something durable and more modern looking than the khaki colored laminate with faux wood trim.
(If you’re new to this series, be sure to check out week 1 and week 2 of the challenge to see where all this is coming from.)
Painting Countertops for my Camper Makeover

This post contains affiliate links. If you make a purchase, I may receive a small commission at no additional cost to you.
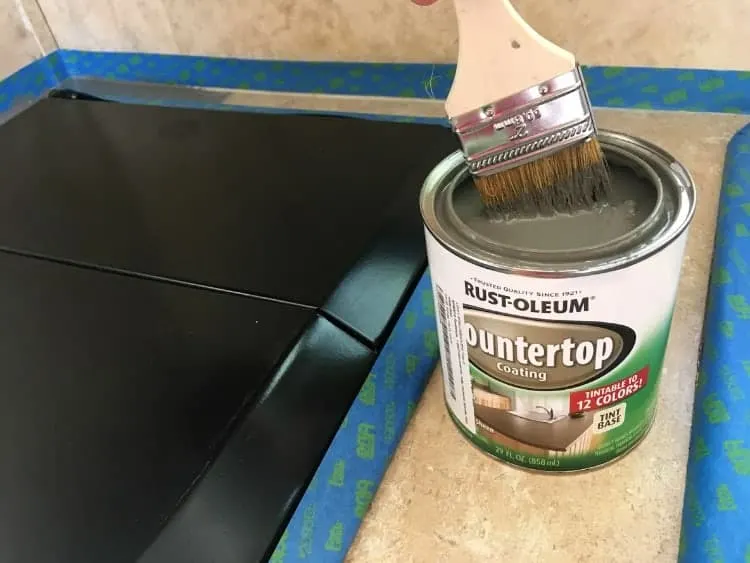
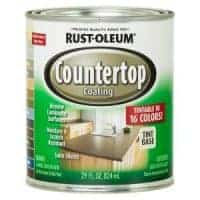
For a previous $100 Room Challenge, I updated our guest bathroom by covering the vanity countertop and sink with concrete. I love it for that space, but I didn’t want to add the weight of concrete to our camper. So I decided to try Rustoleum’s Countertop Paint.
Countertop Colors
This countertop paint can be tinted to 12 different colors, which are shown on the label. (I wish Rustoleum would provide larger examples of the colors.) After waffling a bit, I chose the color “putty” to compliment my newly painted light gray cabinets.

How to Paint Laminate Countertops
Painting these dated laminate countertops was so easy and gratifying, it made me wonder why I hadn’t done it a long time ago.
Clean
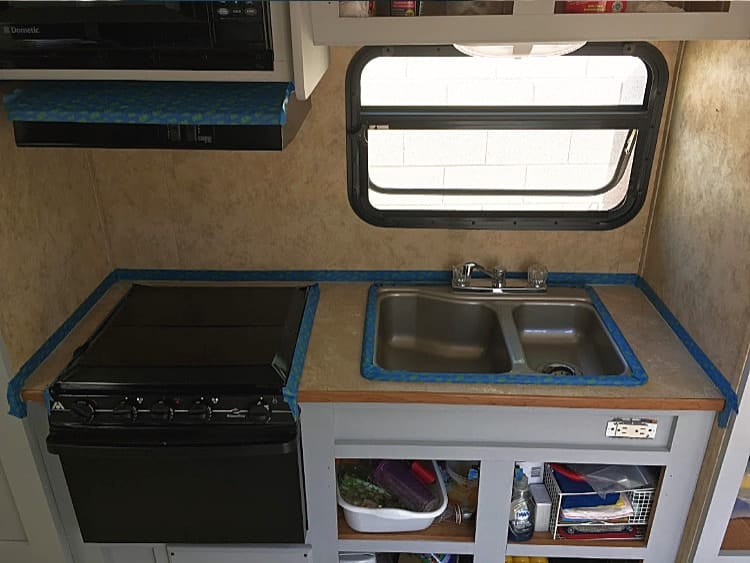
First, I cleaned the countertops really well with Krud Kutter, my favorite degreaser and cleaner for prepping paint projects.
Prep
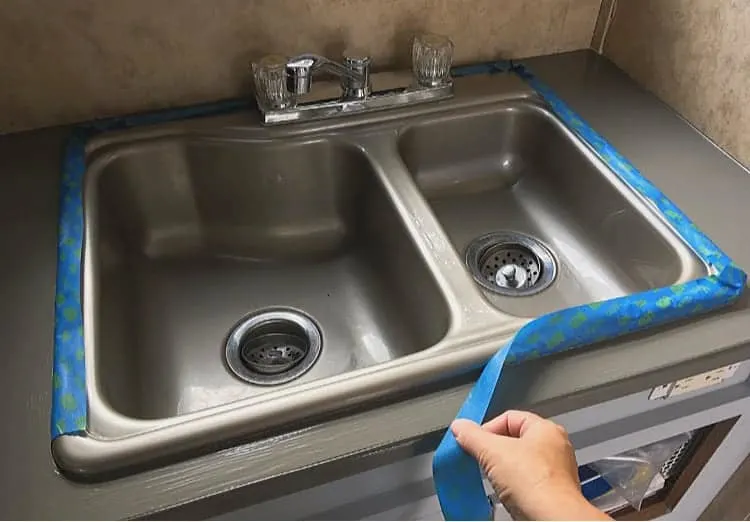
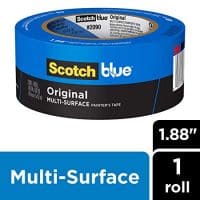
I taped off all the edges of the walls, sinks, and stove with blue painter’s tape. (By the way, especially in the kitchen, it’s really important to clean all the surfaces well or your tape won’t stick.)

Ventilate
Then I opened all the windows and turned on the exhaust fan over the stove and in the bathroom. The back of the can says “use in a well-ventilated area” which is somewhat of a euphemism for “this stuff will singe your nose hairs off.” I had read that the smell was pretty strong, and I was not disappointed. One reviewer said, “It stinks pretty bad but it won’t kill you.” I found this to be true. Barely.
Paint
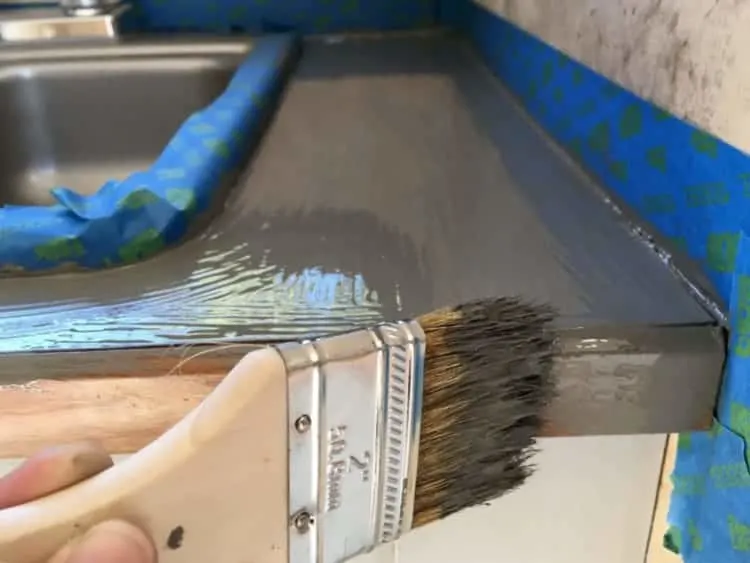
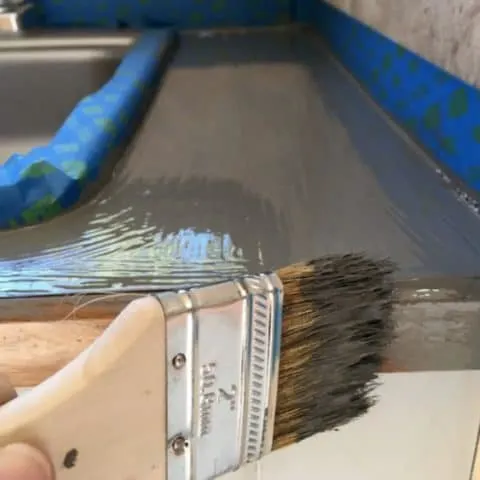
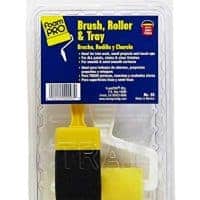
Finally it was time to paint! I brushed on a light coat of the paint, trying to minimize brush lines. If I had larger spaces to paint, I would have preferred to use a foam roller, but it just wouldn’t have fit.
I painted right up to the tape lines, and over the front faux wood edging. (Have I mentioned how much faux wood was everywhere in this camper?) The edging is rubber, so I’ll have to update this post after a while and let you know how the paint is holding up. But the paint went on like a dream, so I’m hoping it will continue to adhere well.

When I was done with the first coat on all the countertops, I went back and applied another light coat immediately. The paint can says you can reapply within one hour, or after 24 hours, and I wanted to be done with this stinky part of the project as quickly as possible.
Dry
You’re supposed to let your countertops cure in low humidity (not a problem here in the desert) for 3 days before setting anything on them. I plan on giving them a full 7 days, just to be sure.
Results
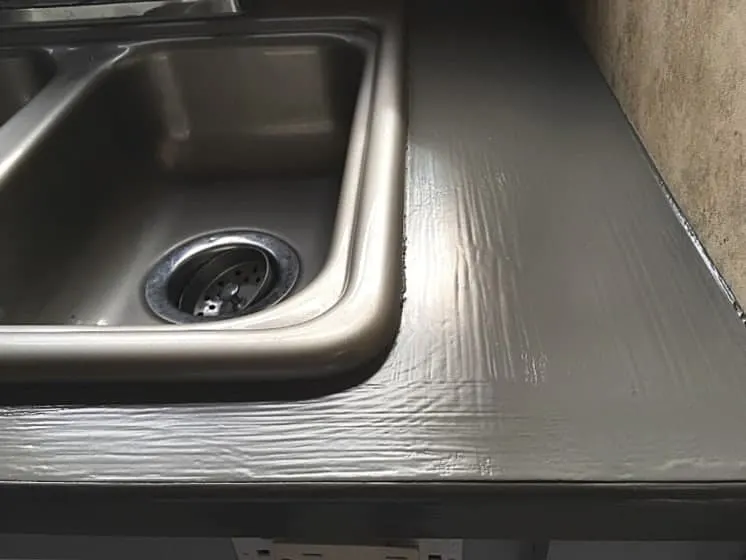
After 3 days, I pulled off the tape to reveal nice clean edges. (Is it just me, or is tape-pulling one of your favorite parts of a painting project?)

I do wish I would have applied the paint a little thinner, maybe with a tiny foam touch-up roller, because I can see the brush lines when the light shines on the surface. But overall I’m so happy with the new color and how it modernizes this space.

Camper Makeover Plans
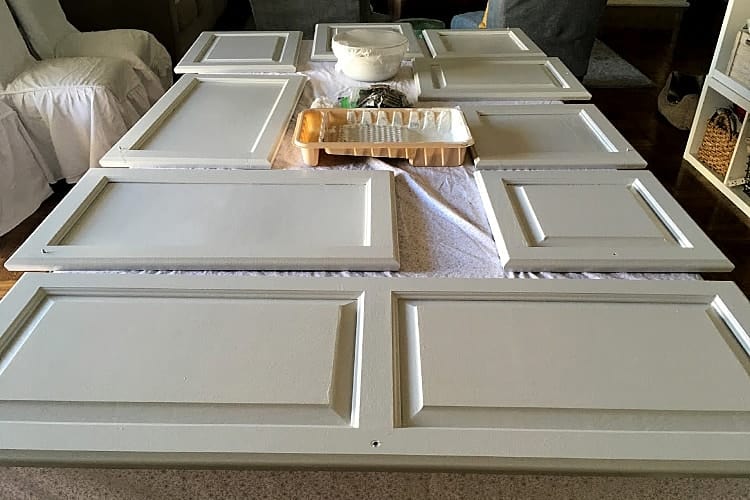
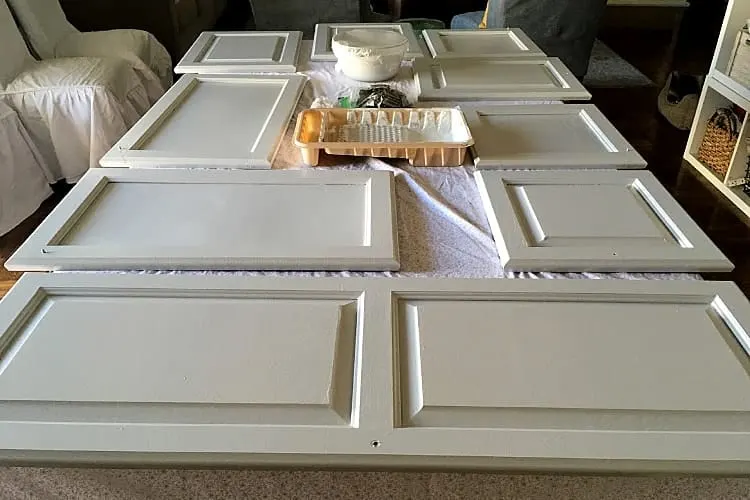
Now I can get to work on the rest of the painting projects in this camper, and I better work fast because next week is already reveal week! The cabinets are still in process and taking over my dining room.
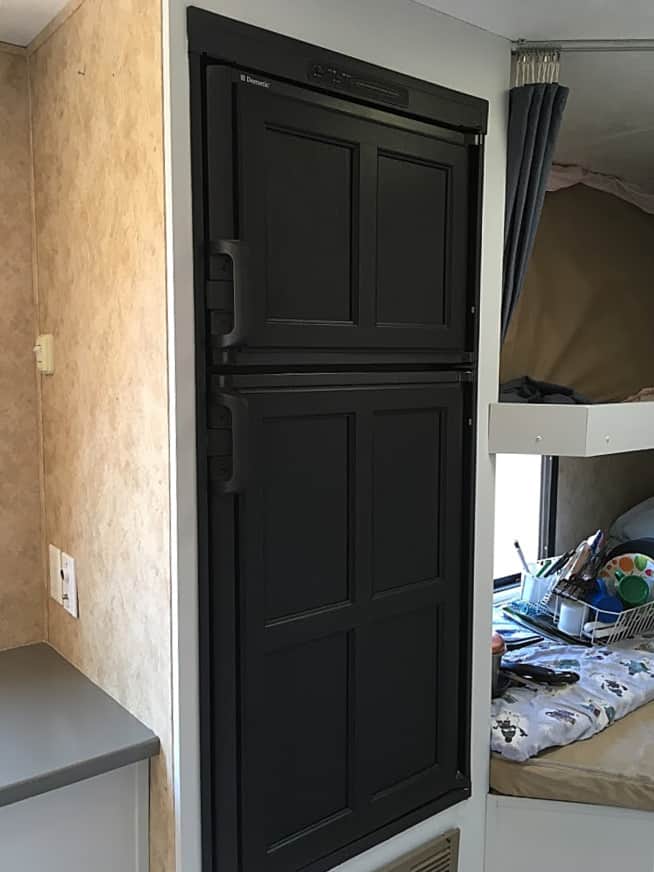
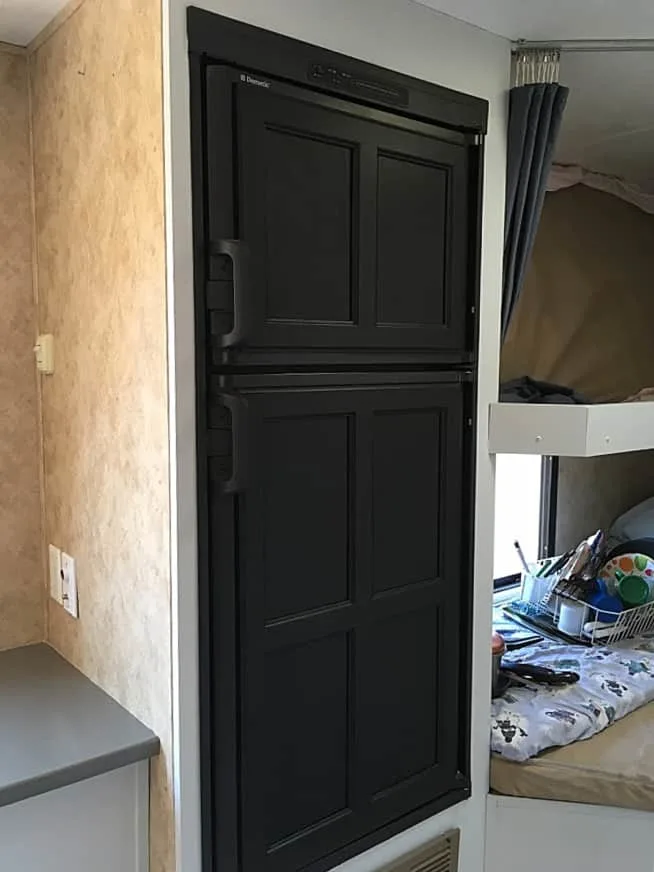
And I’ve painted the wood panels on the fridge black to tie it all together. I used some leftover Chalkboard Paint since it was free, and it gives me the option of using that space for messages or rainy day drawings.
I still need to:
- Finish painting the cabinets
- Apply the wallpaper backsplash
- Re-upholster the window coverings
- Redecorate the beds with new (repurposed) linens
Week 1 ~ Week 2 ~ Week 3 (You’re here) ~ Week 4
Yikes, gotta run! While I’m working on that, be sure to check out my other blogger friends’ progress on their $100 Room Challenge projects…

How to Update your Kitchen with Painted Countertops
Want new countertops for your kitchen but don't have a few extra thousand $$$ lying around? You can paint over your existing counter and get a durable finish and updated look, all at the tip of a paintbrush!
Instructions
- Clean your countertops well, using a degreaser like Krud Kutter, or dish soap.
- Tape off anything that touches the edges of the counters, like walls, backspashes and appliances.
- Ventilate! This stuff has a really strong smell, so open all the windows and run your stove's exhaust fan or a room fan pointed toward an open window.
- Apply a LIGHT coat of paint with a foam roller or paintbrush. (Too much paint will leave brush or roller marks.)
- Recoat within an hour, or after 24 hours, with another light coat of paint.
- Dry for at least three days. This stuff needs to cure to a hard finish so it will be durable. I gave mine 7 days, just for good measure.
- Remove your painter's tape and enjoy your new countertop!
Notes
I chose the color "Putty" from the 16 tintable shades, and I love it! It's a modern warm neutral brown, with a satin sheen.
I used a paintbrush because of the small space I had to paint, but I think a foam roller would leave less brush marks.
I recommend a disposable paint roller and brush, just to make clean up easier. Otherwise you'll need mineral spirits for cleaning.
Recommended Products
As an Amazon Associate and member of other affiliate programs, I earn from qualifying purchases.


Cindy Richter
Thursday 19th of September 2019
I wouldn't know about the tape pulling because I hate painting and will take short cuts. So no tape and I pay for it later. What you've done so far looks fantastic! I can hardly wait to see the reveal!
Meredith
Friday 20th of September 2019
Ha! Me too, usually, but I thought this paint would be harder to control in this small space. Turn out it was really easy to work with and I could've saved myself all the tape!
Alayna
Wednesday 18th of September 2019
Much better than those old countertops! Normally I'd worry about how well it would hold up, but really you don't have that much space to cover so why bother with new countertops? Looking forward to seeing how much you get done in the coming week!
Meredith
Friday 20th of September 2019
Thanks Alayna! Honestly, I'm wondering too about how well it will hold up. Guess we'll find out!
JENRON DESIGNS
Wednesday 18th of September 2019
Wow those countertops look great. I have always wondered about the countertop paint, so thank you for sharing all your tips.
Meredith
Friday 20th of September 2019
I had been wondering too, and this seemed like the perfect time and place to try them out!
sherrygcole
Wednesday 18th of September 2019
Your makeover is so exciting! I love the counter tops and it really does give it a modern look. I can't wait to see it next week.
Meredith
Friday 20th of September 2019
Thank you! This might be my favorite part of the makeover so far!
lauraingallsgunn
Wednesday 18th of September 2019
I had no idea there was such a thng as countertop paint. Ingenious! I can't wait for the reveal.
Meredith
Friday 20th of September 2019
Thanks Laura! It was fun to have an excuse to try a new product!