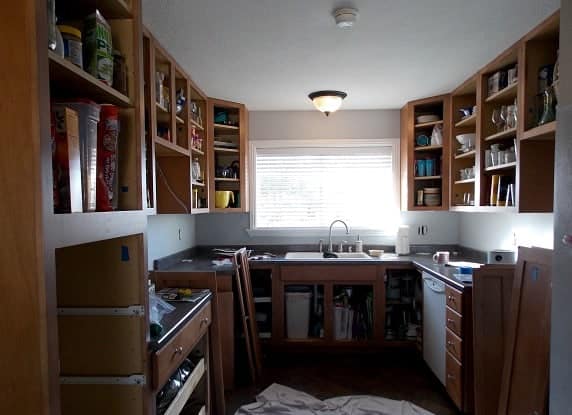
Phase Two: Prep and Paint Your Cabinet Frames
- Move out of your kitchen. It’s going to get messy when you start sanding, so take everything off your countertops and out of your cabinets. (Confession: I just removed the stuff that wasn’t already dusty. I figure I’ll have to dust the other stuff eventually anyway before I use it next, so why do it twice?) Even the big appliances should be pulled out of the way so you can paint the edges of the frames. Give the coffee maker a place of honor in the living room next to an outlet. You’ll need it.
- Label cabinet doors. Here’s the easy way:


- Remove cabinet doors by unscrewing the hinge from the cabinet frame, leaving the hinge attached to the door. Also remove drawers and set aside for later. Drawers and doors will be painted in another step. Right now the goal is to get the frames prepped and painted so you can move everything back into the kitchen and go back to (more or less) normal life while the doors are being painted in the garage.
- If possible, remove baseboards or toe kicks from under cabinets. If not possible, tape along the floor to protect floor from scuffs and paint.

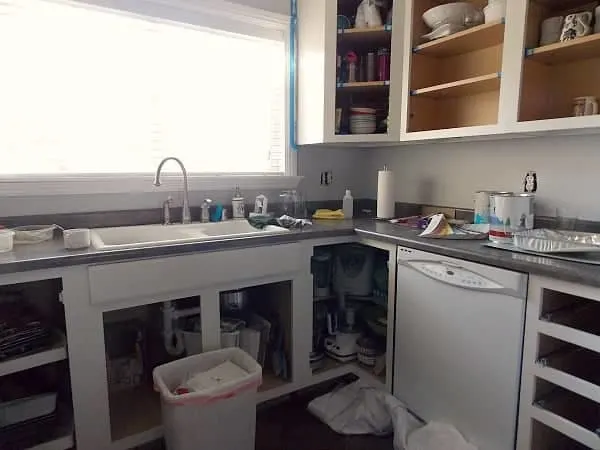
That is NOT a pretty sight. But it means things are happening!
- Clean every part of your cabinet frames with a good degreaser or TSP. I didn’t like the sound of TSP which is short for some chemically-sounding compound, so I opted for Krud Kutter instead. It works great and is safe and environmentally friendly. I couldn’t believe the gunk that came off of those cabinets, especially close to the sink and oven!
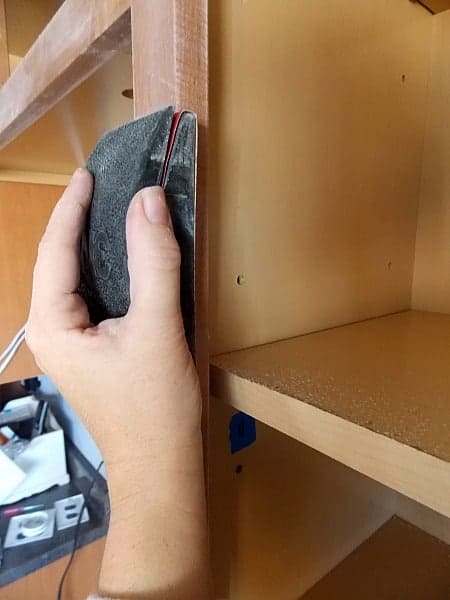
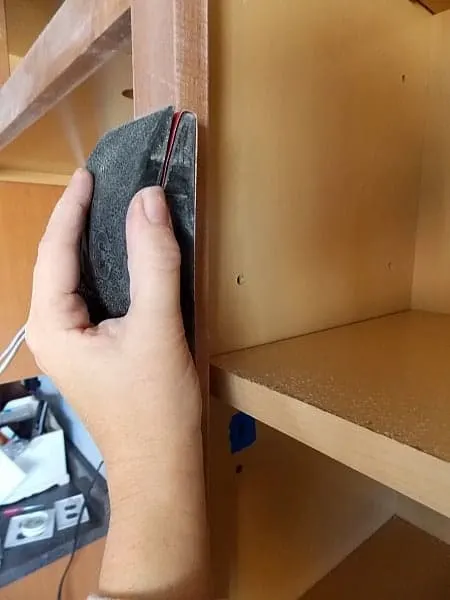
- Using a block and sandpaper, hand sand each surface evenly, just to remove the gloss from the prior finish and give the paint something to adhere to. You don’t have to sand off all the finish, just make sure to rough it up all over. My cabinets were maple, which turns out to be a pretty hard wood, and they had a really durable finish on them. (I have new respect for my cabinets after wrestling with them throughout this project. They were built to last!) The paint guy at the Benjamin Moore store told me to use 200 grit sandpaper, but I found that it didn’t even touch the finish, so I had to switch to 100 grit.
- Clean every bit of dust off the surface. Vacuum first, using the drapery attachment. Then you can use a tack cloth, but I prefer a high-quality microfiber towel. Make one pass with a dry towel, then dampen the towel with rubbing alcohol and make another pass to pick up any invisible dust. Do not use water on your towel, as it can raise the grain of the wood and make it hard to get a good finish.

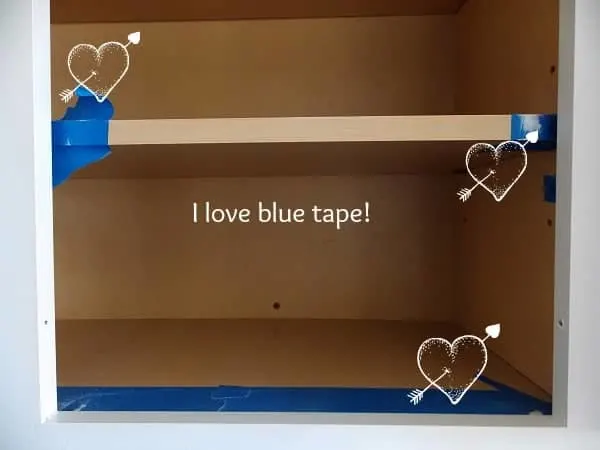
The inside of my cabinets were in great shape, so I decided not to paint them. I just taped off the edges to keep them tidy.
- Prime. Simply paint on a light coat of the primer, making sure to get in every crack and crevice, without leaving drips. Easier said than done on vertical surfaces, but if you use a light touch, and don’t overload your roller and brush with primer, you’ll be fine. At this point, these cabinets will be UGLY. Primer looks like a terrible paint job. Don’t fear. It doesn’t need to look even, it just needs to have some coverage everywhere. You’re just giving the paint something to stick to later.
- While the primer is drying (check your paint can for drying times and believe whatever it tells you – no rushing!), this is a good time to paint the walls, if you’re doing so.
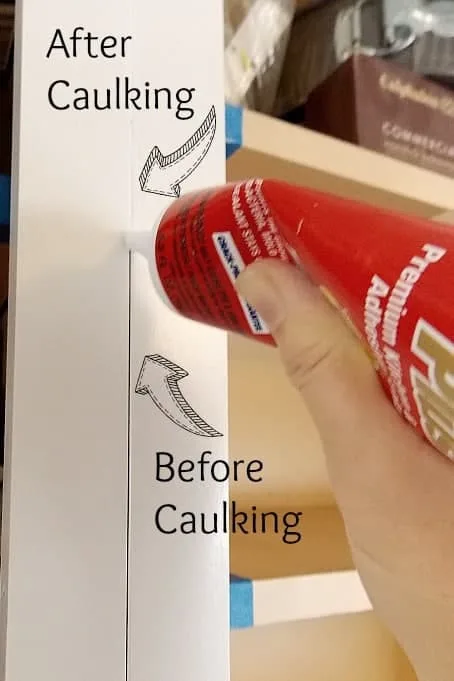
- Add a bit of wood filler or caulking wherever you have gaps between wood. When painting wood, this is an important step in giving it a really professional finish.

- Once the primer and caulking is dry, give it a light sand with 200 grit sandpaper. Clean well, using the method in Step 7.
- Now is the fun part – paint! Mix your paint well and pour some into a paint tray. With your brand new (do NOT use an old ratty roller!) mohair roller, roll a light coat of paint all over the cabinet boxes. Roll in the direction of the wood, and with the direction of the nap on the roller. You can’t tell the direction of the roller nap by looking at it, but you’ll be able to tell once you’re using it. When you roll the wrong way, it will sound “tackier” and may leave tiny bubbles in the paint (gasp!). When you roll back the right way, it will feel smoother and the coat of paint will look more even. Try to finish each section rolling in the right direction, to get a smooth even finish. Go back with a brush to fill in all the corners and edges that the roller missed. A good self-leveling, slow drying paint will make this process go much better. When you use a fast drying latex paint, it starts drying even in between passes of the brush or roller. Then you’re dragging through partially dry paint, which is what leaves tracks and marks in the finish. This is why the type of paint and roller matter so much to a smooth, professional finish.
- Allow the paint to dry fully. BM Advance takes at least 16 hours between coats, and I can attest to this personally. If you try to sand before it’s dry, you’ll get globs of wet paint gumming up your sandpaper, and stripping the paint off the cabinet. Pretty traumatizing. Take my word for it, and plan for the right drying times. There are plenty of other things you can work on in the meantime, like getting started on your doors.

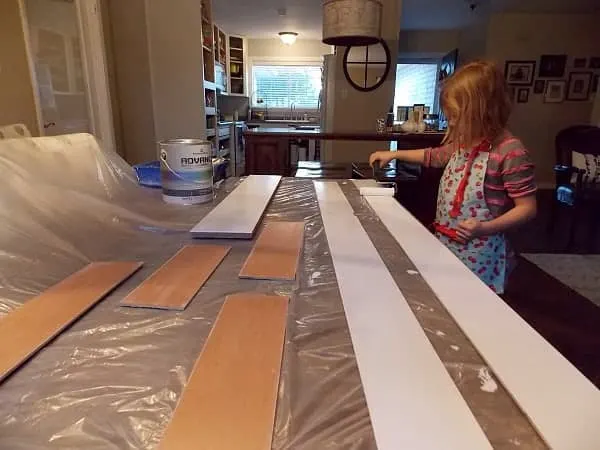
Mom’s Little Helper
- Once the paint is dry, give it a light pass with 320 grit sandpaper, and clean well with a clean microfiber cloth and rubbing alcohol.
- Add a final coat of paint, following the process in Step 11.
- Allow the paint to cure for at least a couple of days while you’re working on doors. Once it’s good and dry, you can replace all your kitchen gadgets and dishes and start living in your kitchen again. It’ll be open concept, and you might find you like having some of your doors off. It’s pretty convenient, but I found out that I have way too much stuff (and it’s not all pretty) to have the doors off for long!

tami Luttrell
Wednesday 27th of January 2021
I know this was forever ago, but what primer did you use? Advance Primer? Is Zinsser shellac-based compatible? I want to make sure there is no bleed through. Thank you
Meredith
Thursday 28th of January 2021
Hi Tami, when I did these cabinets I used the Ben Moore Advance primer and it worked great. But I've since started using the Zinsser shellac primer, called BIN. It covers everything! It smells a bit worse and cleanup is a bit tougher, but I'm always impressed at how it prevents bleed through. You can read more about that here if you're interested: https://thepalettemuse.com/what-you-need-to-know-before-painting-cabinets/
Laurie Gattis
Tuesday 24th of April 2018
Your tutorial is hands down THE BEST!!! I've been contemplating this project for a few years, yes, years ;-) After researching the do's and don't ad nauseam, I'm now in the thick of it and keep going back to your post as I run into those inevitable snags we run into when doing a project for the 1st time. And your advice and tutorials are spot on! Honestly, if I had just printed this out from the get go and followed to the T, there would have been no snags! So, thank you for taking the time to walk through this so thoroughly, because in a project like this, those little details will make or break your project! So this morning I'm heading to the store for that Mohair roller you recommended ;-) because I've just discovered cutting corners on this project isn't an option if you want a professional finish.
Meredith
Tuesday 24th of April 2018
Thank you Laurie! You're so right, it really is all about the details. I know your project will turn out great since you are obviously taking the time to do things right. It will be worth it in the end!
Mary
Sunday 15th of April 2018
Lovely rehab. How has the paint held up over the years?
Meredith
Wednesday 18th of April 2018
Thank you Mary! We've since moved out of the house, so I can't really answer that. I did redo the cabinets in my new house, and wrote about them here: https://thepalettemuse.com/best-way-paint-kitchen-cabinets/ and I did an updated post about how they've held up here: https://thepalettemuse.com/painted-kitchen-cabinet-faqs-theyre-holding/
Mona
Tuesday 27th of February 2018
Hi you have done a great job! I was just wondering, after sanding them once in the beginning why do you need to sand after primer and then after first coat of paint?
Meredith
Tuesday 27th of February 2018
Hi Mona, sanding between coats is what gives the paint a really smooth finish. If you want to cut down on sanding, try this newer method that I've found: https://thepalettemuse.com/best-way-paint-kitchen-cabinets/
joel
Thursday 15th of February 2018
Very impressive to do this yourself!! I run my home improvement business and i just finished painting a set of kitchen cabinets for a customer. This is not an easy thing to do. It requires skill and a lot of patience. I loved the part about professional results only come from professional labor, putting in the work will always get you the right outcome. I personally sprayed the doors and drawer fronts, but i have a quality spray gun necessary for this type of job. Awesome work. I know plenty of people who wouldn't have the guts to try this them self.
Meredith
Wednesday 21st of February 2018
Thanks Joel! And thanks for answering Sondra's question too. I would love to try a sprayer some time, but I know the learning curve would be a little more than I'd want to take on for a project like this.